

-
As the air turns crisp and the leaves start to change, it can only mean one thing—pumpkin spice latte season is back! There’s something so cozy and comforting about the flavors and colors of fall, and it’s the perfect time…
-

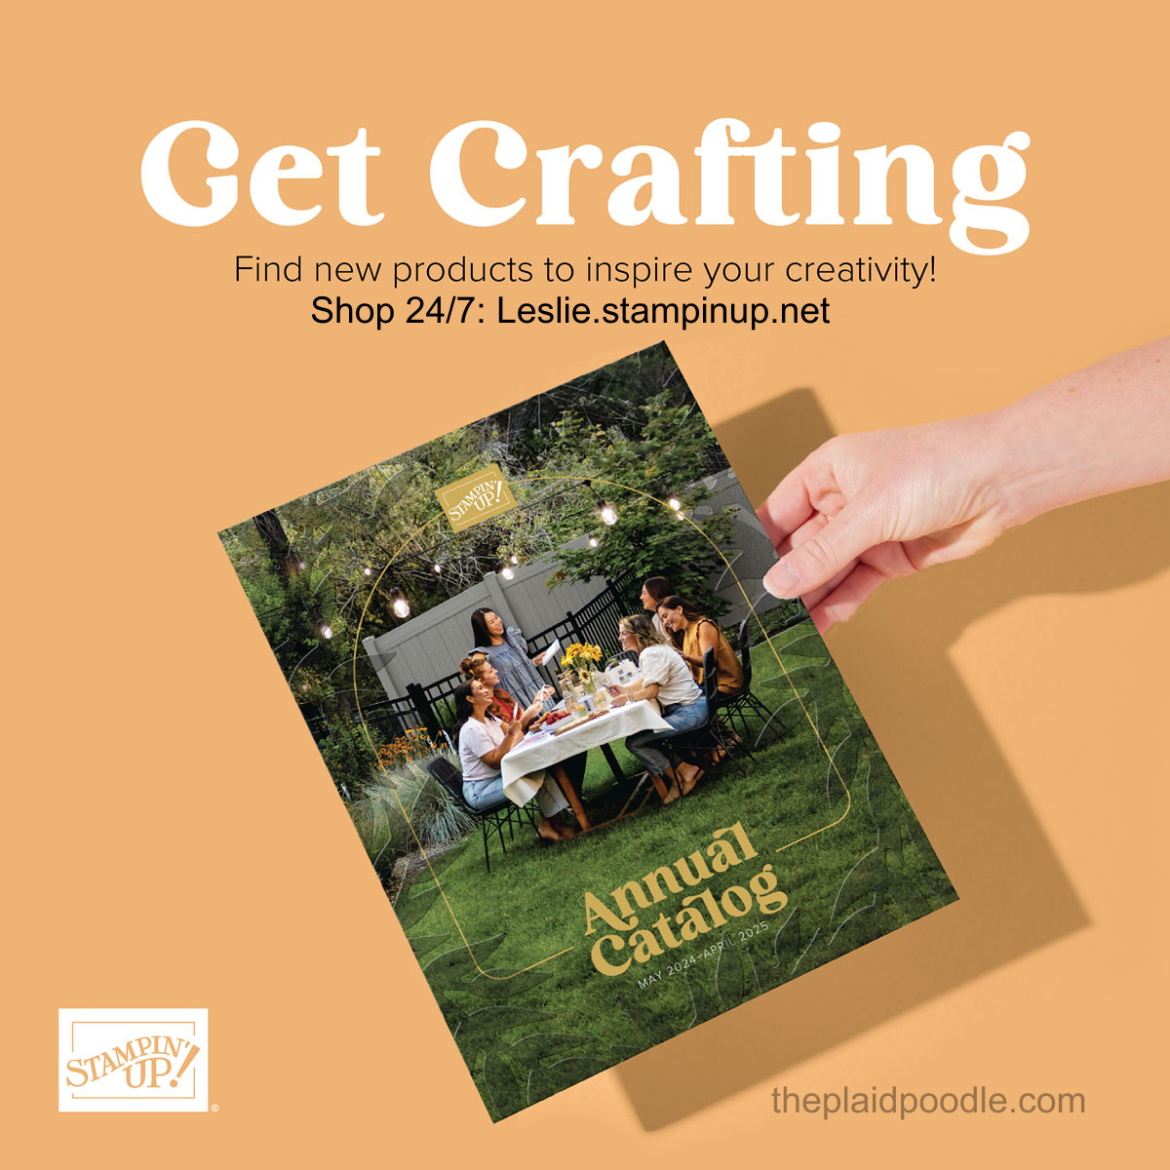
New Season, New Holiday Catalog!
Labor Day has passed and it’s go time! 🍂 Fall is officially in full swing, and with it comes the Stampin’ Up! Holiday Mini Catalog which goes live today! Click on the catalog image below to view the virtual catalog, or visit…
-

New Scrapbook Products Are Almost Here!
Stampin’ Up! is introducing a brand-new line of scrapbooking products! These products are so fresh and numerous, they have their own virtual brochure. Click on the brochure image below to explore all the new memory-keeping goodies available. These products debut in…
-
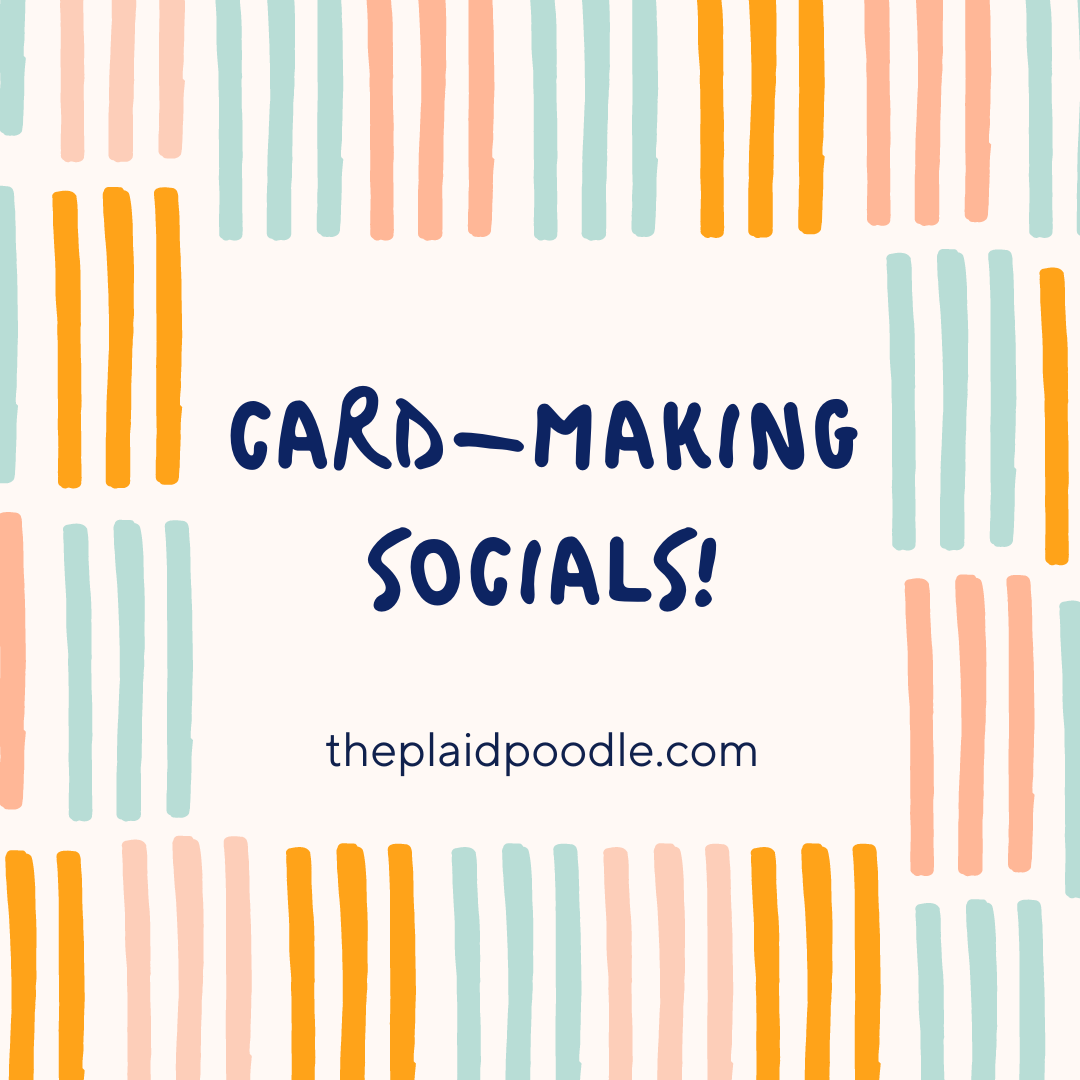
Introducing My Card-Making Socials!
I’m excited to introduce my new card-making socials, where we go beyond just a class—it’s a welcoming community! In these gatherings, I teach a variety of paper crafting techniques in a relaxing and supportive environment. Whether you’re a beginner or…
-
My Summer Sabbatical Update & BIG August Discounts!
Hello Creative Friends! I hope this post finds you staying cool and in the midst of wonderful crafting projects! As we enter a new month, I’m thrilled to share some exciting promotions and offers that will help you save on…