
Category: 3-D Projects
-

How to Make a Fun Popcorn Box Valentine Treat Holder
Valentine’s Day is the perfect time to spread a little extra love, and what better way than with a creative, budget-friendly treat holder? I recently found a package of six adorable popcorn box-shaped treat holders at a big box store, and I knew they’d be perfect for a special Valentine’s surprise! I filled each box…
-

How to Make a Fun Pumpkin Spice Card for Fall Celebrations
As the air turns crisp and the leaves start to change, it can only mean one thing—pumpkin spice latte season is back! There’s something so cozy and comforting about the flavors and colors of fall, and it’s the perfect time to let that autumnal inspiration spill over into your crafting. If you love pumpkin spice…
-
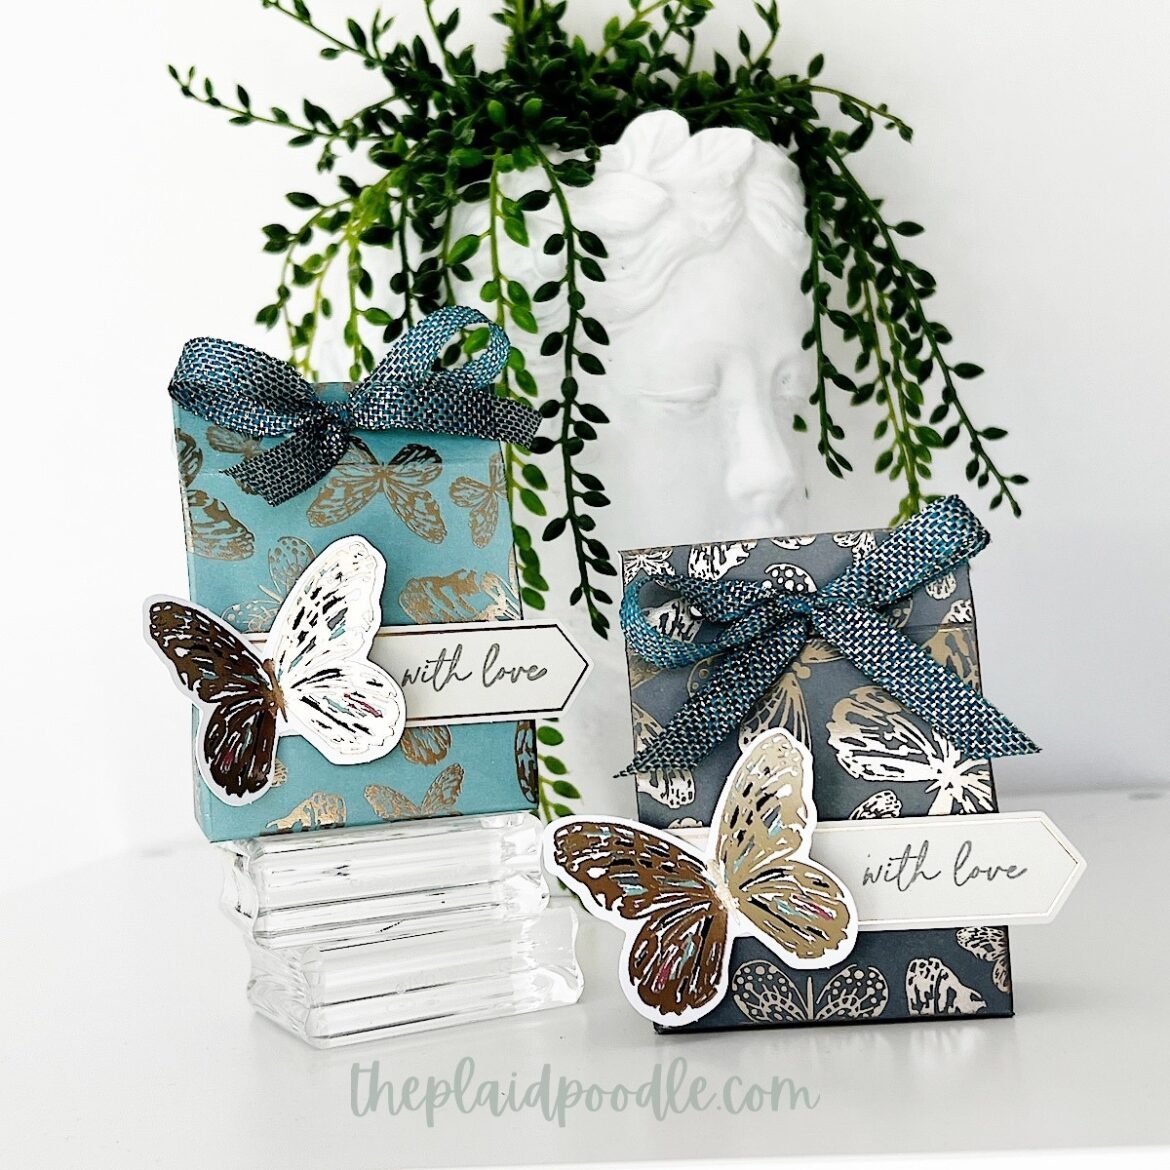
Mini Treat Bags with the Delicate Wings Paper Pumpkin Kit!
I’m always on the lookout for party favors for my card class guests. When the April Delicate Wings Paper Pumpkin Kit arrived, I knew the gold-embossed card bases would be perfect for mini treat bags. It was a fortunate coincidence that the original card base fold worked perfectly with this design. I’ve created a project…
-

Make a Loaded Envelope
I wanted to bring a special gift to my teammates attending the recent Stampin’ Up! OnStage convention, and this loaded envelope project is what I decided on. I found the pattern from fellow Stampin’ Up! Demonstrator Diane Evans. The envelopes are straightforward to assemble using a 12″ x 12″ piece of Designer Series Paper and…
-

How to Create a Bag of Bones Halloween Treat Holder
October is less than a week away and it’s time to get busy with our Halloween crafting! I’ve got a cute Halloween treat holder project to share with you today to get you started. The Bag of Bones Halloween treat holder is large enough to hold a fun-sized candy bar or two mini Twix Bars.…