
-
I’m excited to introduce my new card-making socials, where we go beyond just a class—it’s a welcoming community! In these gatherings, I teach a variety of paper crafting techniques in a relaxing and supportive environment. Whether you’re a beginner or…
-
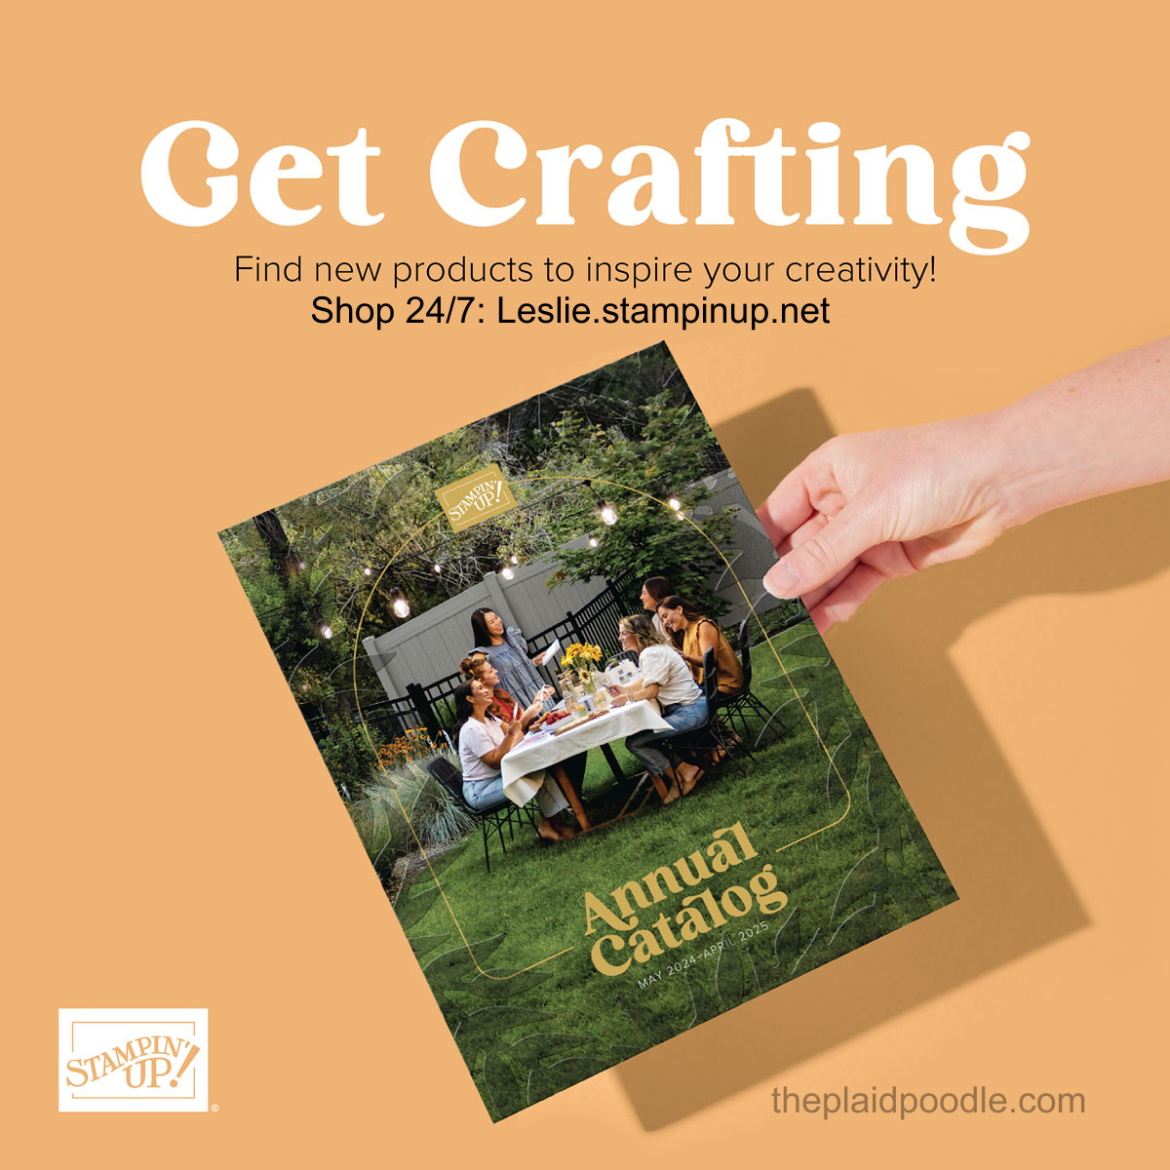
My Summer Sabbatical Update & BIG August Discounts!
Hello Creative Friends! I hope this post finds you staying cool and in the midst of wonderful crafting projects! As we enter a new month, I’m thrilled to share some exciting promotions and offers that will help you save on…
-
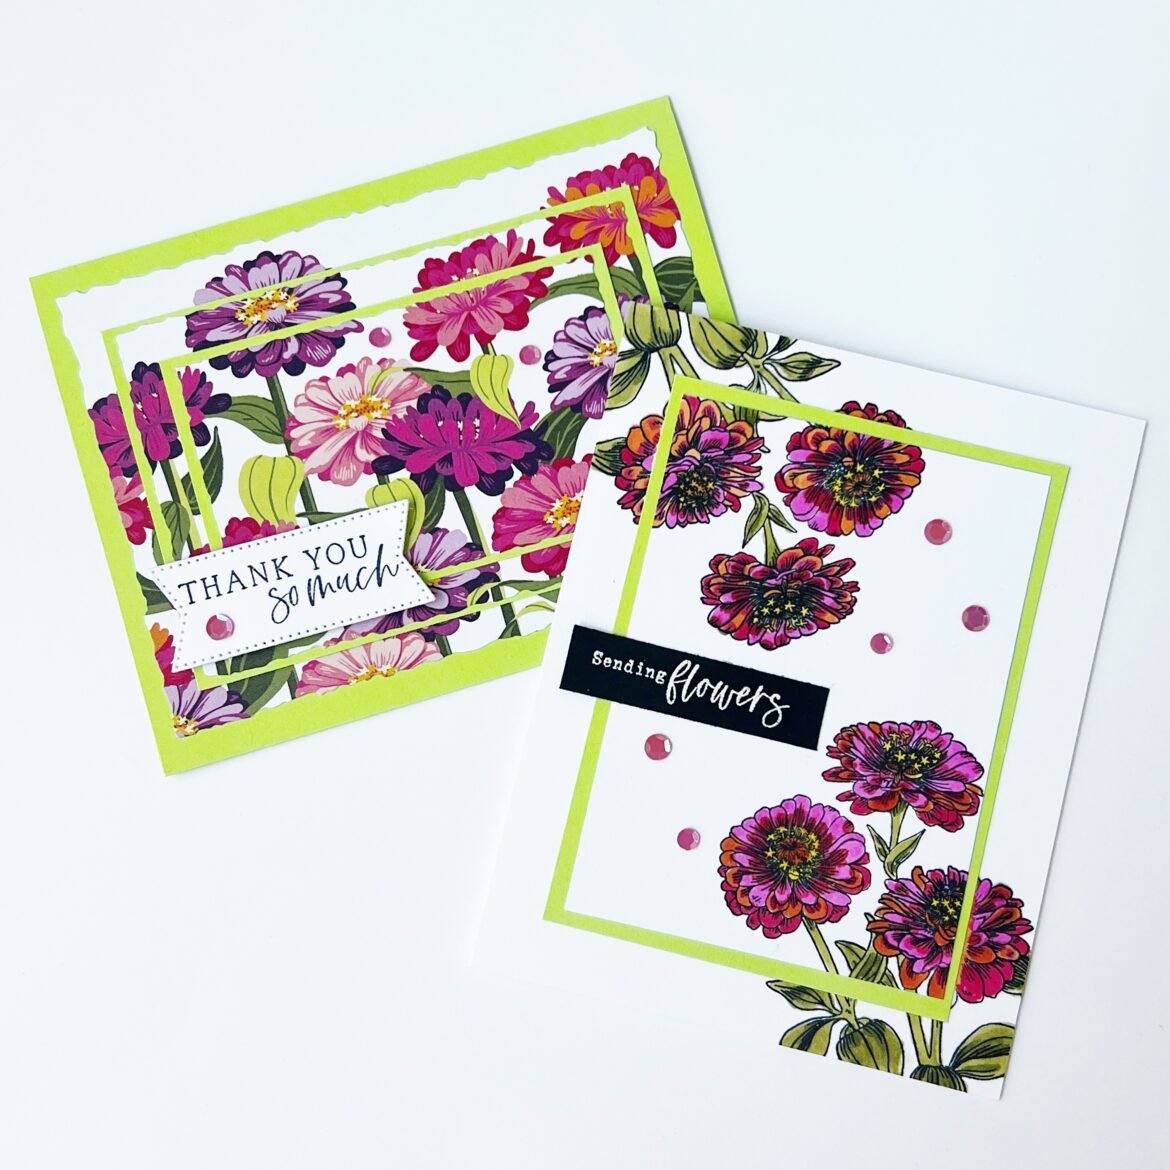
Learn How to Make a Greeting Card using the Double or Triple Layer Technique!
via GIPHY I guess you can teach an old dog new tricks! I’ve been paper-crafting for more years than I can count and, although the double and triple layer card-making technique has been around for awhile, today was the first…
-

Embracing Summer Adventures: A New Chapter for our Paper Crafting Classes
Hello, dear crafting friends! How’s your summer going? My summer is packed with travel plans and fun family activities. While I am thrilled about these adventures, they also mean I need to take a short break from holding my in-person…
-
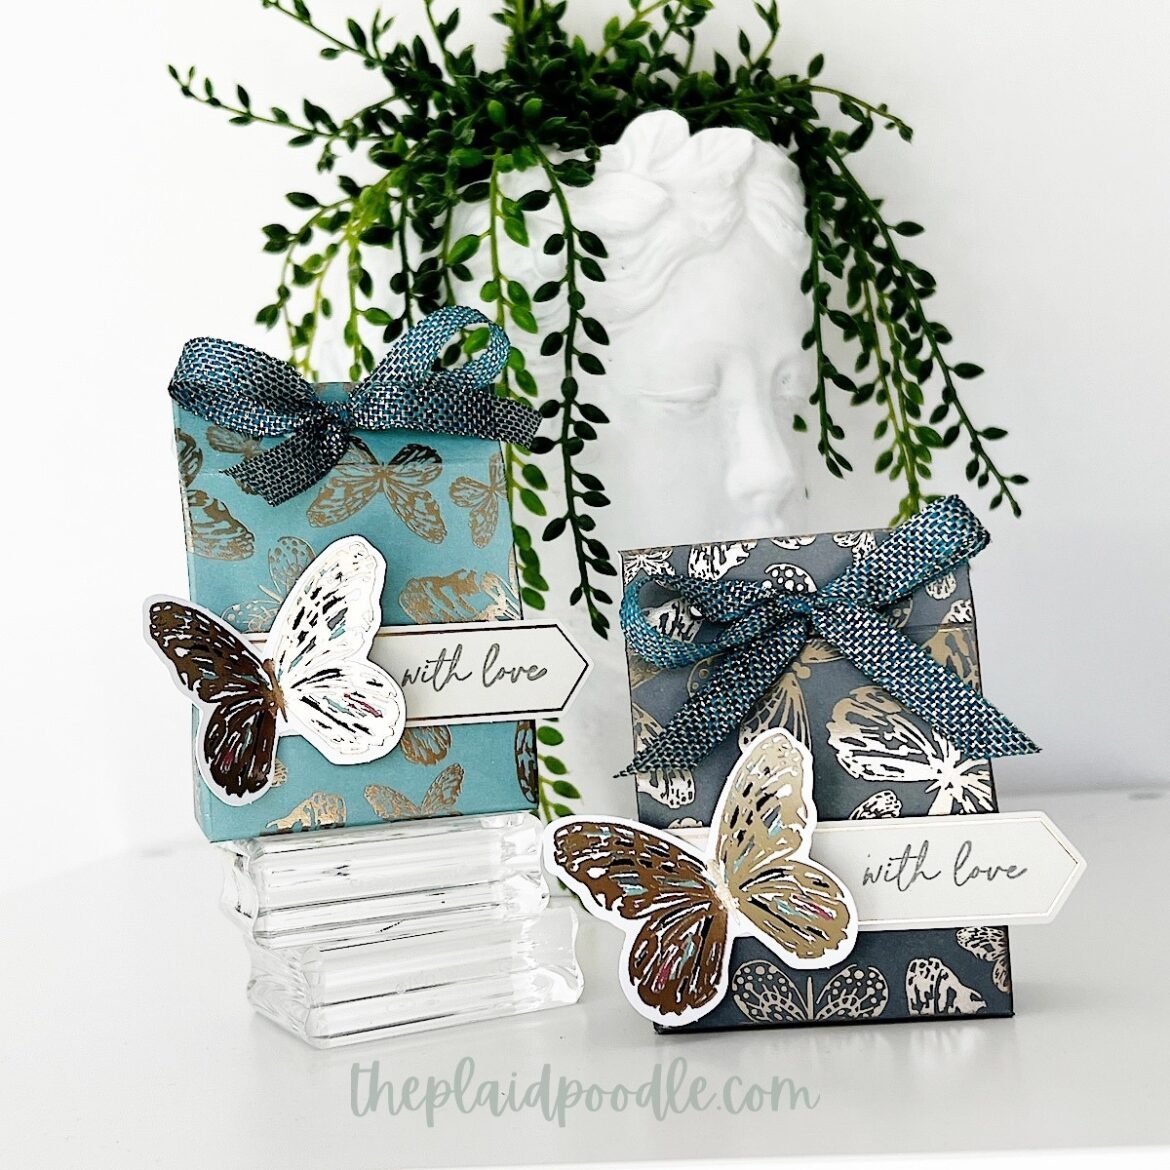
Mini Treat Bags with the Delicate Wings Paper Pumpkin Kit!
I’m always on the lookout for party favors for my card class guests. When the April Delicate Wings Paper Pumpkin Kit arrived, I knew the gold-embossed card bases would be perfect for mini treat bags. It was a fortunate coincidence…