
-
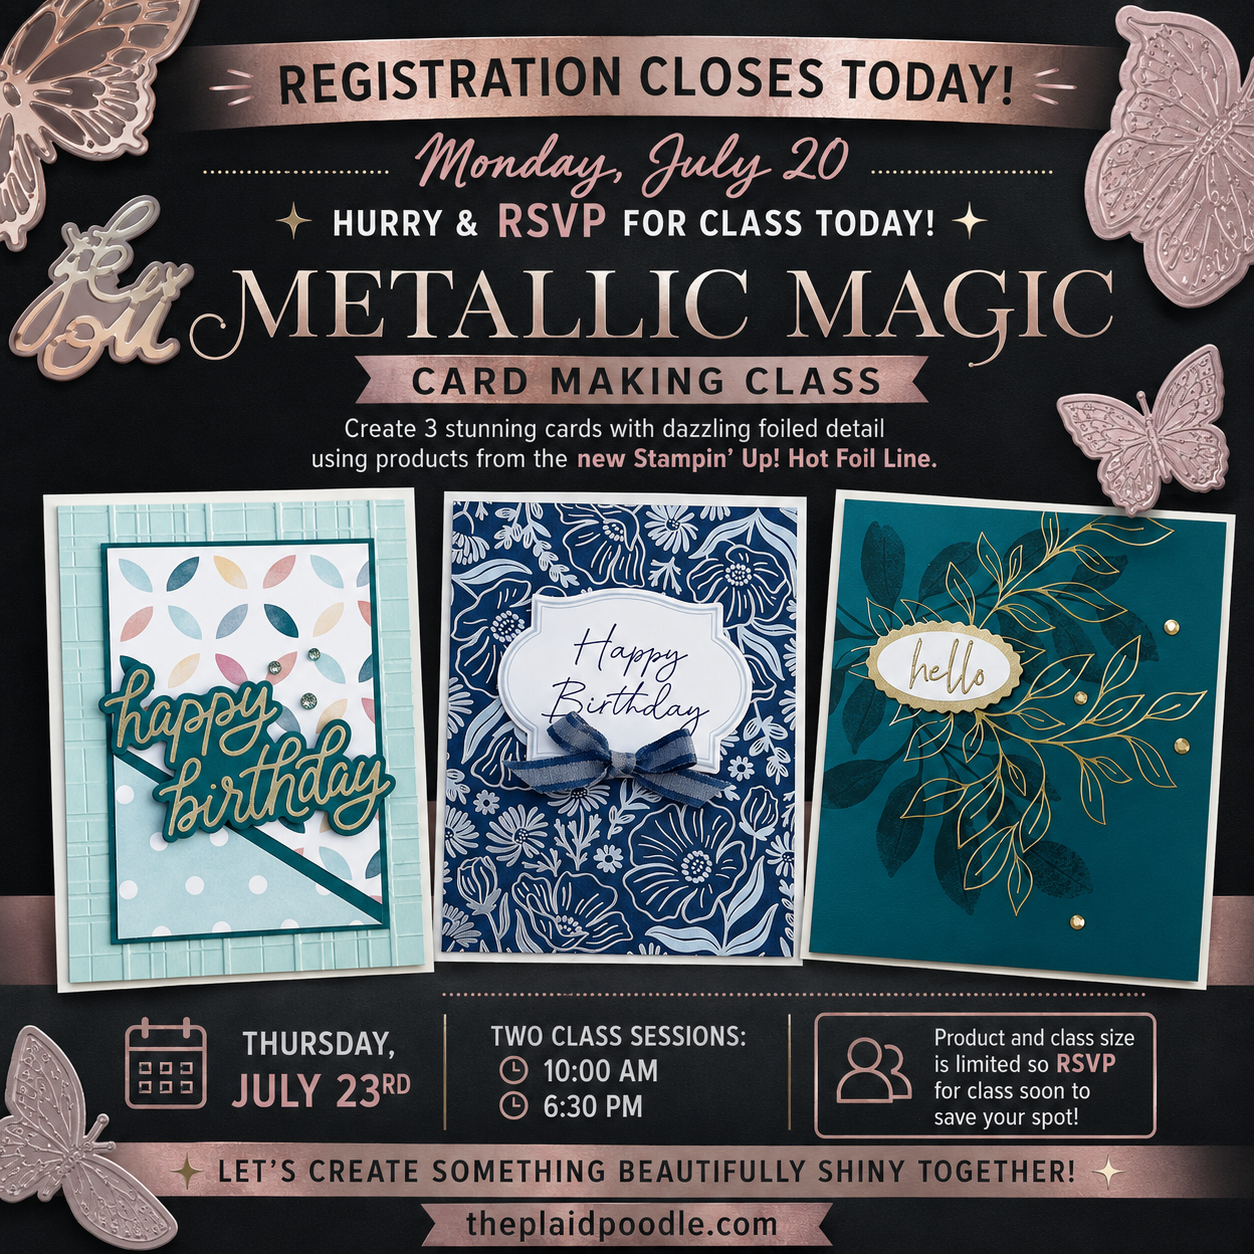
Have you been wanting to try the gorgeous new Stampin’ Up! Hot Foil Line? Now’s your chance! Join me on Thursday, July 23 for a fun, in-person Metallic Magic Card Making Class where we’ll create three beautiful handmade cards featuring…
-
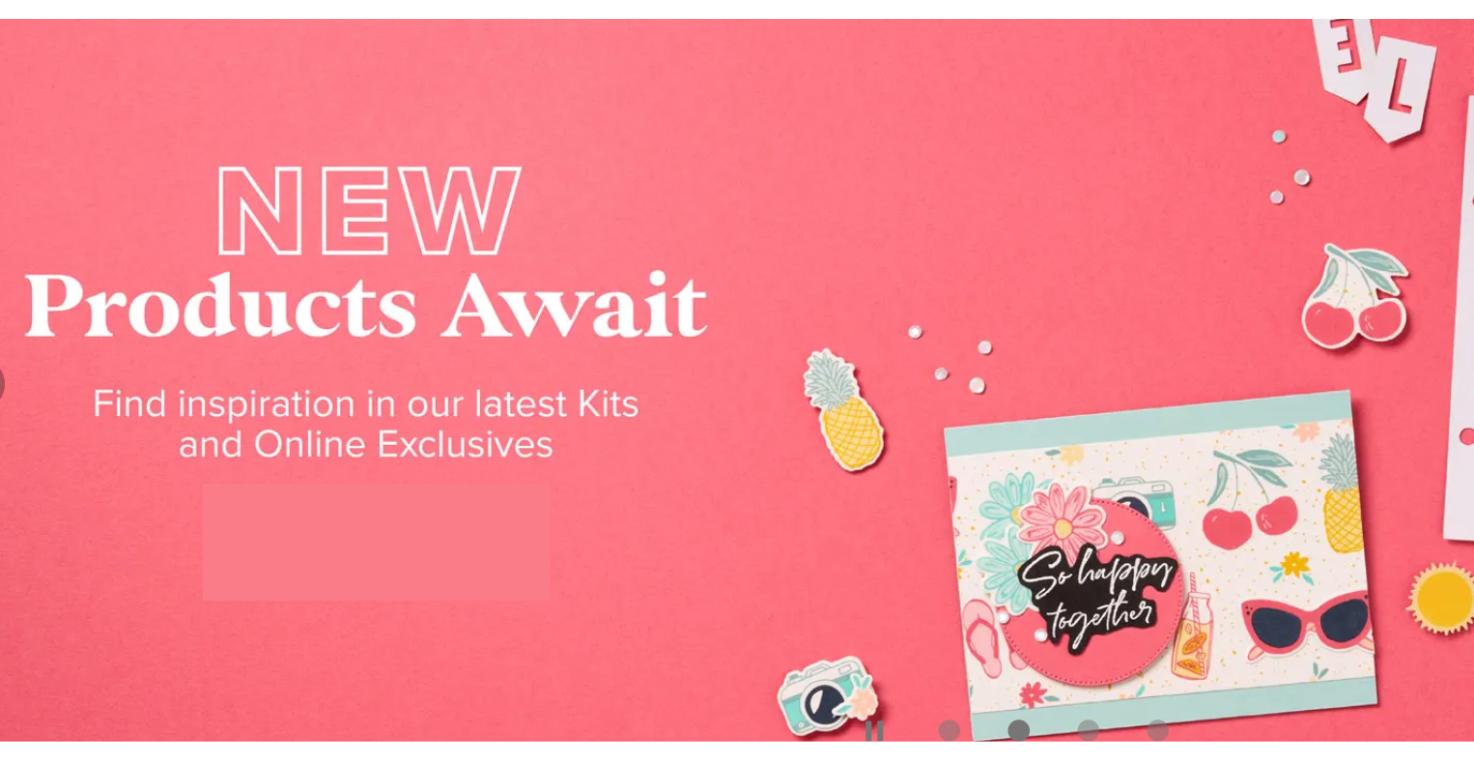
Welcome July with New Crafty Fun!
Summer may be in full swing, but things are heating up in the craft room, too! July is packed with exciting new products, fresh inspiration, a brand-new Product of the Month, an amazing Christmas class, and even a brand-new way…
-
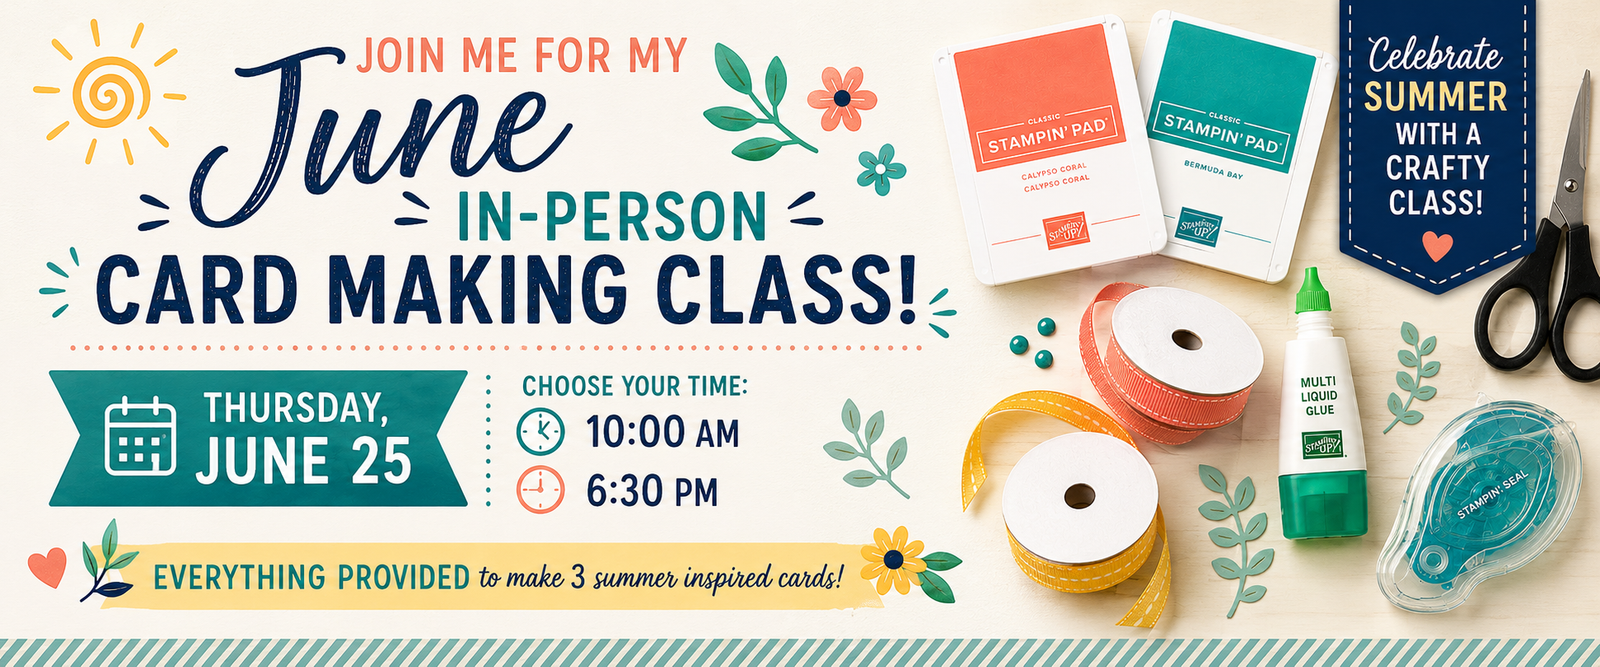
Free Shipping, New Card Class & Product of the Month!
June is bringing the deals and the creativity! Be sure to check out this month’s FREE Shipping promotion, the June Product of the Month, and details for my upcoming card-making class. It’s a great month to stock up, save, and…
-
Easy Layered Thank You Card Tutorial with Embossing & Texture
There’s just something so satisfying about a card with lots of layers and texture—and this one checks all the boxes! Today’s project is a beautiful, dimensional design that combines an embossed background with softly distressed cardstock edges for that perfectly…
-

Bloom Boutique Card-Making Class
I’m a little late sharing the class samples for my May Card-Making Class—but for a good reason! Bruce and I took a spur-of-the-moment trip with my sister and brother-in-law to visit the Ark Encounter in Williamstown, Kentucky. It was absolutely…