
Category: Holidays
-
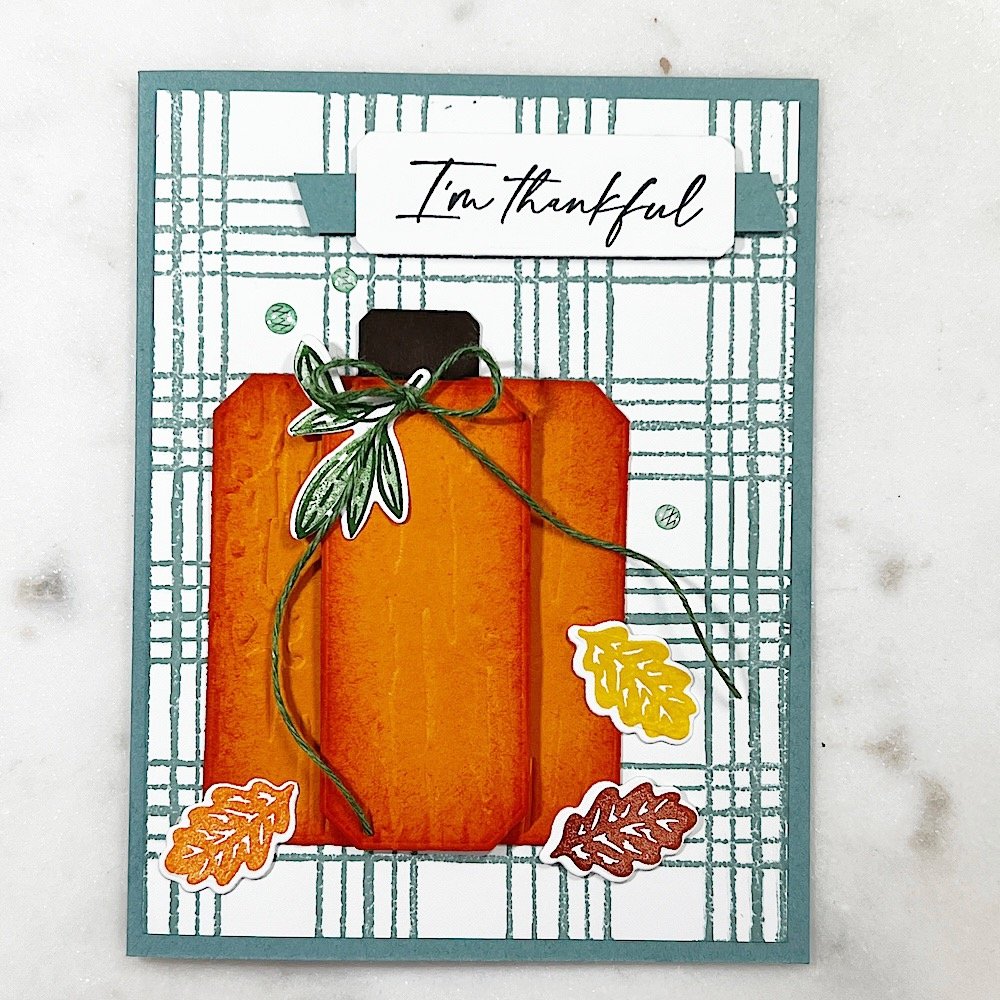
Unique Ideas for Crafting Autumn-Themed Cards That Stand Out
Making a handmade autumn-themed card is easy with paper crafting supplies you already own. Nothing says, “fall is here” better than a pumpkin. I created this card using the rectangular-shaped Countryside Corners Dies from Stampin’ Up! Product List Iconic Imagery Bundle (English) Iconic Imagery Photopolymer Stamp Set (English) Iconic Imagery Dies Sketched Plaid Cling Stamp…
-

How to Make a Fun Pumpkin Spice Card for Fall Celebrations
As the air turns crisp and the leaves start to change, it can only mean one thing—pumpkin spice latte season is back! There’s something so cozy and comforting about the flavors and colors of fall, and it’s the perfect time to let that autumnal inspiration spill over into your crafting. If you love pumpkin spice…
-

Make an Interactive Easter Card
Welcome to the first Monday of February, marking the beginning of a new theme for my Monday Mini Card-Making Livestreams! Throughout this month, I’ll be demonstrating various techniques for crafting interactive cards. In today’s livestream, I showcased an Easter card featuring the adorable Easter Bunny stamp set and Bunny Punch from Stampin’ Up! However, feel…
-

Monday Mini Papercrafting Classes are Here!
I’m excited to start something special, and I’d love for you to join me! I’ll be live on Facebook and YouTube every Monday morning at 10 am CT. Today was the premiere episode of Monday Mini Papercrafting Class. These free weekly sessions will highlight various card-making and papercrafting techniques. This January, I’m particularly thrilled to…
-

Make a Circle Shaped Christmas Card with Forever Forest
Making a custom circle-shaped Christmas card is an excellent way to show your loved ones how much you care this holiday season! This card I’m sharing with you is a bit more formal, but you can always customize it by choosing products that reflect your own personality. The secret to a fantastic Christmas card is…