Easter

Make an Interactive Easter Card
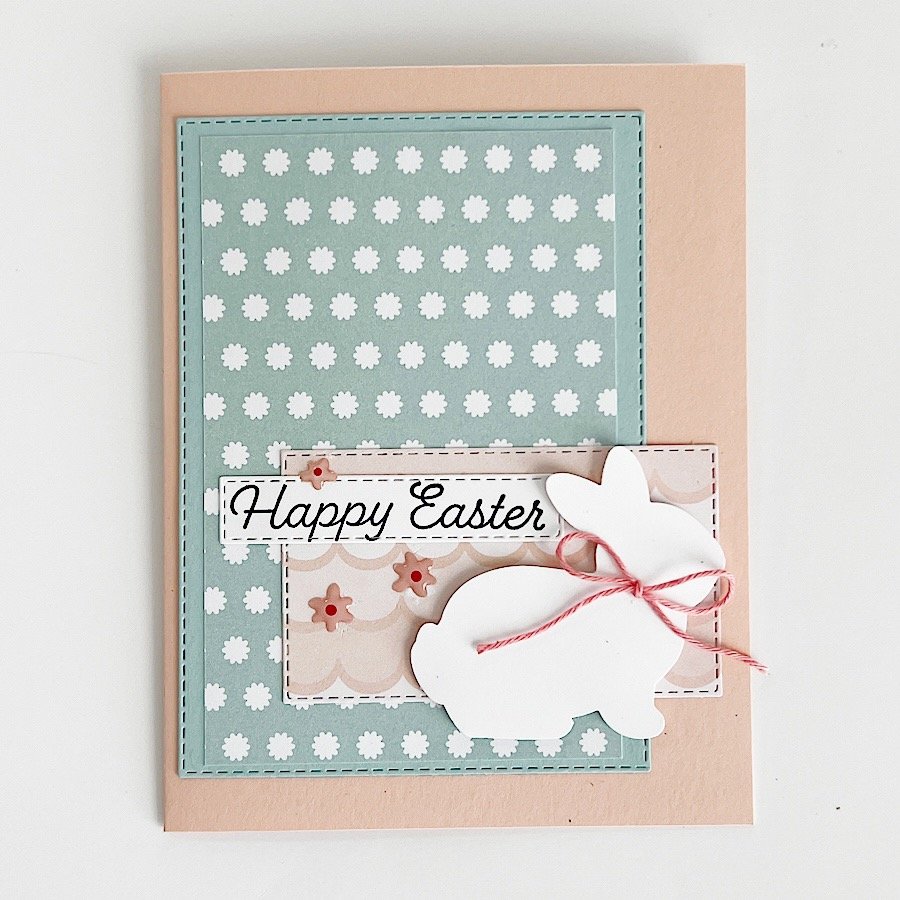
Welcome to the first Monday of February, marking the beginning of a new theme for my Monday Mini Card-Making Livestreams! Throughout this month, I’ll be demonstrating various techniques for crafting interactive cards.

In today’s livestream, I showcased an Easter card featuring the adorable Easter Bunny stamp set and Bunny Punch from Stampin’ Up! However, feel free to replicate this card using the showcased technique with any crafting products you may already have.

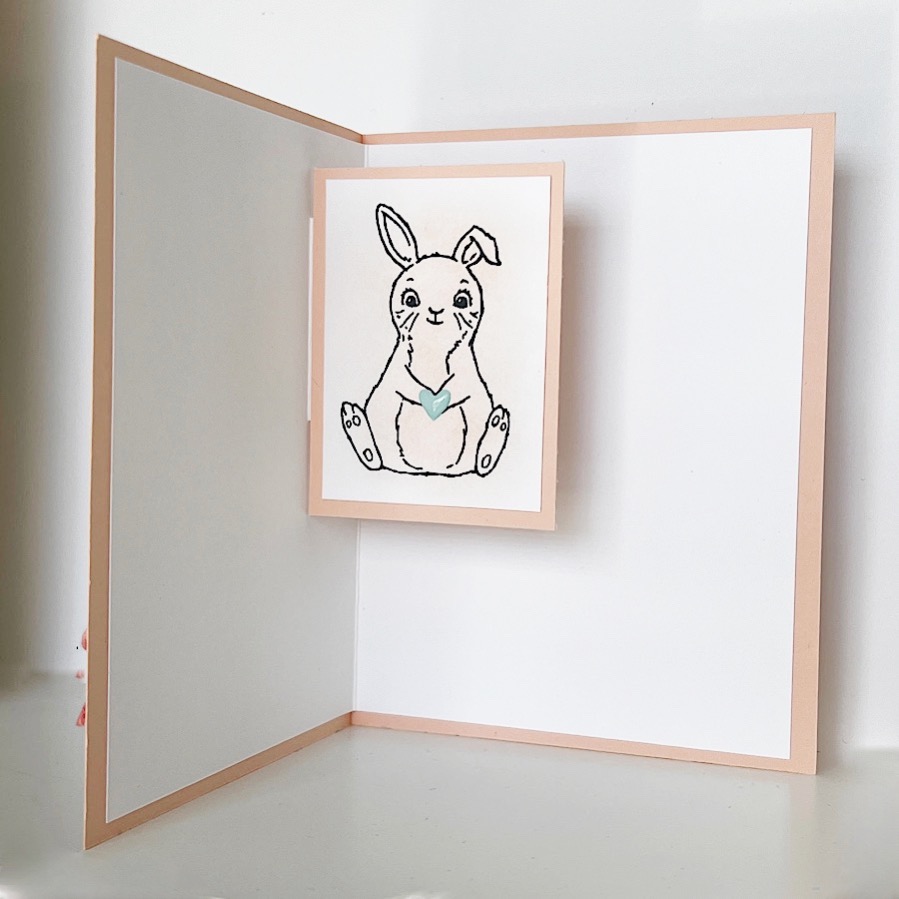
When you open the card, this sweet ink-blended bunny magically pops up, adding an extra touch of charm and creativity to the card.

The pop-up insert is easy to create using a paper trimmer or scissors. For a step-by-step demonstration, feel free to watch the replay of today’s mini card-making class below to see how I make this charming Easter card come to life!

Product List

Interested in receiving a free project sheet of today’s card? Sign up for my Tuesday Tutorials! It’s free and easy to do, just hit up this link.

Don’t miss a Monday Mini Papercrafting Class episode – subscribe to my page or channel. Grab your coffee and hang out with me live next Monday! ☕️🎉

Facebook here: https://www.facebook.com/theplaidpoodle 

YouTube here: https://www.youtube.com/theplaidpoodle 

Make an Easter Bunny Pocket Treat Holder

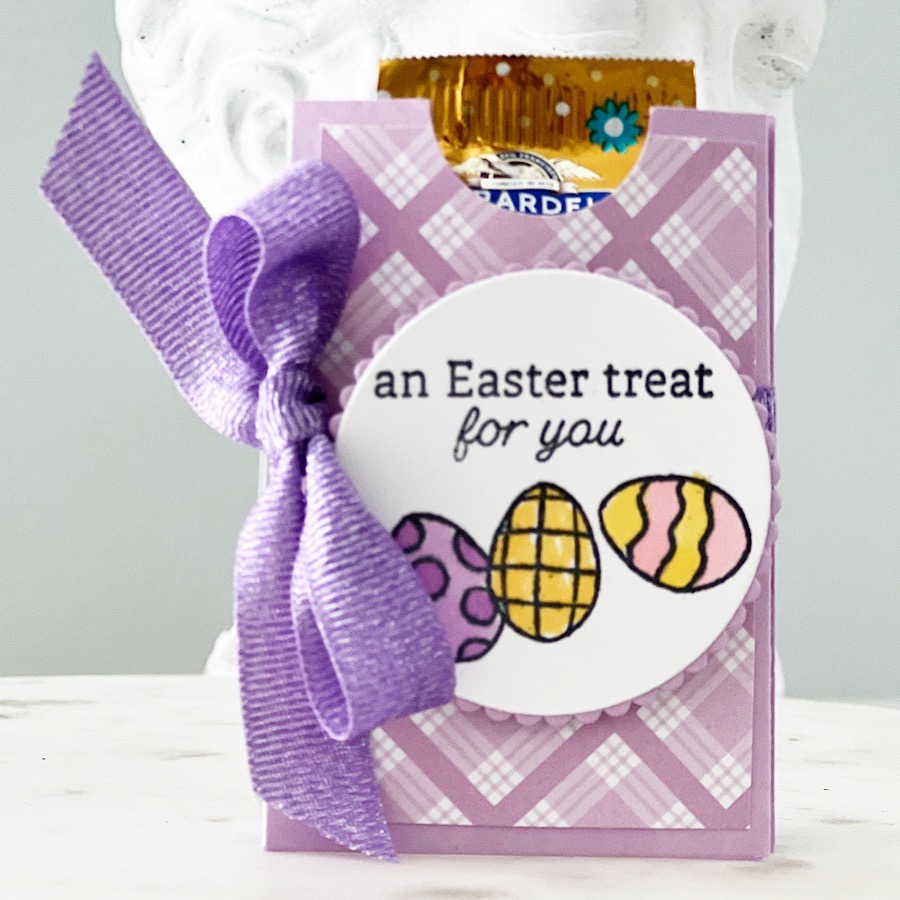
Today’s Make-it-Monday project is this Easter-themed treat holder. It’s a mini pocket that the cute, Ghirardelli Chocolate Bunny candies can be tucked inside. I was inspired to make these treat holders by a fellow Stampin’ Up! Demonstrator, In the Pink, Designs by Cathryn.

I have prepared a step-by-step project tutorial for this project that includes cutting and scoring diagrams. The .pdf is ready to download and print for your personal use. If you would like to see more of these project recipes in the future please let me know. Click on the button below to get the project directions.

Today was a true Monday and I had terrible technical difficulties before going live for today’s Livestream. Fortunately, my fix for everything technical – restart all devices – worked and I was able to go on and demonstrate how to make the Easter Bunny Pocket Treat Holders.

Product List
Easter Bunny Photopolymer Stamp Set (English)
Tuxedo Black Memento Ink Pad
Fresh Freesia 8 1/2" X 11" Cardstock
Dandy Designs 12" X 12" (30.5 X 30.5 Cm) Designer Series Paper
Highland Heather 1/2" (1.3 Cm) Grosgrain Ribbon
Fresh Freesia Stampin' Blends Combo Pack
Flirty Flamingo Stampin' Blends Combo Pack
Mango Melody Stampin' Blends Combo Pack
Layering Circles Dies
Paper Trimmer
Stampin' Cut & Emboss Machine
Stampin' Seal
Tear & Tape Adhesive
Stampin' Dimensionals

Make an Easter Bunny Treat Holder with Paper!

I’m back from a glorious birthday vacation at the beach and am now laser-focused on Easter! I’ve already purchased pretty paper tableware (because that’s how we roll), filled Easter baskets for the littles, and have planned the menu. I always like to have a sweet takeaway for my adult guests and today’s project will fit the bill.

I found the cutest Easter Bunny Treat Holder online and knew I had to give it a go. My design is patterned after the project by Birgit Seidler, a Stampin’ Up! Demonstrator from Germany. Birgit was gracious enough to include the Imperial measurements making it easy for me to copy. You can check out Birgit Seidler’s original design here: https://bit.ly/3rorBP9

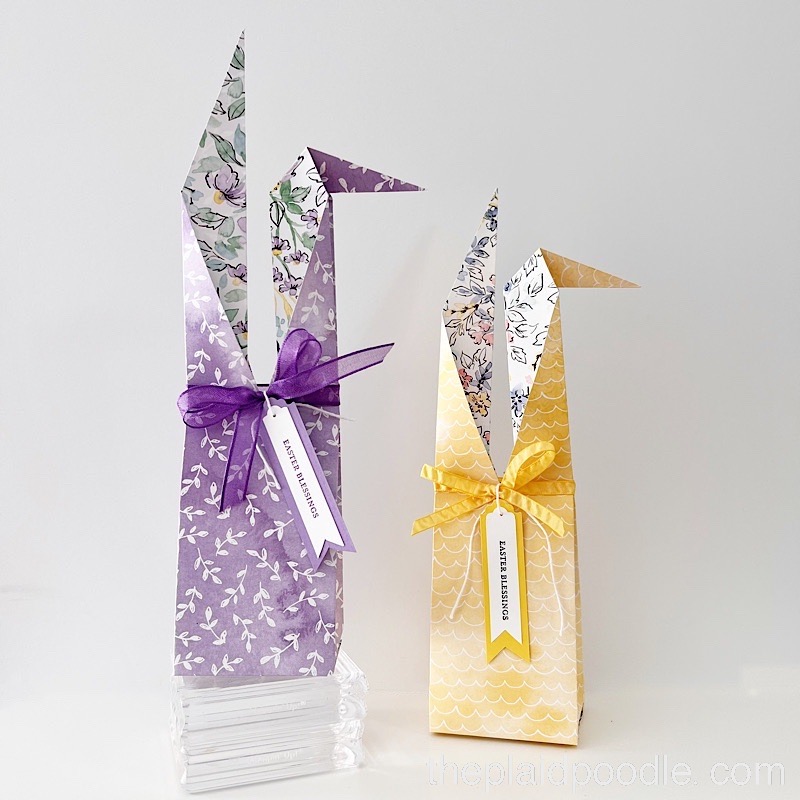
Here is my interpretation of the Easter Bunny Treat Holder. I used one of my favorite retiring Designer Series Papers; the Hand Penned paper from Stampin’ Up! The “Easter Blessings” sentiment on the tag is from a now-retired stamp set called Itty Bitty Greetings.

The paper folding and trimming required to get those fun bunny ears is not difficult. It would however be hard to explain here so I suggest you watch the video below for the instructions.

Cutting & Scoring Guide

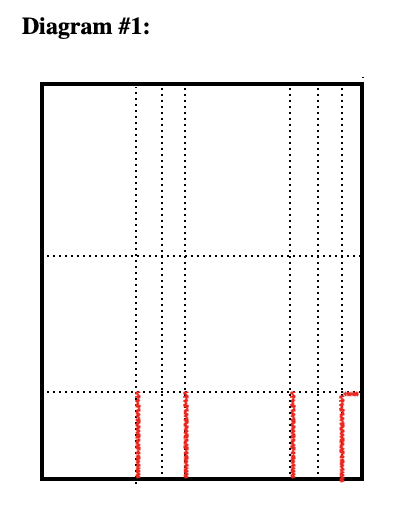
Score a 12″ x 9-1/2″ piece of Designer Series Paper at 2-1/2″, 3-1/2″, 4-1/2″, 7″, 8″ and 9″ on the 9-1/2″ each side. Score at 1-3/4″ and 6″ on the 12″ side.

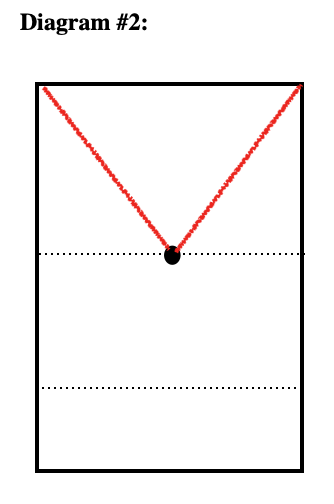
If it helps, here are two diagrams showing the scoring and cutting lines for this project. Diagram #1 is the entire 9″ x 12″ piece of Designer Series Paper. Diagram #2 shows where to cut the ear toppers. The black dotted lines are score lines. The red lines are cutting lines. Once you watch the video these diagrams will make fore sense.

Product List

Make a Springtime Party Favor

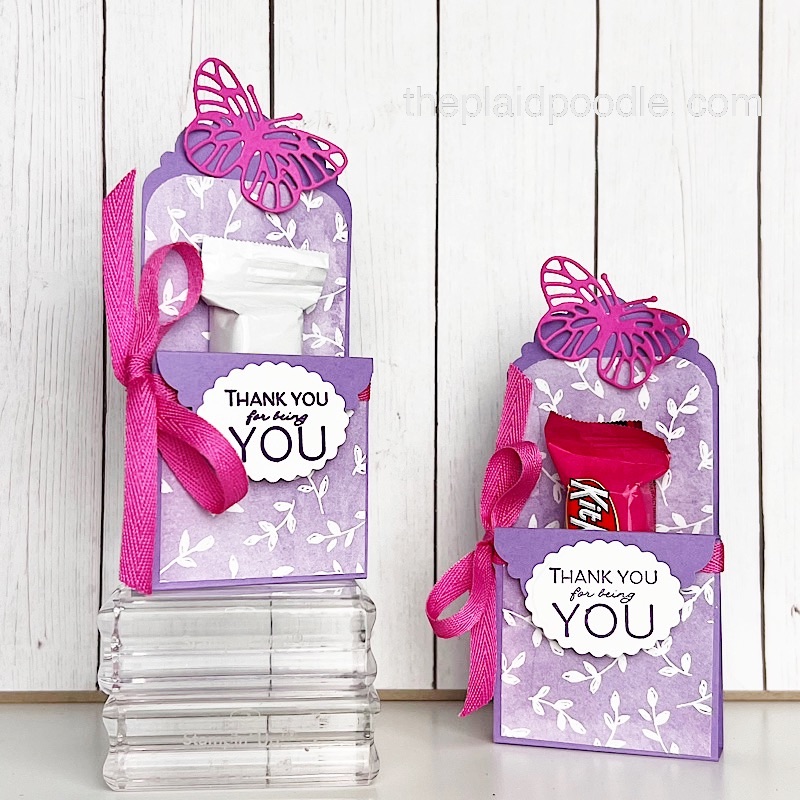
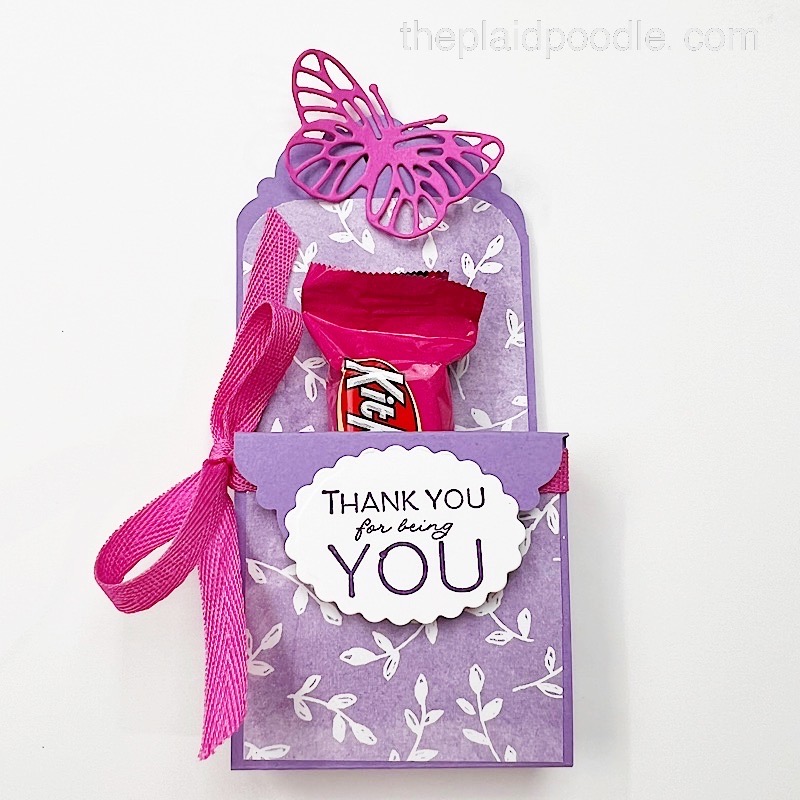
Here is a sweet little treat holder that I made up to share with my card class attendees this week. The party favor is so fun and easy to make and will work for any occasion or season depending on your choice of paper and embellishments.

The Hand Penned Designer Series Paper inspired my color choices for the party favor.. To make the base I used a 2″ x 7-3/4″ piece of Highland Heather card stock that I scored at 1″, 3″ and 3-1/2″. I then punched both ends of the card stock using the Delightful Tag Topper Punch.

The designer series paper on the front panel of the party favor measures 1-7/8″ x 1-7/8″. The designer series paper for the inside panel of the party favor measures 1-7/8″ x 3″. To give it a more finished look, I rounded the corners on one end of this strip using the Detailed Trio Punch.

I secured the candy inside the treat holder using Stampin’ Seal then wrapped a length of Magenta Madness 1/4″ Ribbon around the outside of the party favor and tied it in a bow. Finally, I embellished the party favor with a butterfly die-cut and a sentiment tag. Watch the video replay below to see just how easy this Springtime Party Favor is to make!

Product List

Easter Decorations with Target Dollar Spot Supplies

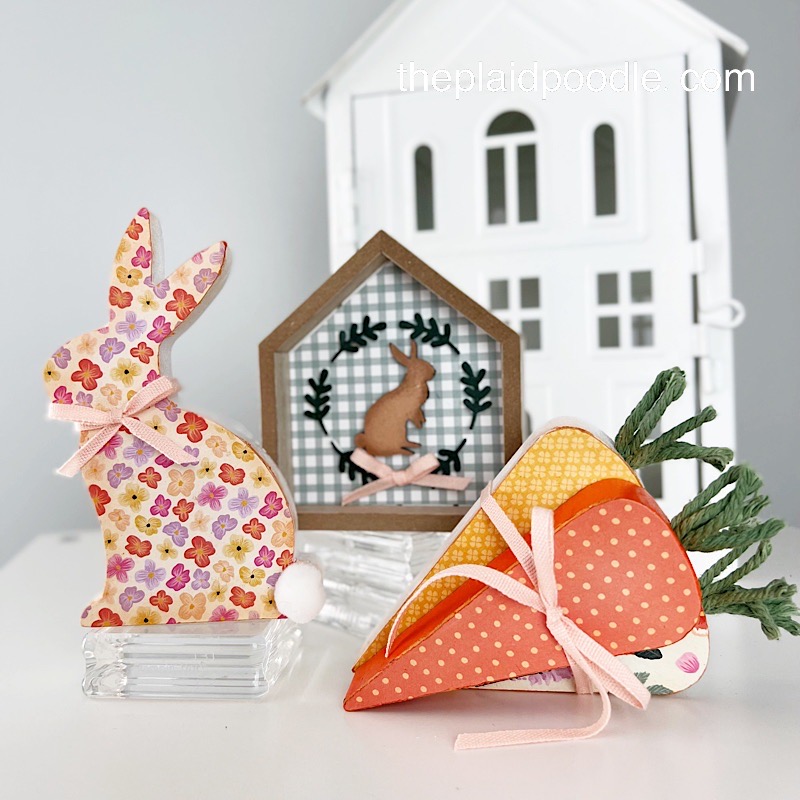
Are you a Target Dollar Spot fan? It’s my first stop upon entering the front doors of the store! I spied a $3 package of wooden Easter decorations this week and had to have them. Once they sat around in my kitchen for a few days I knew I could give these cuties a glow up! I failed to get a “before” photo but if you watch the video tutorial below you will see what I had to start with.

Here’s the after photo:

I’m so happy with the finished project and can’t wait to find a special place in my home to display them. The colors in the Pansy Petals Designer Series Paper from Stampin’ Up! were the right choice. I love how the prints all coordinate and the Petal Pink Cotton Ribbon unified the bunny, the little house, and the carrots in the event I display them all together.

Product List

Punch Art Cards using Hello Ladybug Bundle

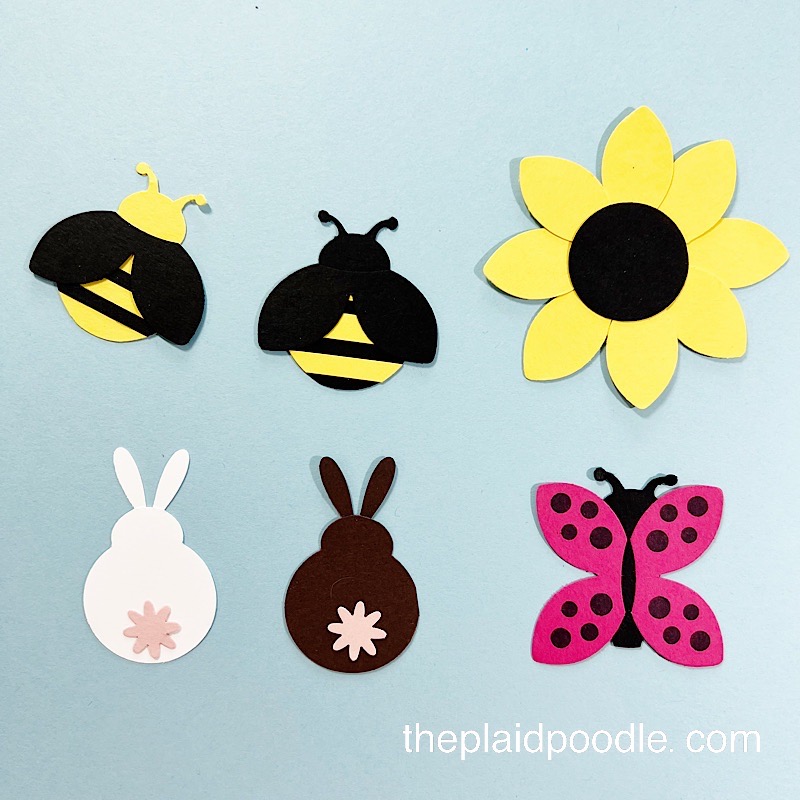
One of the things I consider before purchasing a paper crafting tool is how versatile it is. Other times I don’t consider anything but the cuteness factor. The Hello Ladybug Bundle from Stampin’ Up! was just so stinkin’ cute that I had to have it. Little did I know all the adorable critters that could be created from one punch.

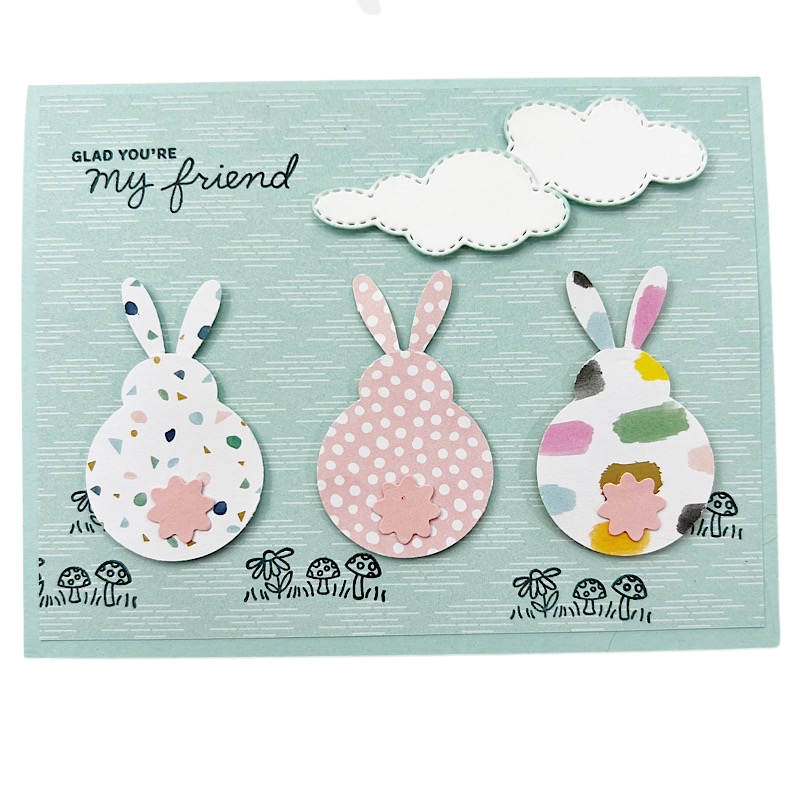
Who doesn’t love a bunny rabbit? It can be an actual, living rabbit, a fluffy stuffed animal, or a chocolate bunny; they’re all the best! The love of bunnies and the upcoming Easter holiday inspired me to create this card. I added die-cut clouds and images from the Friends of the Forest stamp set to this sweet trio of bunnies.

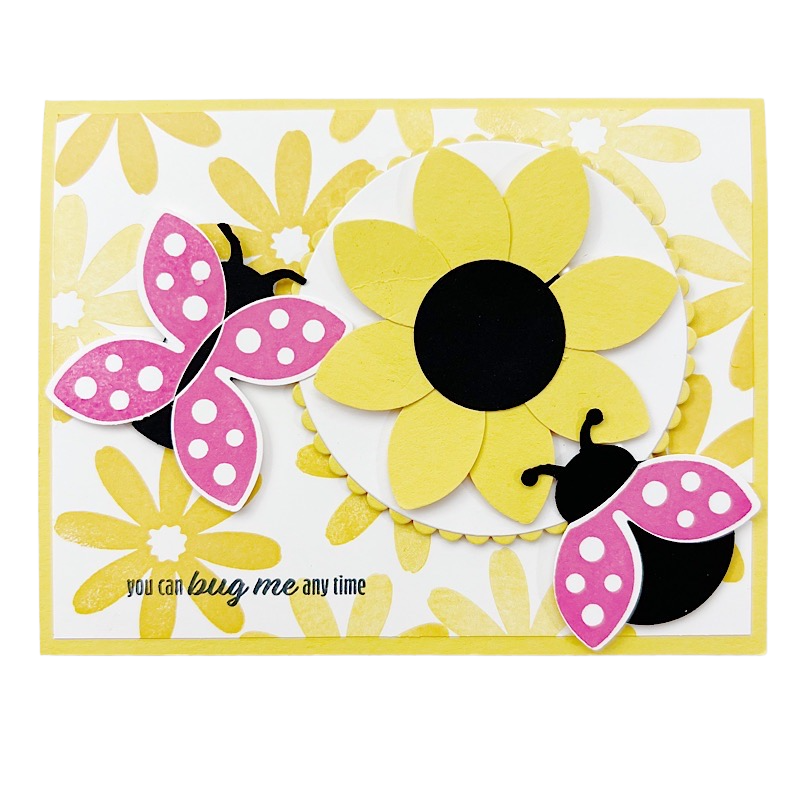
Here’s another whimsical card using the Hello Ladybug Bundle. I used the Punch to create the flower, the butterfly, and the ladybug.

Product List

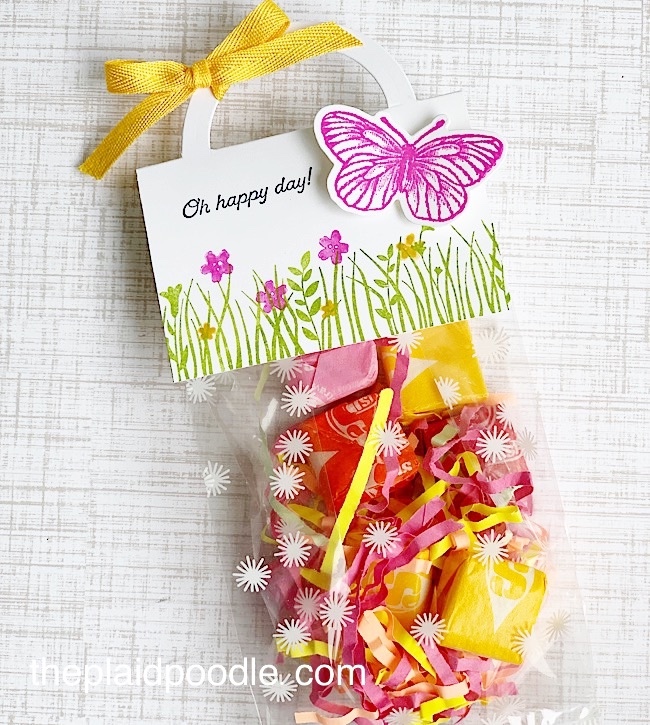
Butterfly Brilliance Springtime Treat Bag Toppers

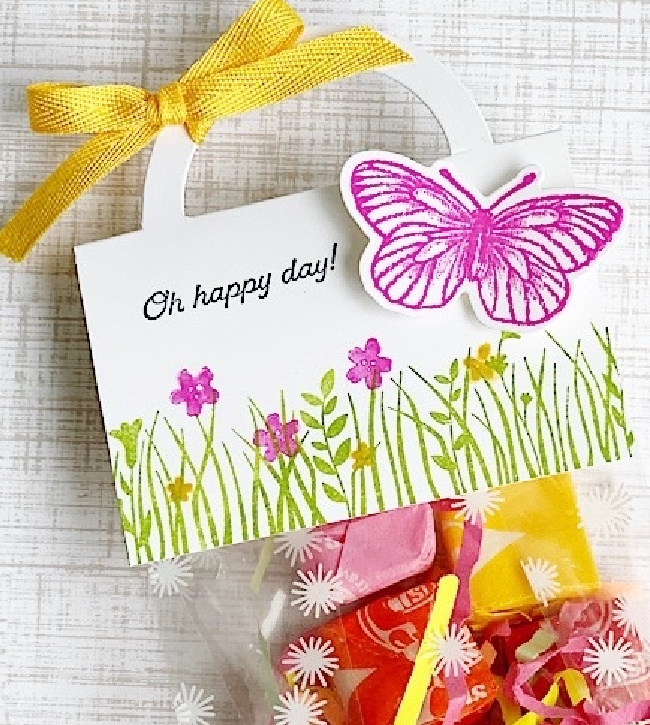
I try hard to demonstrate 3-dimensional paper crafting projects during my Make-it-Monday Facebook Live episodes and this week I showed viewers how to create these sweet Butterfly Brilliance Springtime Treat Bag Toppers:

To begin my project I knew I wanted to use bright colors. I ended up choosing Magenta Madness, Daffodil Delight and Granny Apple Green ink colors from Stampin’ Up! for my stamped images.

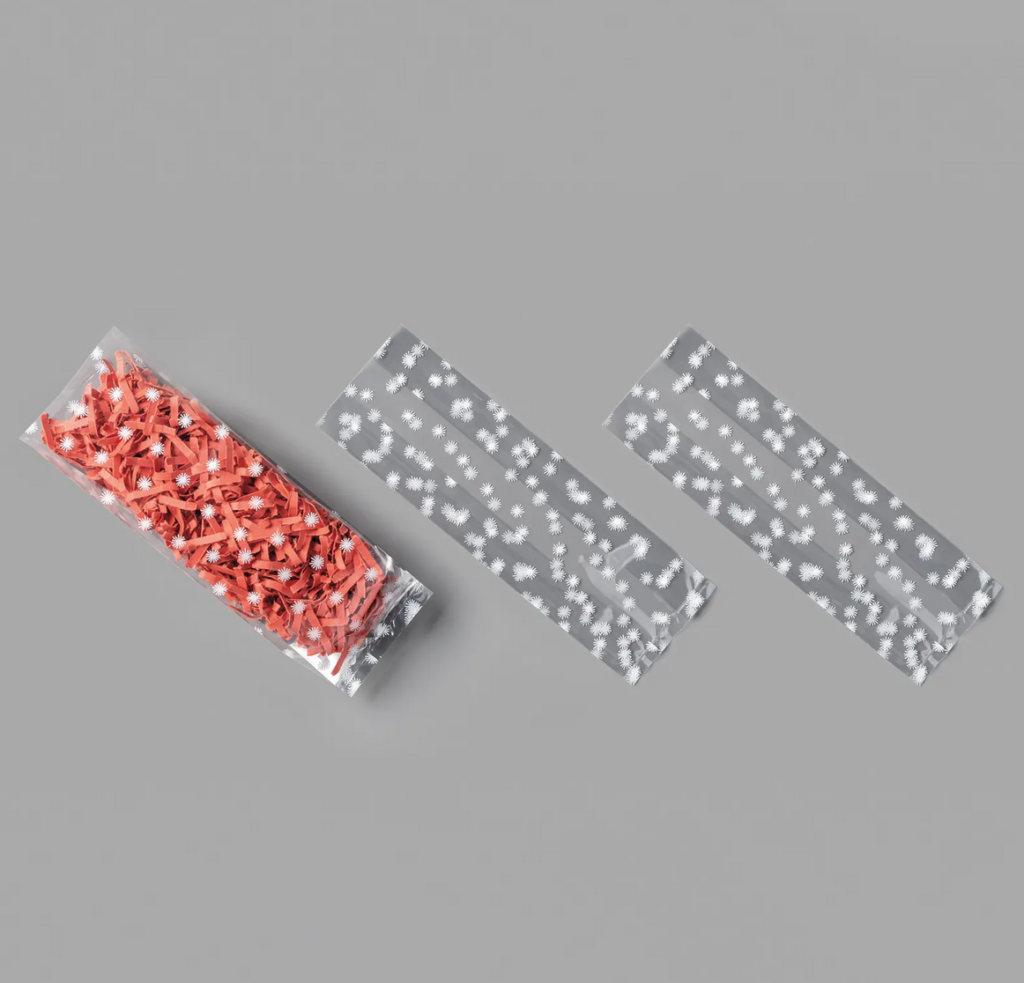
The bags I used for the toppers are 3″ x 6″ Printed Gusseted Cellophane Bags. They are food safe and are the perfect size to slip small treats into for party favors.

The images on the treat bag topper are from the Field of Flowers and Butterfly Brilliance stamp sets and I used “Oh happy day!” from the Many Messages stamp set for the sentiment. Each of these stamp sets have coordinating dies or a punch – see the Supply List below for those options.

I used a Magenta Madness and Daffodil Delight Stampin’ Write Marker to stamp the flowers onto the tag and I tied a little bow using 1/4″ Bumblebee Ribbon onto the handle.

Video Tutorial

I created my topper to fit a 3″ wide bag but you can easily adjust the size of your card stock to fit any size bag. Watch this video for all the nitty-gritty details on how to make your own Treat Bag Topper.

Supply List

Product List

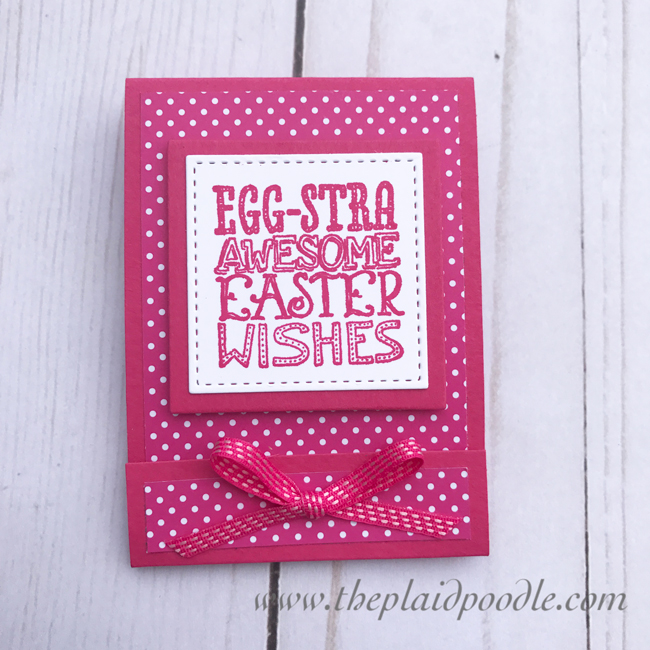
My Hero Matchbook Treat Holder

Today’s project is a quick and easy treat holder perfect for Easter giving. A snap to reproduce, you can make four of these cute little favors out of one 8-1/2″ x 11″ piece of card stock.

 Project Recipe:

  • Score 7-1/2″ x 2-1/2″ piece of Melon Mambo card stock on the 7-1/2″ side at 3/4″, 4-1/4″ and 4-1/2″ using the Simply Scored Tool.  Fold on score lines and burnish with the Bone Folder.
  • Adhere 2-3/4″ x 2-1/4″ and 2-1/4″ x 1/2″ pieces of Designer Series Paper onto matchbook cover using adhesive.
  • Cut square from 2-1/2″ x 2-1/2″ piece of Melon Mambo card stock using die from the Layering Squares Framelits using the Big Shot.
  • Stamp sentiment onto 2″ x 2″ piece of Whisper White card stock with Melon Mambo ink.  Cut out with die from the Stitched Shapes Framelits using the Big Shot.  Adhere to Melon Mambo square.  Adhere completed tag to matchbook using Stampin’ Dimensionals.
  • Staple candy inside matchbook.  Tie a bow with Melon Mambo 1/8″ stitched ribbon then adhere over staple using a Glue Dot.

Product List

Save

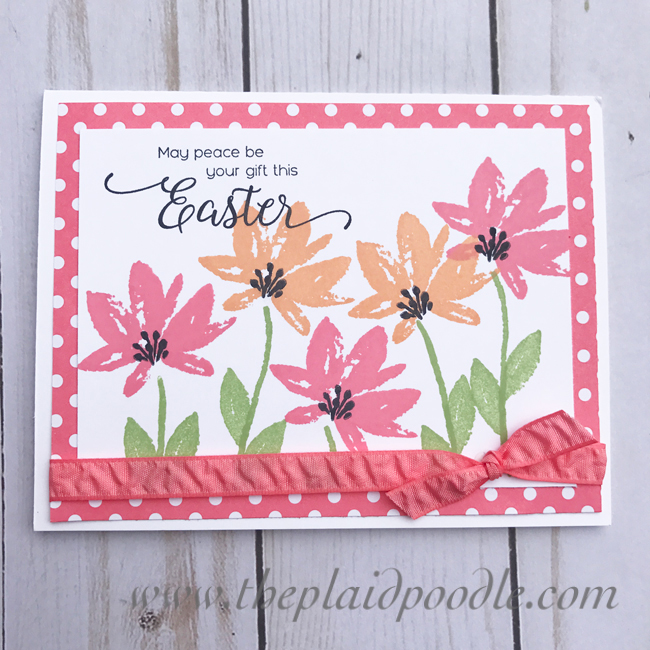
Stampin’ Up Avant Garden Easter Card

During the Stampin’ Up! Sale-A-Bration period, you get a FREE item of your choice for every $50 you spend (before shipping and tax).  It doesn’t get better than FREE, so with just a little over two weeks left for Sale-A-Bration I’ve been playing with products I have earned for FREE during this awesome promotion.

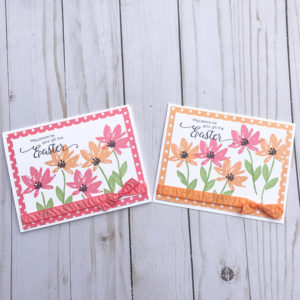
Today’s Easter card was stamped with the Avant Garden stamp set using Peekaboo Peach and Flirty Flamingo inks and coordinating Designer Series Paper.  The sweet ruched ribbon in coordinating Flirty Flamingo ties everything together.  I have a quick tip in the project video that shows how to get that perfect little flat knot in the ribbon

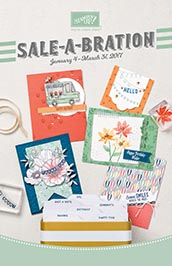
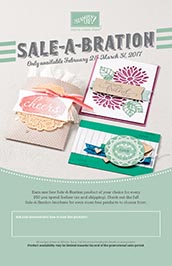
During Sale-A-Bration, you have not just one, but three ways to earn FREE products!  Shop to earn Sale-A-Bration items, join to get additional free product in your Starter Kit, or host to get more products with Stampin’ Rewards!  Read all about it and view the fabulous FREE products you can earn during Sale-A-Bration by clicking on the brochure images below.

Avant Garden Easter Card Recipe:


Dimensions:

Card Base: 8-1/2” x 5-1/2” piece of Thick Whisper White Card stock scored at 4-1/4”, 2016-2018 In-Color Designer Series Paper Stack: 4” x 5-1/4”, Whisper White Cardstock: 4-3/4” x 3-1/4”
Product List

Glue Dots

$5.25