
-
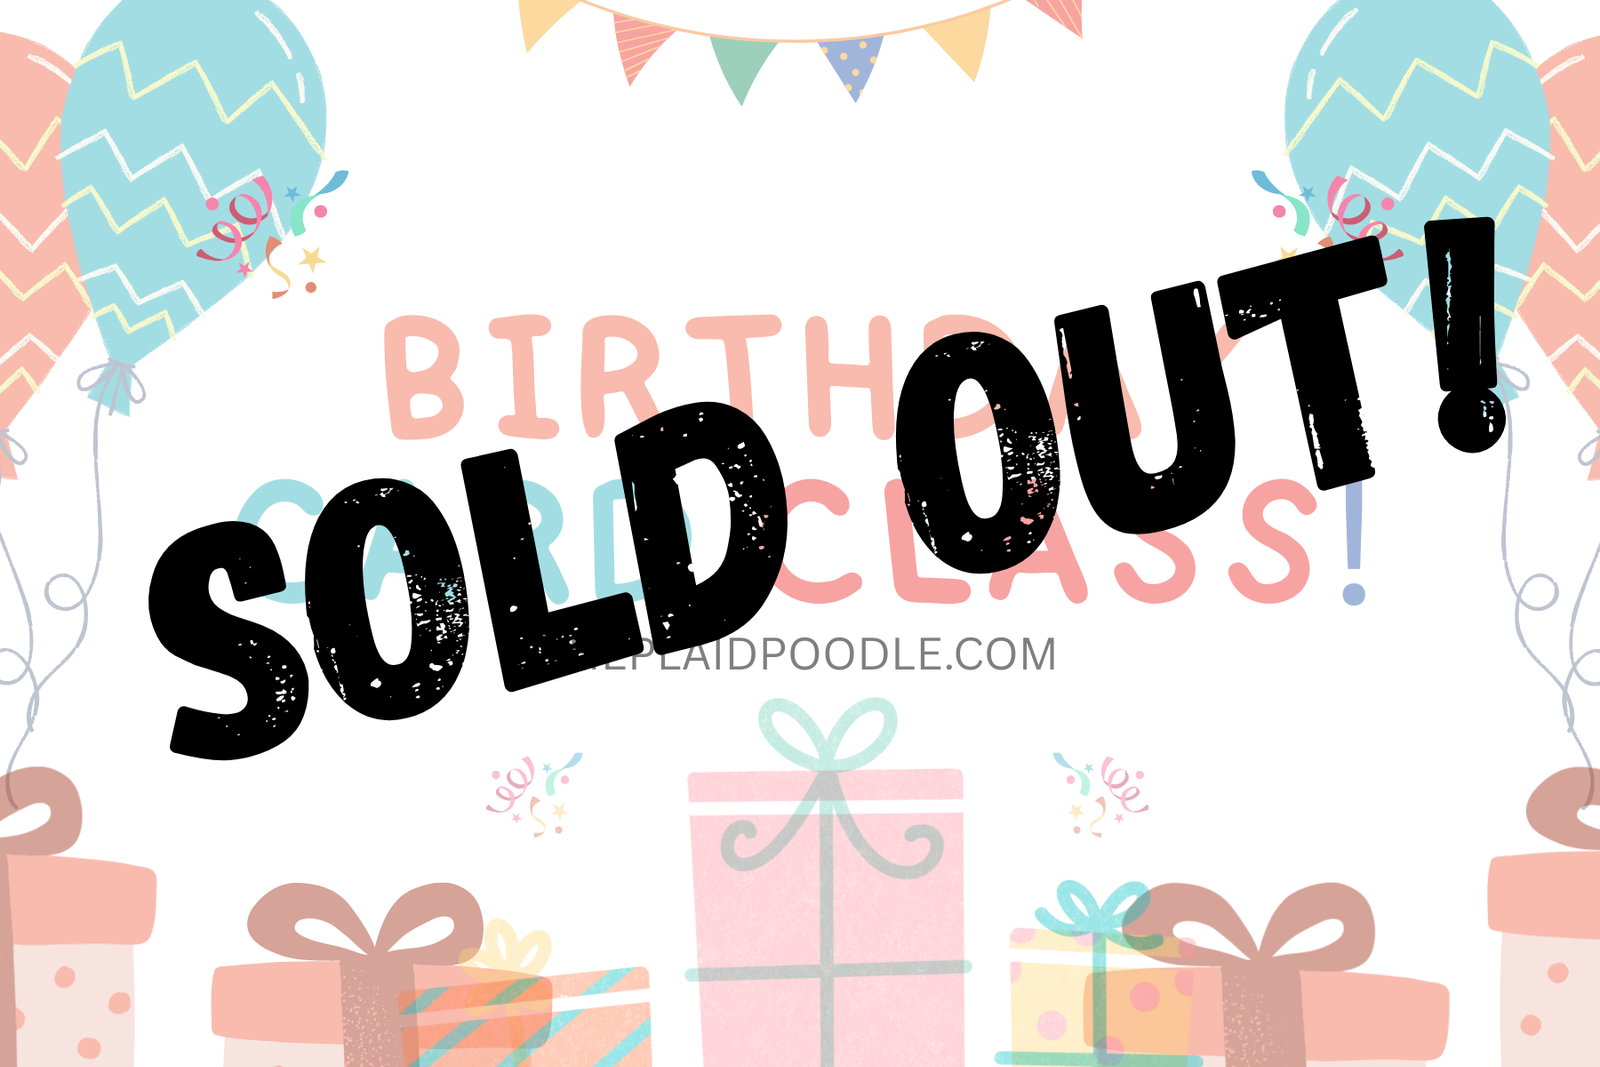
Registration for the February Birthday Card Class is officially closed and all spots are filled (thank you!!), but don’t worry… more crafty fun is on the way. Stay tuned for details about my next in-person class—I can’t wait to create…
-

Make a Simply Beautiful Fun-Fold Card
Say hello to an easy Z-fold card with big wow-factor! ✨ I used the new Simply Beautiful bundle paired with the Lovely & Beautiful Specialty Designer Series Paper, and let me just say—this combo does all the heavy lifting. The…
-
In-Person Card Classes are Back!
I’m so excited to share that my in-person card making classes are back! 🎉There’s nothing I love more than gathering around a table, creating together, and enjoying a little crafty time with friends. To kick things off, I’m hosting a…
-
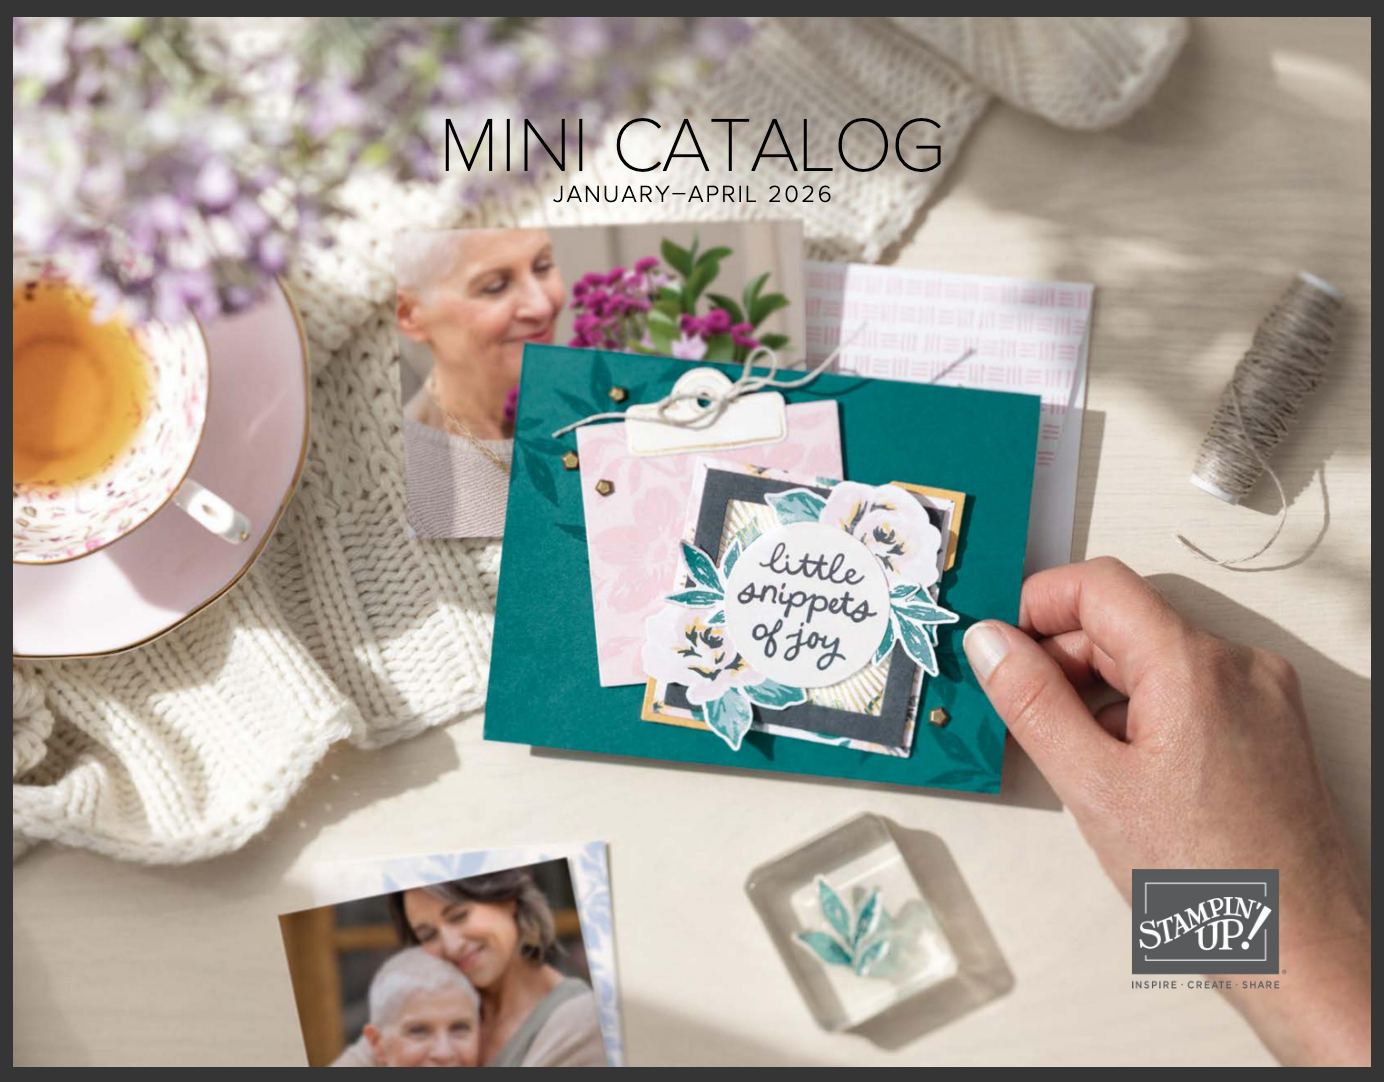
New Year, New Craft: Spring Catalog, Online Exclusives, Kits, & Bonus Days!
January is here, and you know what that means… fresh inspiration and so many fun new products to play with! ✨ We’ve got brand-new Online Exclusives, gorgeous new suites, new bundles plus new kits! 👉 Click here to shop all…
-
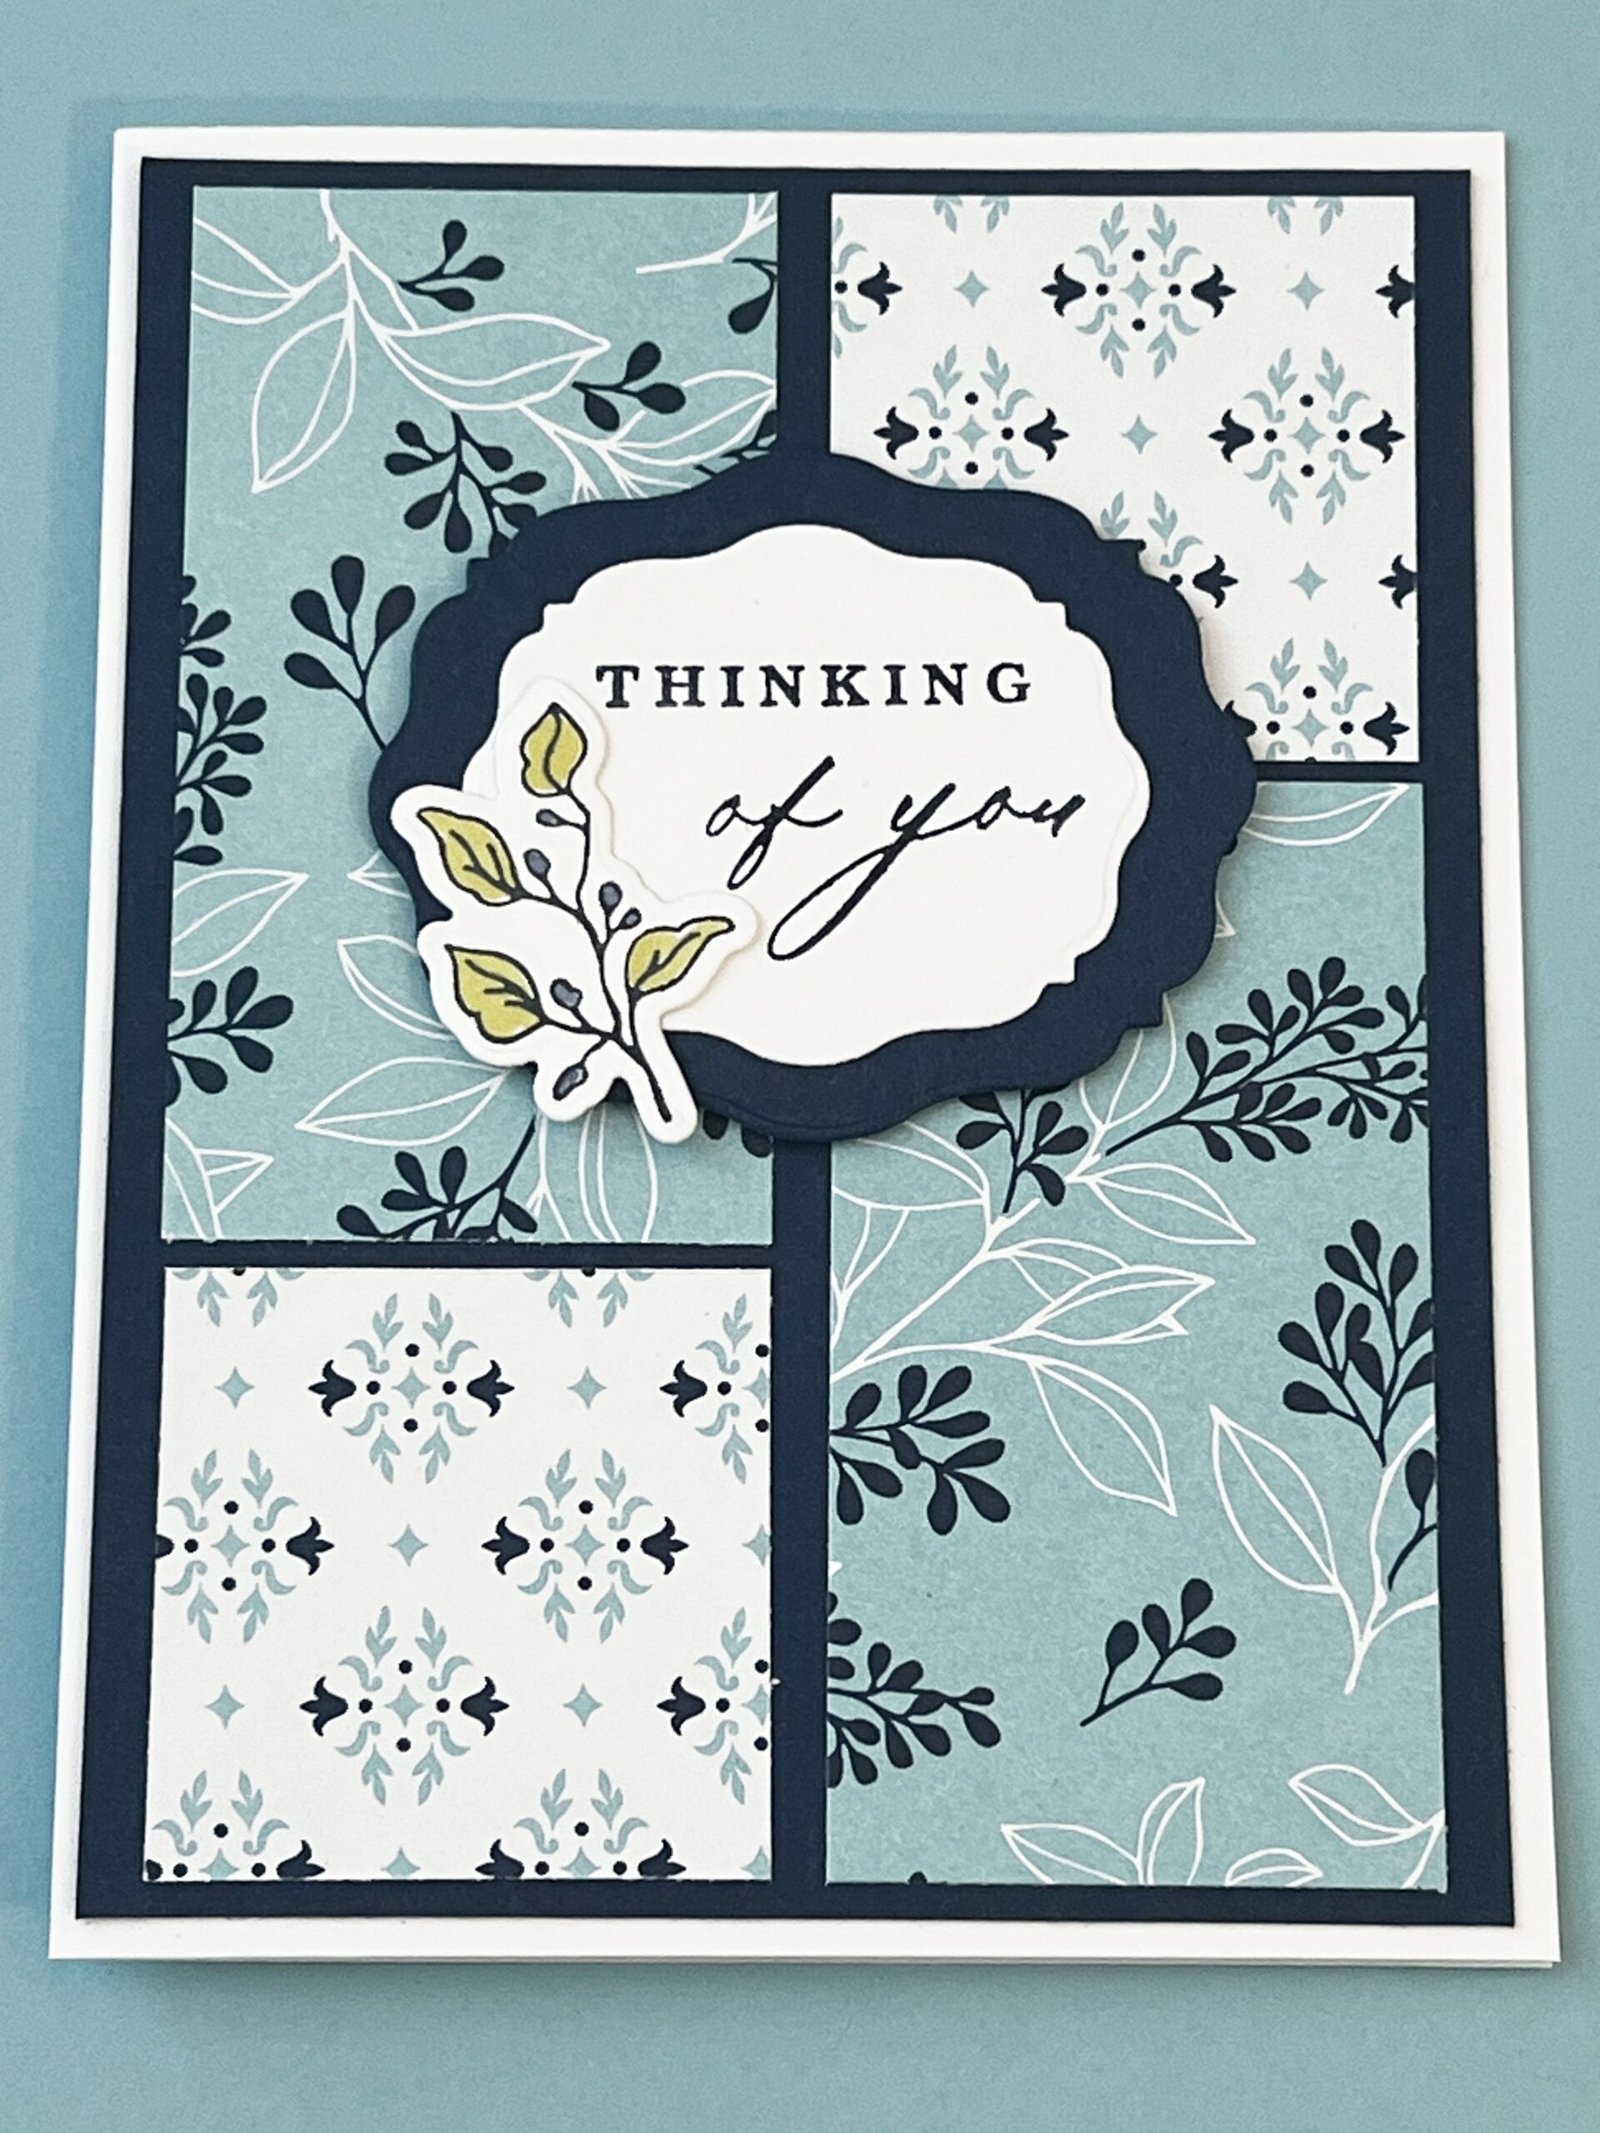
A Go-To Card Sketch You’ll Use Again and Again
If you’re ever stuck at your craft table wondering what should I make today?—this card design is your answer. It’s one of those dependable, go-to sketches that works for any occasion and can be easily customized with the supplies you…