

-
Get ready to celebrate National Scrapbooking Day tomorrow (May 2) with a one-day-only treat—20% off select memory keeping products! If you’re joining the Virtual Album Retreat and want to keep the creative momentum going, or you missed a few must-haves (or ran out…
-
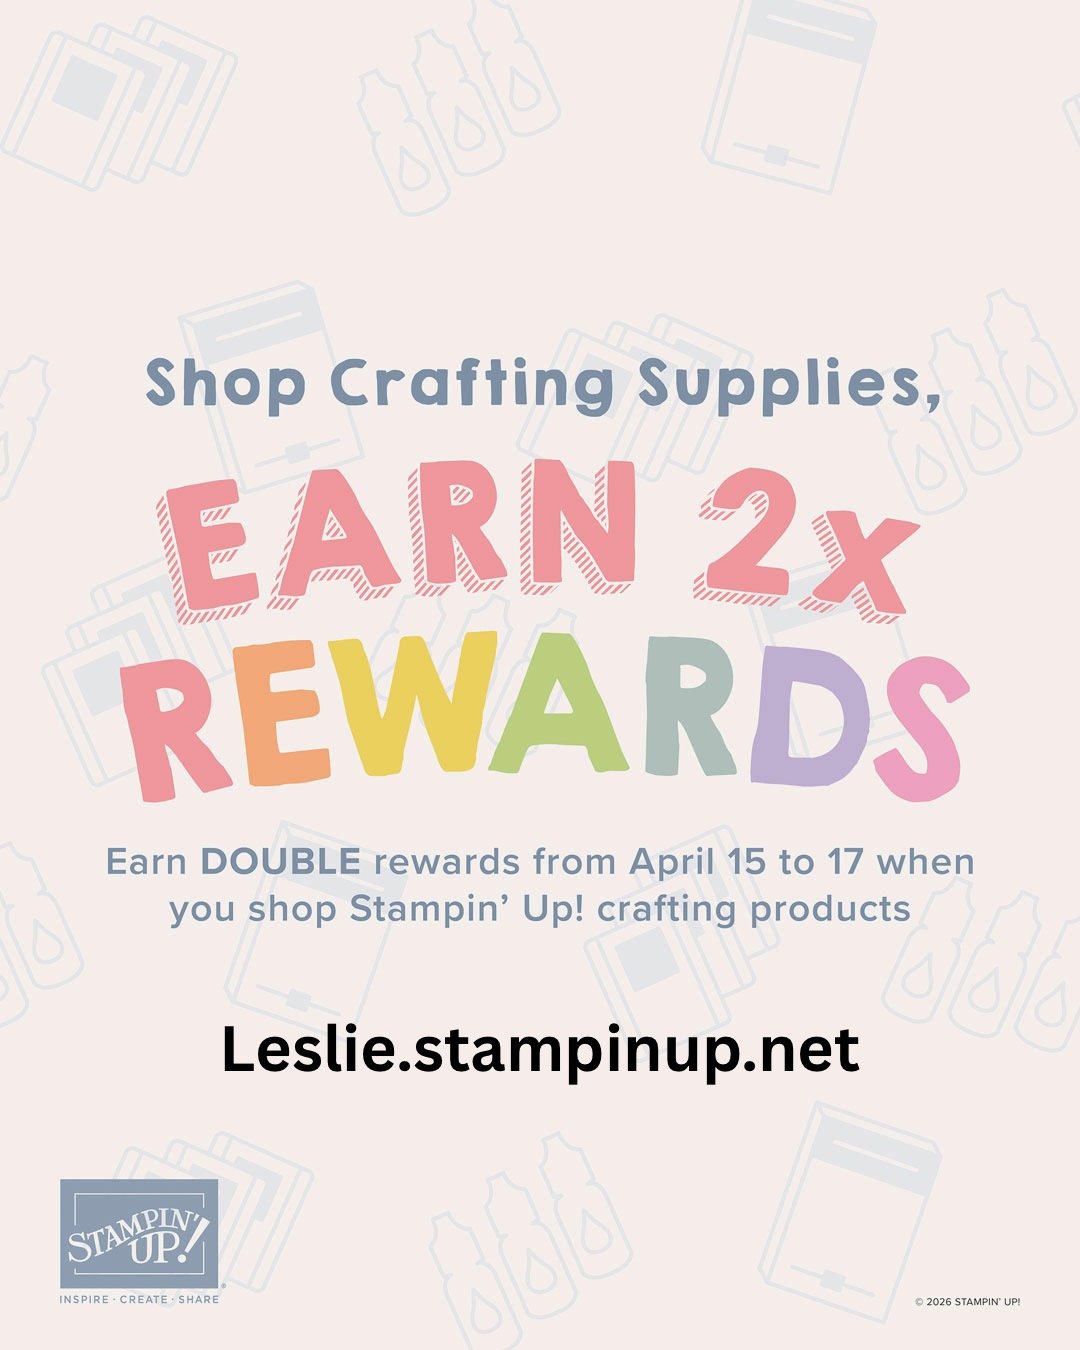
2x Rewards = Twice the Fun! ✨
Have you heard the news? This is one you’re definitely going to want to take advantage of! For three days only (April 15–17), Stampin’ Up!® is offering DOUBLE Stampin’ Rewards on your orders. That means more rewards, more freebies, and…
-
April News!
Happy Monday! I hope you had a wonderful Easter weekend. We attended church with some of our favorite people—our son and his family—followed by a traditional holiday meal. The weather even cooperated for a fun Easter egg hunt. I still…
-
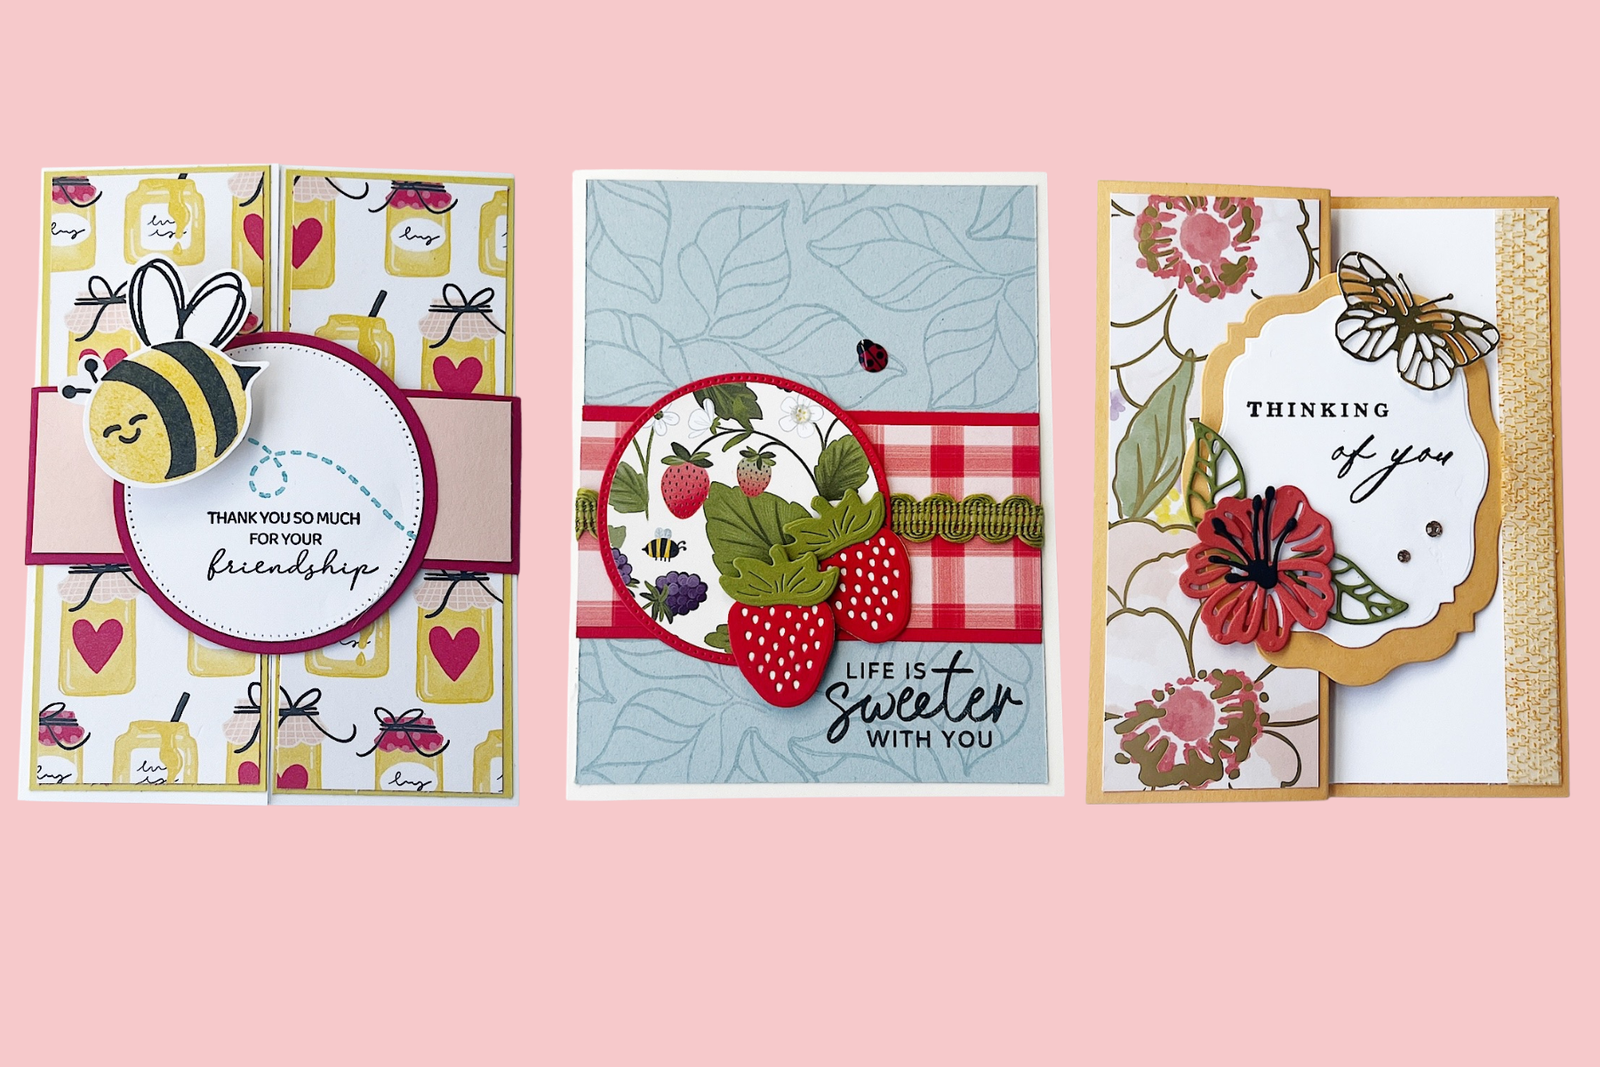
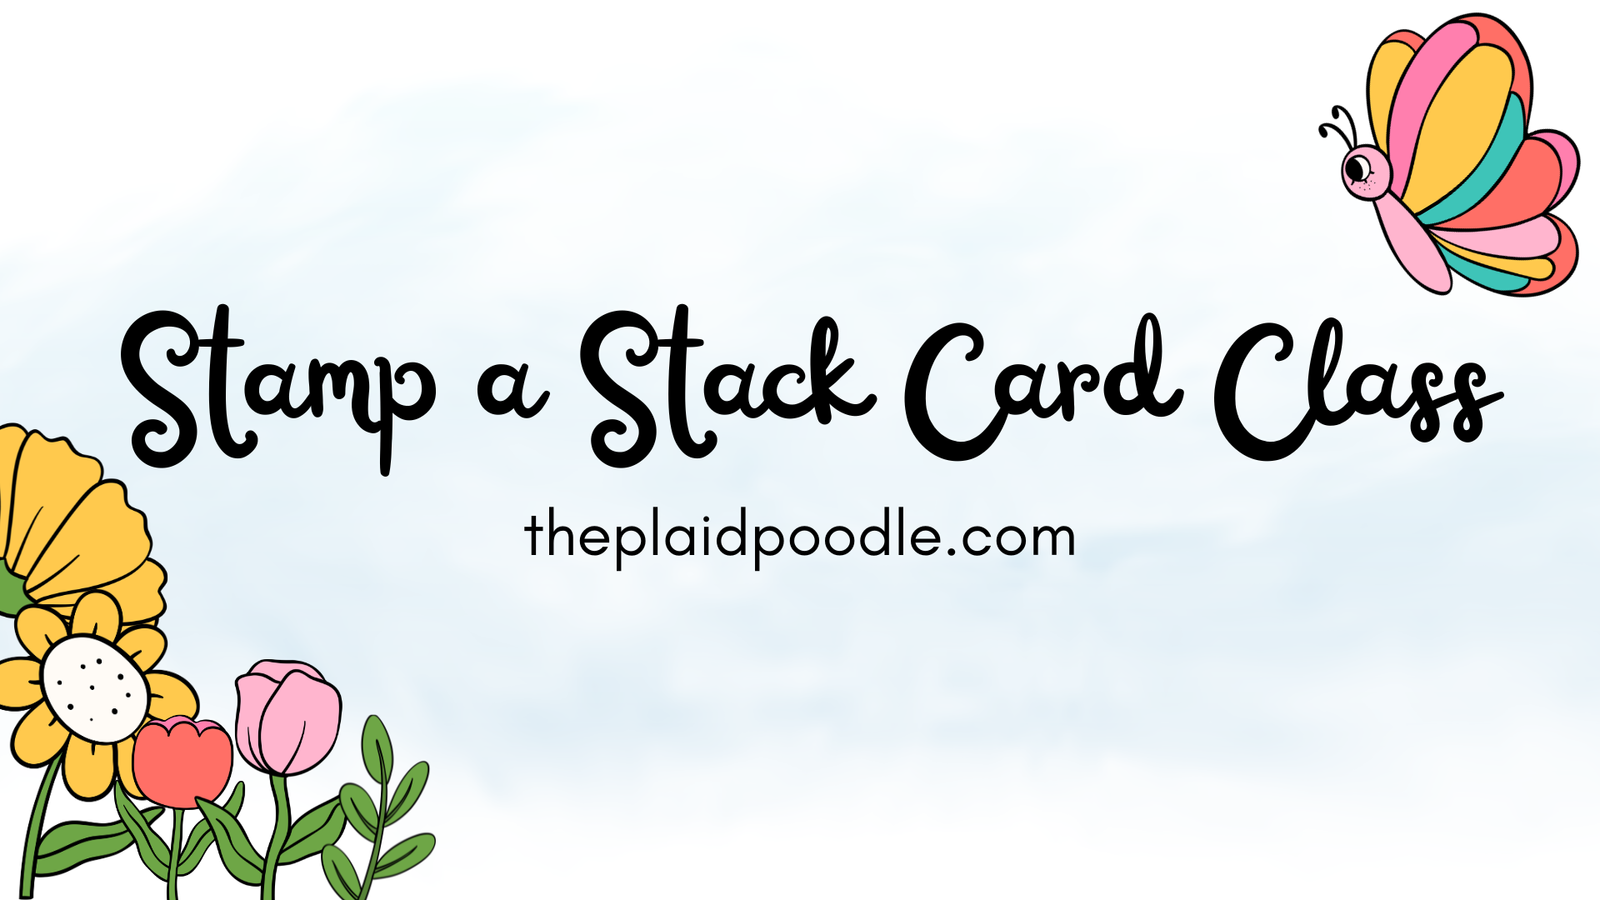
Sneak Peek – Stamp-a-Stack Card Class!
Hi there! I’m so excited to give you a sneak peek at the card designs you’ll be creating at my April 9th Stamp-a-Stack Card-Making Class—and they are so fun! At this class, you’ll make two of each of three beautiful…
-
Stamp-a-Stack Card Class – Let’s Make 8 Cards!
My next in-person card-making class is coming up, and this one is extra fun—it’s a Stamp-a-Stack! 🎉 In this class, you’ll create 6 beautiful handmade cards—two each of three different designs—so you’ll leave with a ready-to-go stash for all your…