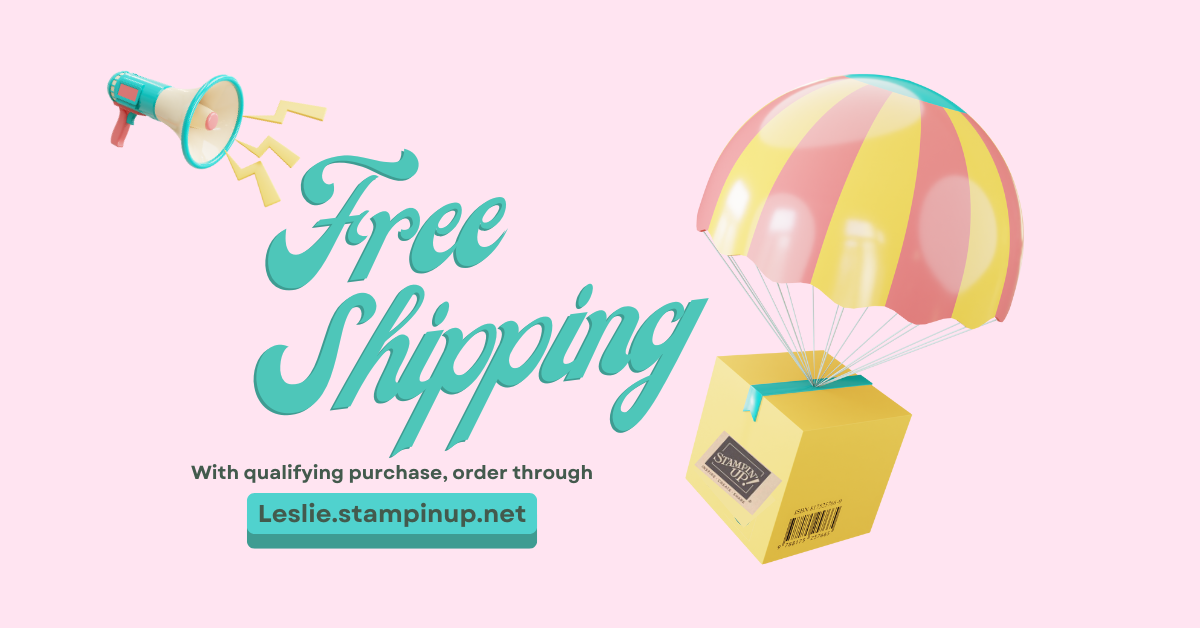
Latest Posts

Learn an Easy Background for Your Handmade Cards

I recently learned a new way of cutting Designer Series Paper to create beautiful backgrounds for my handmade cards. All you need is a 4-3/4″ x 3-1/2″ piece of patterned paper and a paper trimmer. Once the created background is adhered to your card front you can embellish it however your wish.

Here is the first card I created using the technique.

I used both sides of the Designer Series Paper for the background of this Christmas card. Here is another card I made using the technique that only used one side of the patterned paper.

You can see how easy it is to adapt this card background for any occasion and use any products in your stash to embellish the front.

Cutting and Scoring Guide

  • Create an A2-sized card base.
  • First Layer = 5″ x 3-3/4″ piece cardstock.
  • Designer Series Paper = 4-3/4″ x 3-1/2″
Product List
Darling Details Bundle
Bubble Bath Classic Stampin' Pad
Fresh Freesia Classic Stampin' Pad
Misty Moonlight Classic Stampin' Pad
Night Of Navy Classic Stampin' Pad
Garden Green Classic Stampin' Pad
Delightfully Eclectic 12" X 12" (30.5 X 30.5 Cm) Designer Series Paper
Misty Moonlight 8-1/2" X 11" Cardstock
Fresh Freesia 8 1/2" X 11" Cardstock
Basic White 8 1/2" X 11" Cardstock
Baker's Twine Essentials Pack
Bubble Bath Stampin’ Blends Combo Pack
Paper Trimmer
Stampin' Cut & Emboss Machine
Stampin' Seal
Multipurpose Liquid Glue
Stampin' Dimensionals

Stampin’ Up! Annual 24-Hour Stamp Sale!

Do you find yourself staring at multiple stamp sets from the 2023–2024 Annual Catalog and can’t decide which ones to get? You won’t have to stare for much longer because today only, you can get those stamp sets you’ve been wanting at a 15% discount! But you will have to act fast because this lightning deal goes away at 11:59 MT tonight!

Make a So Refreshing Double Z-Fold Card

So I did a thing. On Friday I was the guest crafter on Craft Roulette. The project we made was a Z-fold card. Here is the card I made during the show:

You may ask, “Why did you add the knitting sheep to your card?”. It doesn’t seem to make much sense, does it? Once you watch the episode you will understand. You can watch it by clicking on this link: https://www.youtube.com/live/n2l924Qdy08?feature=share

Making that z-fold card lit a fire under me to create a double z-fold card so that is what I did during today’s Make-it-Monday livestream. I used the So Refreshing Bundle from Stampin’ Up! to create the card.

Cutting & Scoring Guide

  • Card Base = 11″ x 4-1/4″ piece of cardstock scored at 2-3/4″ and 5-1/2″.
  • Double Z-Fold = 11″ x 1-1/2″ piece of cardstock scored at 2-3/4″ and 5-1/2″
  • Designer Series Paper = 4″ x 5-1/4″, two pieces 2-1/2″ x 4″ each, 1-1/4″ x 10-3/4″
  • Circle Die-Cut = 3-1/2″ x 3-1/2″
  • Sentiment Tag = 5/8″ x 2-1/2″
Product List

Creative Ideas to Transform Your Welcome Inn Paper Pumpkin Kit

Here’s an alternative project I made using the June 2023 Welcome Inn Paper Pumpkin Kit. It’s a fun-fold card using elements from the kit. I loved the printed card bases in this kit! To find out more about Paper Pumpkin and how to obtain a kit click here.

I used parameters from last week’s #craftroulettechallenge to create the card. Are you familiar with Craft Roulette? It’s a weekly live show featuring improvised crafting, special guests, community contributions, tons of prizes, and much, much more! The Craft Roulette wheel decides what the project will be and what elements to use. The parameters for this card were:

  • Project = 2 Folds
  • Colors = Planter
  • Element = Happy Face
  • Random = An Old Product

I think I nailed it with my 2-fold fun-fold card, Calypso Coral color, old brad and baker’s twine and the happy face I stamped with the sentiment inside the card.

I’ll be a guest crafter on Craft Roulette this Friday, July 14, and would love for you to join us. Cheer me on and create your own project! Find out all about it by clicking on this link then plan to watch it Friday at 6:30 pm CT: https://craftroulette.live/

Video Tutorial

Bonus Days, Clearance Rack Refresh, New Online Exclusives & Paper Pumpkin Sale!

Bonus Days!

During the month of July earn a $5 coupon with every $50 spent during Bonus Days! There is no limit to the amount of coupons you can earn and they can be stacked together when redeemed! Coupon codes can be redeemed during the month of August. Your coupon codes will be emailed to you once your order is submitted. Once received don’t forget to save the codes, write them down, or take a photo of them so you don’t miss out on the savings! Shop here now to start earning your Bonus Days coupons: https://bit.ly/3Glqzuq

Online Exclusives

Several new product offerings are available online and they are so fun! Online Exclusives are “while supplies last” and they are the cutest – some will sell out quickly! If you like something, it’s better to buy it now rather than later. Click on this link to see the complete Online Exclusives product listing: bit.ly/3XC0Khl

Clearance Rack Refresh

Get up to 60% off products! Click on this link to shop before they’re gone: bit.ly/46CMglb

Paper Pumpkin Kit 48-Hour Sale

For two days only, July 6-7, all current Paper Pumpkin subscribers can save up to 50% on Paper Pumpkin past kits, refills, and add-ons. Click on this link to become a subscriber to save: https://www.paperpumpkin.com/en-us/sign-up/?demoid=2127415

Make an Irresistible Blooms 3-D Flowering Watering Can

I made these sweet Irresistible Blooms 3-Dimensional Watering Can party favors for the attendees of my June Card Parties. I used the Irresistible Blooms Bundle and coordinating Hello, Irresistible Designer Series Paper to make the cans. The dies from the Irresistible Blooms Dies cut images from the paper so the only stamping I did on this project was the “hello” sentiment tag. I love it when Stampin’ Up! does that!

Cutting & Scoring Guide

  • Watering Can Base = 8-1/2″ x 4-1/2″ piece of cardstock scored at 1/2″, 1-1/2″, 4-1/2″ and 5-1/2″ on the 8-1/2″ side. Scored at 1″ on the 4-1/2″ side.
  • Watering Can Spout = two 2-1/2″ x 3/4″ pieces of cardstock.
  • Watering Can Side Handle = two 3″ x 2″ pieces of cardstock.
  • Inside Platform = 4″ x 1/2″ scored at 1/2″ on both ends.
  • Watering Can Top Handle = 8″ x 1/2″

Video Tutorial

Product List
Layering Ovals Dies
Layering Ovals Dies

Free Card Kit with Purchase!

During the month of June, when you place an order of $40 or more with me using Host Code M9CNUXG7, you will receive a free card kit! The card kit will include everything you need to complete three, beautiful multi-layer cards except adhesive, ink, and stamped sentiments.

Your free card kit will include:

  • An email with full-color card instructions
  • Three card bases, one embossed
  • Precut cardstock layers
  • Precut Countryside Inn Designer Series Paper
  • Cheerful Daisies die-cuts
  • Ribbon embellishment
  • Blank sentiment tags

To get your free card kit, place your order of $40 or more (before tax and shipping) by clicking on the button below:

Simple Steps to Make a Cheerful Daisies Polaroid-Style Greeting Card!

A Polaroid-style card is a great option when I want to show off a beautiful designer series paper. The Polaroid frame is easy to cut when you use a stitched square die from the Stylish Shapes Dies from Stampin’ Up! The “frame” I cut for today’s project measures 3-1/2″ x 3-1/4″.

Product List

Everything You Need to Know About Making a DIY Matchbook Card

I’m using the parameters given in Episode 162 of Craft Roulette to create my project today. What is Craft Roulette? It is a live papercraft challenge show where the goal is to create a project that has been randomly selected by the spin of a wheel. You can catch live episodes every Friday night at 6:30 CT here: https://www.youtube.com/@CraftRoulette

Can you guess what the parameters from the show were by looking at my finished card?

If you guessed matchbook card, flowering field colors, a bird element, and a random wood grain you would be correct!

Cutting & Scoring Guide

  • Card Base = 11″ x 4-1/4″ Basic White cardstock scored at 4-3/4″ and 10″ on the 11″ side
  • Basic Black Cardstock = 4″ x 4″ and 4-1/8″ x 7/8″
  • Real Red Cardstock = 4″ x 3/4″ and 3-1/2″ x 1-1/4″
  • Designer Series Paper = 1-3/4″ x 3-1/2″
  • Crushed Curry Cardstock = 2-1/2″ x 1-1/2″
  • Basic White = 3-7/8″ x 1/2″ (sentiment tag), 3″ x 3″ (circle die-cut), and scraps for stamped images

I demonstrated my process for making this card on today’s Coffee & a Card Livestream. I mentioned in the video that I would probably add some flowers to better meet the Craft Roulette parameters and that is what I did using a stamp and die from the Playing in the Rain stamp set and dies.

Product List

DIY Tutorial: How to Make a Lined Picnic Basket Party Favor for Mother’s Day

I’m making these cute lined picnic basket party favors for my Mother’s Day brunch.

I’ve made these types of baskets before but have never lined them. The Delightfully Eclectic Designer Series Paper from Stampin’ Up! looks like a sweet fabric liner inside the basket. I can’t wait to find something delightful to fill the picnic baskets with.

Here is a better view of the inside of the basket:

I will admit that the cutting and scoring of the designer series paper was a bit tricky. A Simply Scored board will be your best friend. Watch the video tutorial below for step-by-step instructions to make the lined picnic basket party favor.

I created this template with the measurements and hope you find it helpful.

Cutting & Scoring Guide

  • Line the top and bottom corner of a 6″ x 6″ piece of designer series paper with the 5″ groove of the Simply Scored board. Score at 2-1/4″, 4″, 6″, and 7-3/4″.
  • Rotate designer series paper 45° lining up the top and bottom corner of the designer series paper with the 5″ groove of the Simply Scored board. Score between the center horizontal score lines at 3-3/4″ and 6-1/4″.
  • Measure 1″ from 4″ and 6″ score lines and make a tic mark as shown on the diagram. Make a cut from the tic marks to the first intersection of score lines as shown on the diagram.
Product List

Learn Some Helpful Tips & Tricks for Making a Lattice Card

I ‘ve been seeing handmade lattice cards all over the internet and until now have been hesitant to give it a try. During a recent get together with some crafty card friends, one of them shared with me how to easily make a lattice card.

To keep the lattice on the card straight and square we used the grid paper from Stampin’ Up! and a hand-crafted “spacer”. Watch the replay of my Coffee & a Card Livestream for step-by-step directions.

Cutting/Scoring Guide

  • Card Base = 11″ x 4-1/4″ piece of Thick Basic White cardstock scored at 5-1/2″. Fold on the score line then cut 3″ off the front flap of the card front.
  • Lattice = two 1/2″ x 5″ pieces of Thick Basic White cardstock, four 1/2″ x 4-1/4″ pieces of Thick Basic White cardstock.
Product List

Get Ready for the ’23-‘Stampin’ Up! Annual Catalog: Sneak Peek of the Best Samples

The day we’ve been waiting for is finally here. The Stampin’ Up! ‘23-‘24 is live today! Sales from the new catalog begin today!

The Fresh as a Daisy Suite from the new catalog is one of my favorites. I cased this card from New Zealand demonstrator Jan Clotheir using products from the suite.

I shared several project samples using products from the new catalog in today’s Livestream. Watch the replay here:

The online version of the catalog can be seen here on my Catalog Page Here.

SHOP ONLINE 24/7 HERE – https://bit.ly/3noFXQs

HOST CODE – FMRKKM3M (optional, but much appreciated)

Mystery Boxes are Here!

Mystery Boxes Are Available Today!

What is a Mystery Box?

A Mystery Box is FREE when you place your $75 order with me using the Mystery Box Host Code NDZGW64G. All boxes are filled with retired Stampin’ Up! products like stamps, dies, paper, accessories, and more with a retail value of $150. I have a personal goal with Stampin’ Up! that I want to achieve and the Mystery Box is my way of thanking you for helping me reach that goal!

How do I Get a Mystery Box?

Starting today, April 25, 2022, when you place a $75 order with me in my ONLINE STORE HERE, you will be eligible for a Mystery Box shipped to you WHILE SUPPLIES LAST!  I will even pay the shipping for your Mystery Box!

  • Use the Mystery Box Host Code NDZGW64G when placing your order.
  • They are limited and will go FAST, so feel free to contact me here to ask if they are still available. 
  • $75 order must be before tax and shipping
  • All products are “as is”.. some new, most gently used, all in good condition
  • Contents of each box will vary – it’s a MYSTERY, remember? 
  • Only available while supplies last
  • No refunds or exchanges
  • 1 box per customer

Questions? Click HERE to contact me!

Mystery Boxes are Coming Tomorrow!

I’m giving you a heads up for my Mystery Box offer NOW so you can plan your order and get it in early if you wish to take advantage of my Mystery Boxes!

What is a Mystery Box?

A Mystery Box is FREE when you place your $75 order with me using the Mystery Box Host Code NDZGW64G. All boxes are filled with retired Stampin’ Up! products like stamps, dies, paper, accessories, and more with a retail value of $150. I have a personal goal with Stampin’ Up! that I want to achieve and the Mystery Box is my way of thanking you for helping me reach that goal!

How do I Get a Mystery Box?

Starting tomorrow, April 25, 2022, when you place a $75 order with me in my ONLINE STORE HERE, you will be eligible for a Mystery Box shipped to you WHILE SUPPLIES LAST!  I will even pay the shipping for your Mystery Box!

  • Use the Mystery Box Host Code NDZGW64G when placing your order.
  • They are limited and will go FAST, so feel free to contact me here to ask if they are still available. 
  • $75 order must be before tax and shipping
  • All products are “as is”.. some new, most gently used, all in good condition
  • Contents of each box will vary – it’s a MYSTERY, remember? 
  • Only available while supplies last
  • No refunds or exchanges
  • 1 box per customer

Questions? Click HERE to contact me!

Simple Watercolor Technique for Crafting a Beautiful Warm Welcome Card

Watercolor painting is a fun and relaxing hobby that anyone can enjoy. There are many watercolor techniques to use and I’m sharing an easy, beginner-friendly one with you today. I created this card using a stamp set, a few inks, and a set of water painters.

Always use permanent, waterproof ink when stamping with watercolor. I like to use Stazon Jet Black ink. You will also want to use good watercolor paper that will not pill up when wet. I used the now-retired Shimmery White cardstock from Stampin’ Up! for this card but their Fluid 100 Watercolor Paper is also an excellent choice.

Product List
Warm Welcome Photopolymer Stamp Set (English)
Warm Welcome Dies
Jet Black Stāzon Ink Pad
Soft Suede Classic Stampin' Pad
Balmy Blue Classic Stampin' Pad
Smoky Slate Classic Stampin' Pad
Pumpkin Pie Classic Stampin' Pad
Basic White 8 1/2" X 11" Thick Cardstock
Pool Party 8-1/2" X 11" Cardstock
Poppy Parade 8-1/2" X 11" Cardstock
Shimmery White 8-1/2" X 11" Cardstock
Fluid 100 Watercolor Paper
Painted Texture 3 D Embossing Folder
Water Painters
Rustic Metallic Adhesive Backed Dots
Stampin' Cut & Emboss Machine
Stampin' Dimensionals