
Category: Uncategorized
-
My Summer Sabbatical Update & BIG August Discounts!
Hello Creative Friends! I hope this post finds you staying cool and in the midst of wonderful crafting projects! As we enter a new month, I’m thrilled to share some exciting promotions and offers that will help you save on your favorite Stampin’ Up! products. Let’s dive into the details! via GIPHY 1. My Summer…
-

Embracing Summer Adventures: A New Chapter for our Paper Crafting Classes
Hello, dear crafting friends! How’s your summer going? My summer is packed with travel plans and fun family activities. While I am thrilled about these adventures, they also mean I need to take a short break from holding my in-person paper crafting classes. But don’t worry—exciting things are on the horizon! Exciting Online Classes Ahead!…
-
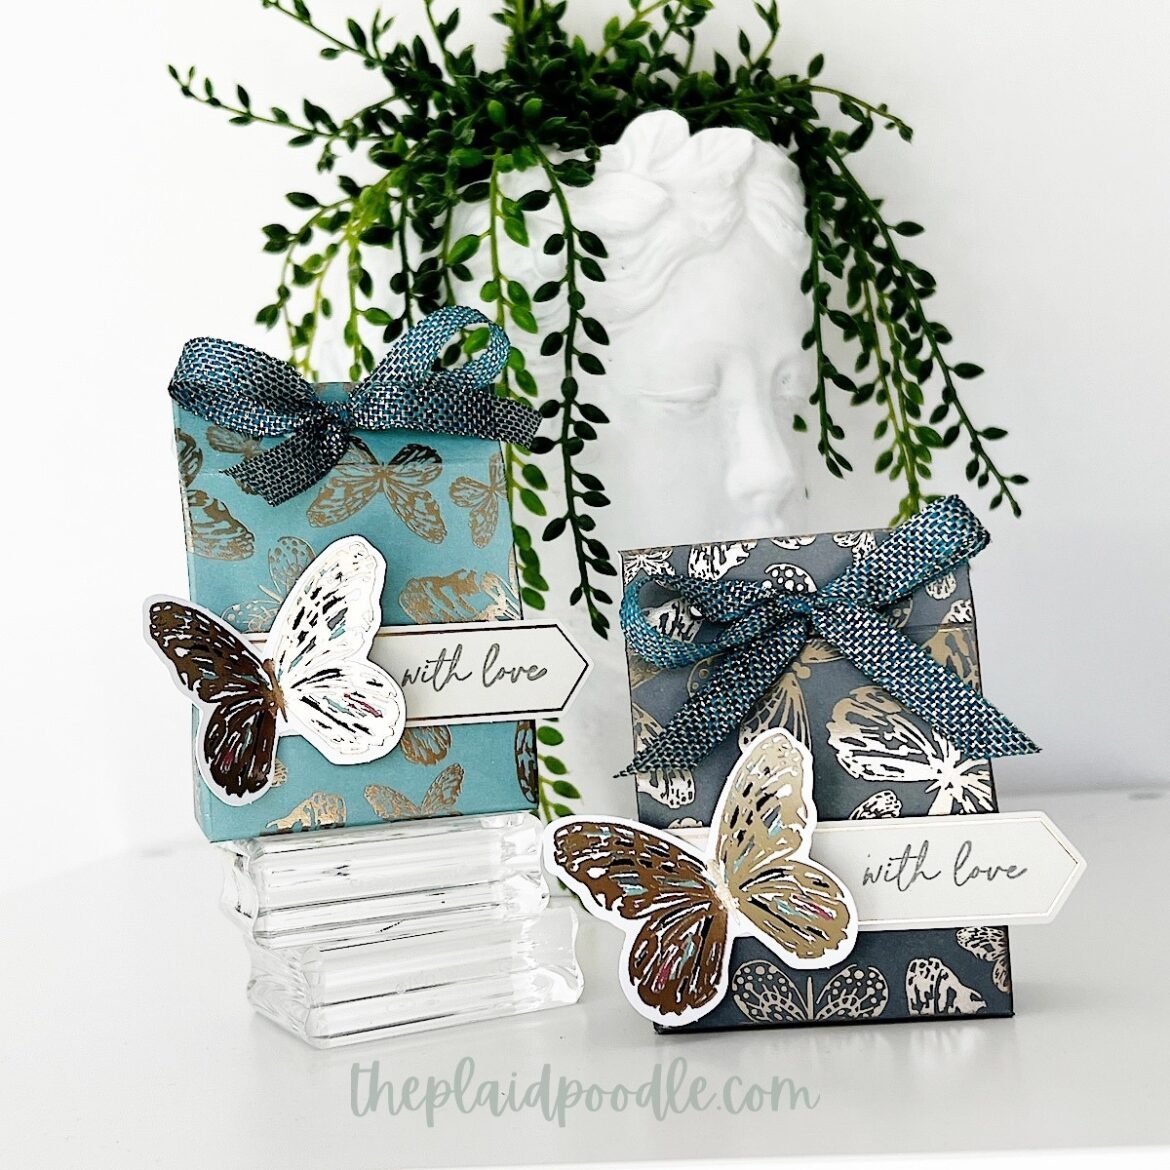
Mini Treat Bags with the Delicate Wings Paper Pumpkin Kit!
I’m always on the lookout for party favors for my card class guests. When the April Delicate Wings Paper Pumpkin Kit arrived, I knew the gold-embossed card bases would be perfect for mini treat bags. It was a fortunate coincidence that the original card base fold worked perfectly with this design. I’ve created a project…
-

How to Make a Tri-Fold Fun-Fold Card
Throughout April, I’ve been sharing various fun-fold card designs with you. I hope you’ve enjoyed this series and perhaps even tried crafting some yourself. The first card I introduced, and probably my personal favorite from the collection, is the Angled Gatefold Card. I utilized products from the upcoming Stampin’ Up! Annual Catalog to craft this…
-

How to Make a Fun Fold Window All-Occasion Card
Today’s project recipe is a fun-fold window card. I used the Little Monkey Bundle to create my take on this fun-fold. The monkey die-cut on the card has a slight wiggle because I used a Mini Action Wobble to adhere it, adding a playful touch. (You can find a link to the Mini Action Wobbles HERE.) But…