
Category: Birthday
-
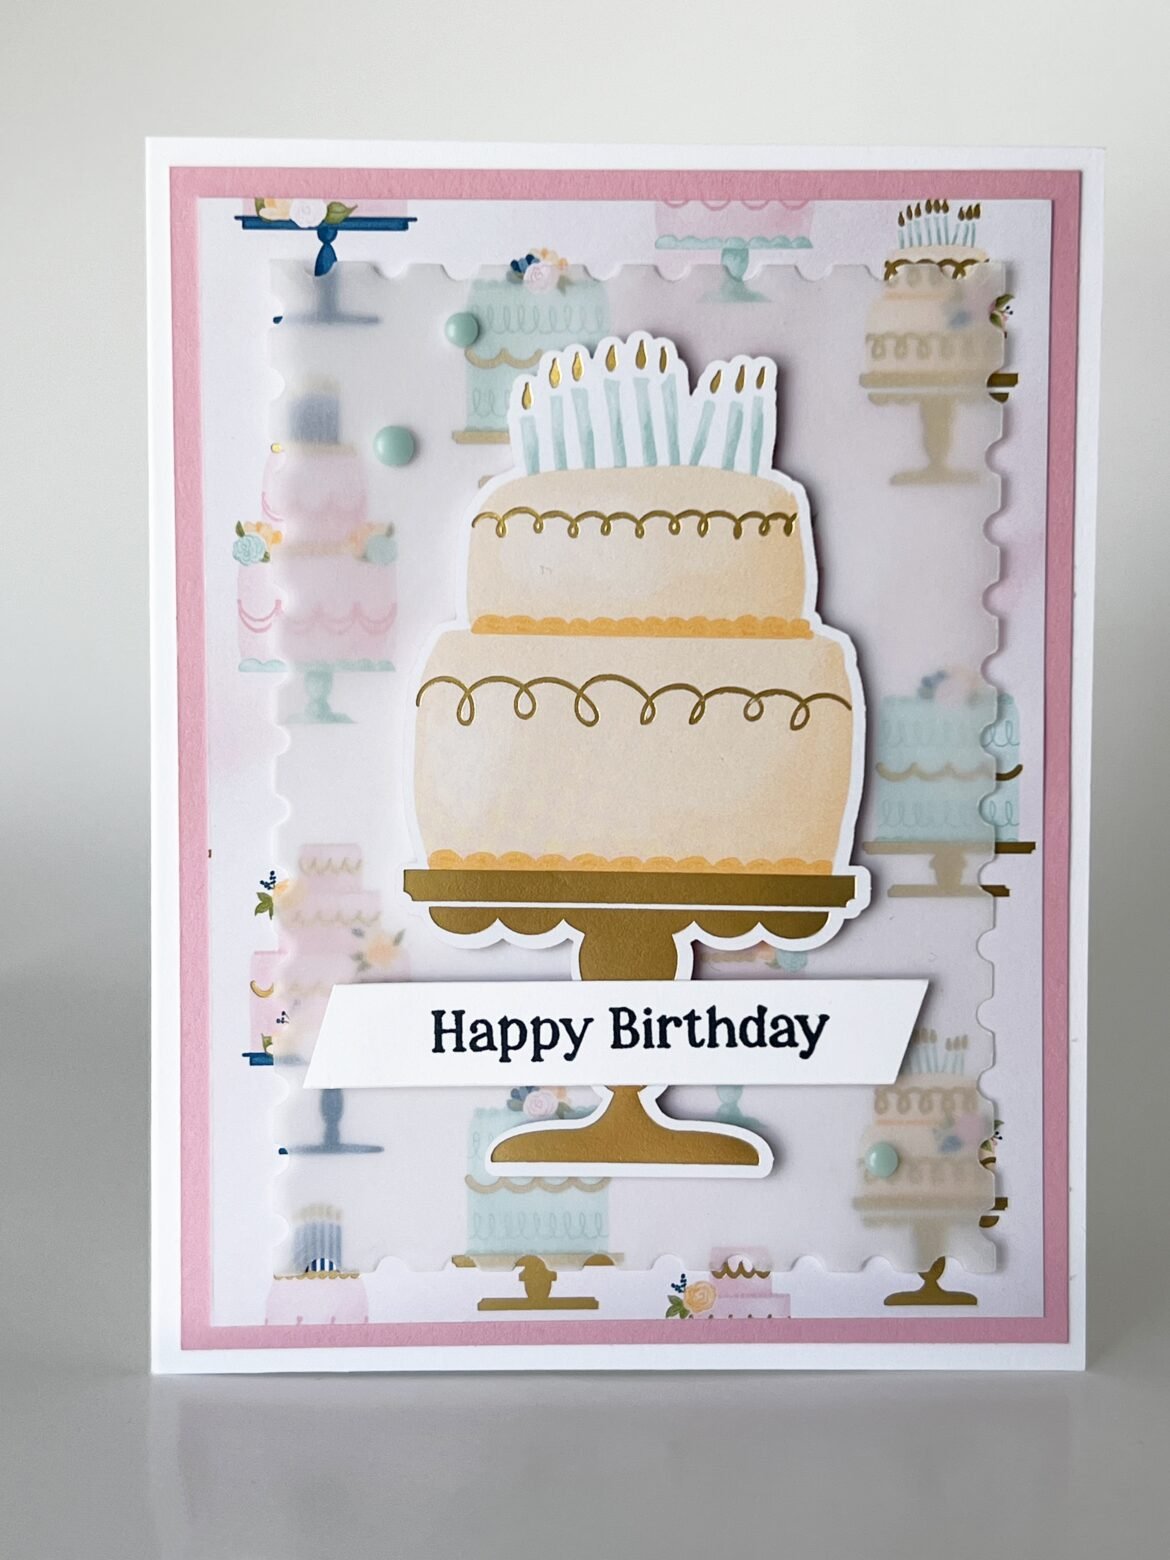
Make Quick & Elegant Birthday Cards with Wildflower Birthday Paper
If you’re looking for a fast and elegant way to create stunning birthday cards, look no further than the Wildflower Birthday 12″ x 12″ Specialty Designer Series Paper! I had a blast making a card during today’s livestream, and I can’t wait to share how this beautiful paper makes crafting a breeze. This paper is…
-

Make an Angled Gatefold Card
During April, I’ll be demonstrating how to create various fun-fold cards in my Monday Mini Livestream classes. This week, we crafted an angled gatefold card using soon-to-be released products in tandem with the retiring Charming Sentiments stamp set. When you slip off the belly band and open the card, it reveals this delightful design. Although…
-

Creative Ideas to Transform Your Welcome Inn Paper Pumpkin Kit
Here’s an alternative project I made using the June 2023 Welcome Inn Paper Pumpkin Kit. It’s a fun-fold card using elements from the kit. I loved the printed card bases in this kit! To find out more about Paper Pumpkin and how to obtain a kit click here. I used parameters from last week’s #craftroulettechallenge…
-

Everything You Need to Know About Making a DIY Matchbook Card
I’m using the parameters given in Episode 162 of Craft Roulette to create my project today. What is Craft Roulette? It is a live papercraft challenge show where the goal is to create a project that has been randomly selected by the spin of a wheel. You can catch live episodes every Friday night at…
-

Make a Sweet Songbirds Thank-You Card
Spring has sprung here in Kansas City and has put me in the mood to make this Sweet Songbirds thank-you card. I used the Sweet Songbirds Bundle from Stampin’ Up! to create the card. I also used one of my favorite 6″ x 6″ paper collections, Regency Park. Although I could have cut rectangles for…