
-
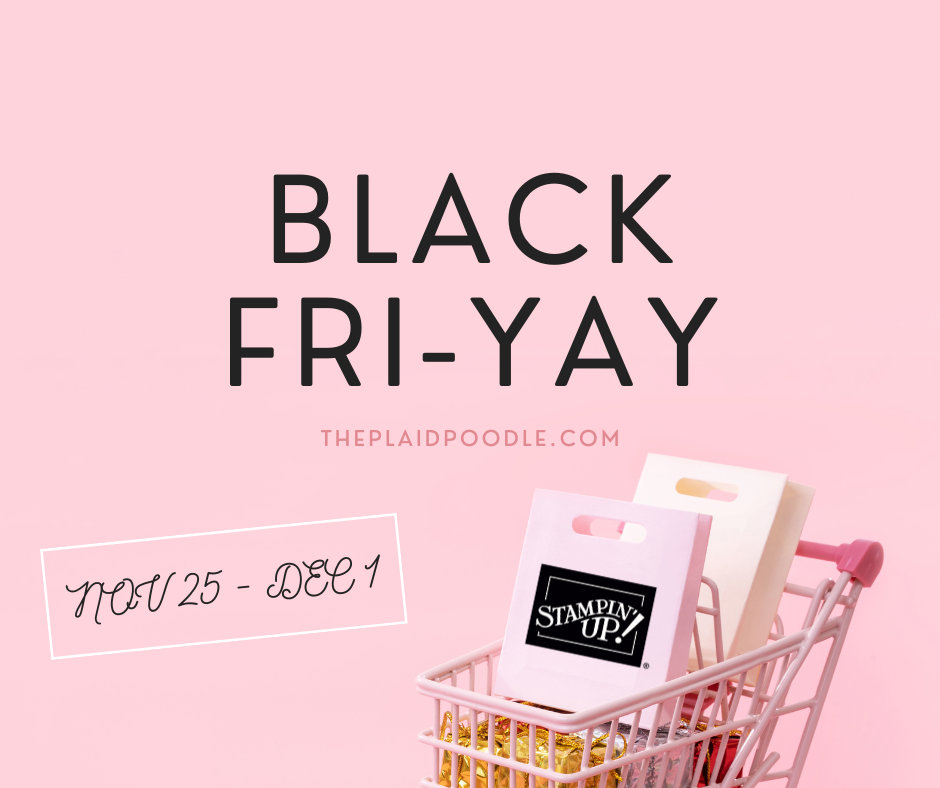
Crafty friends, get ready—this is BIG! For the very first time, Stampin’ Up! is hosting a Black Friday Sale, and the savings are too good to miss. Starting tomorrow, November 25th, you can save up to 40% on select crafting…
-
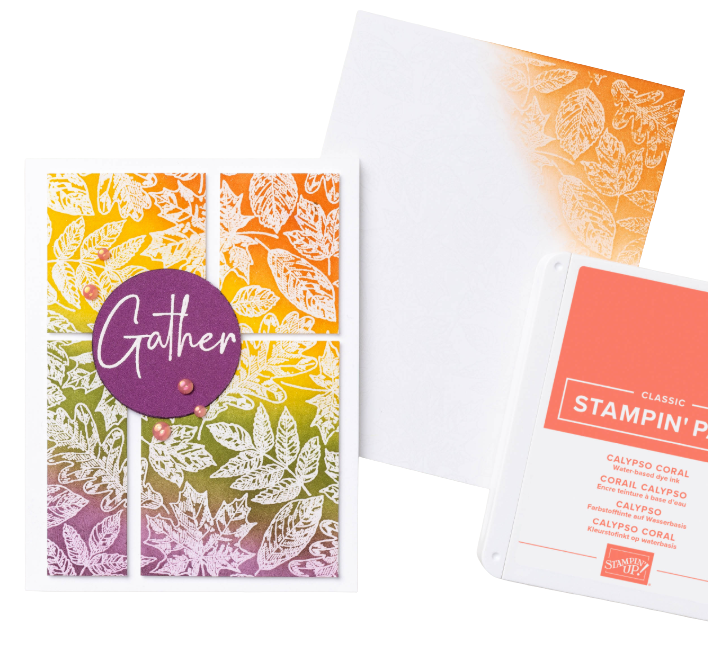
Impossible to Resist: The Emboss Resist Technique
If you’re looking for a card-making technique that’s both simple and stunning, emboss resist is one you’re going to adore! This classic method delivers a beautiful effect every single time — and once you try it, you’ll find yourself reaching…
-
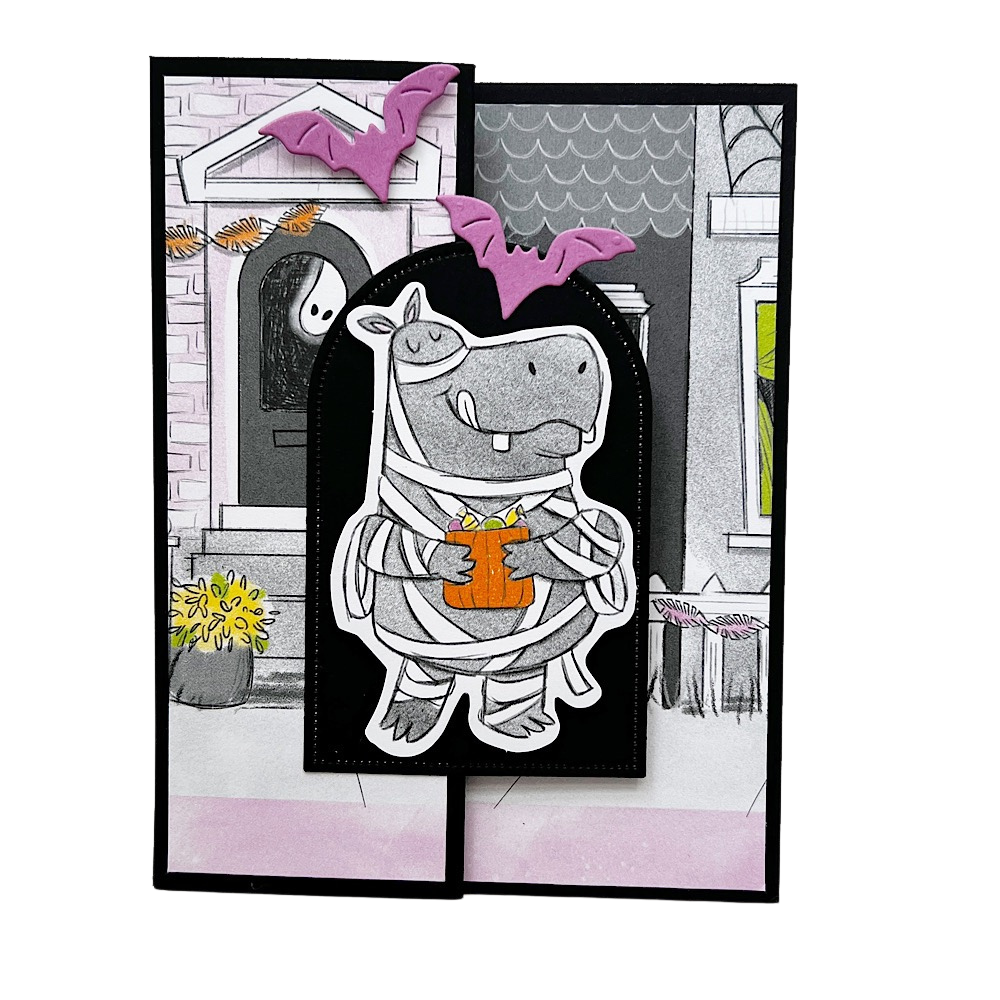
🎃 Make a Spooky Halloween Fun-Fold Card + Free Project Sheet!
t’s that spooky-cute time of year again, and I have a fun-fold Halloween card that’s sure to cast a crafty spell on your friends and family! This card features a clever fold, a mix of bold colors, and the most…
-

Save BIG on the Best Crafting Kit!
Crafting is always better with friends—and Stampin’ Up! is one of the largest papercrafting communities in the world! When you join as a demonstrator, you’re not just signing up for discounts and perks (though there are plenty!). You’re also stepping…
-
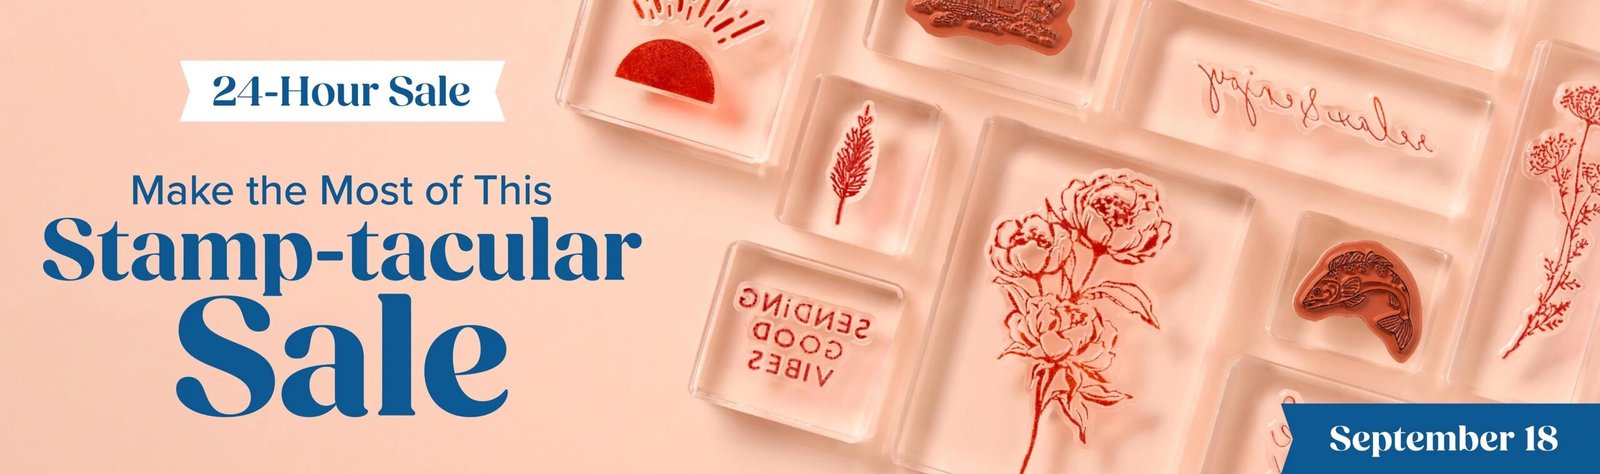
Stampers, Get Ready! Huge Sale Plus a Free Online Gathering
Mark your calendars because September and October are packed with stamping fun! 🎉 24-Hour Stamp Sale – September 18For one day only, you can save 15% on stamp sets and essential stamping tools. Stock up on must-haves like acrylic blocks,…