
-
I’m so excited to share that my in-person card making classes are back! 🎉There’s nothing I love more than gathering around a table, creating together, and enjoying a little crafty time with friends. To kick things off, I’m hosting a…
-
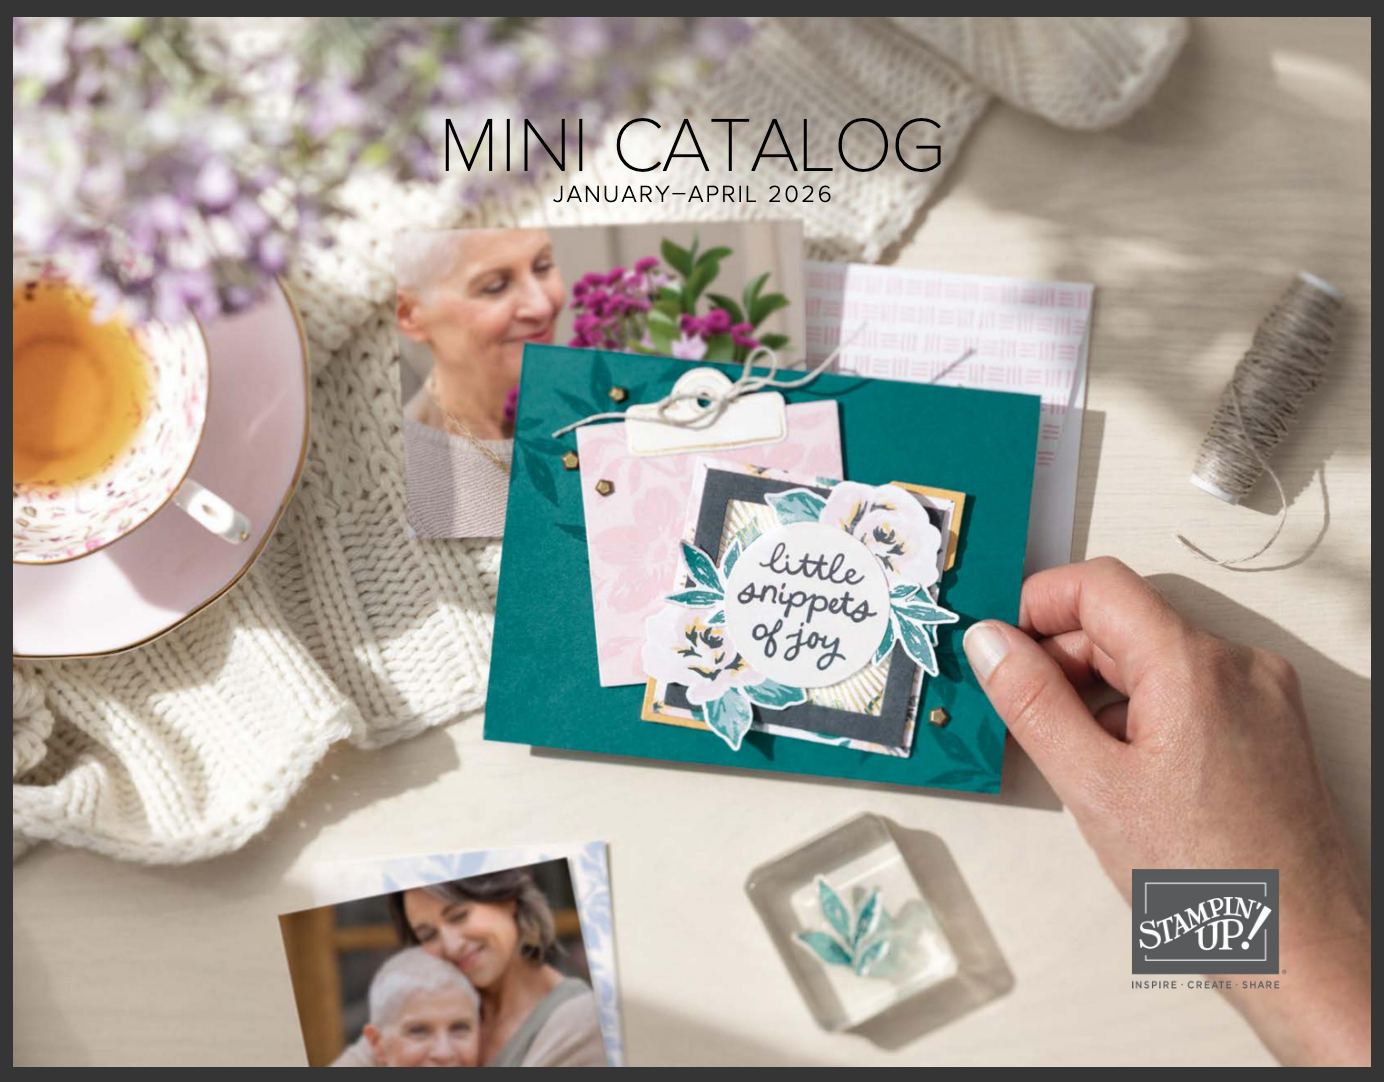
New Year, New Craft: Spring Catalog, Online Exclusives, Kits, & Bonus Days!
January is here, and you know what that means… fresh inspiration and so many fun new products to play with! ✨ We’ve got brand-new Online Exclusives, gorgeous new suites, new bundles plus new kits! 👉 Click here to shop all…
-
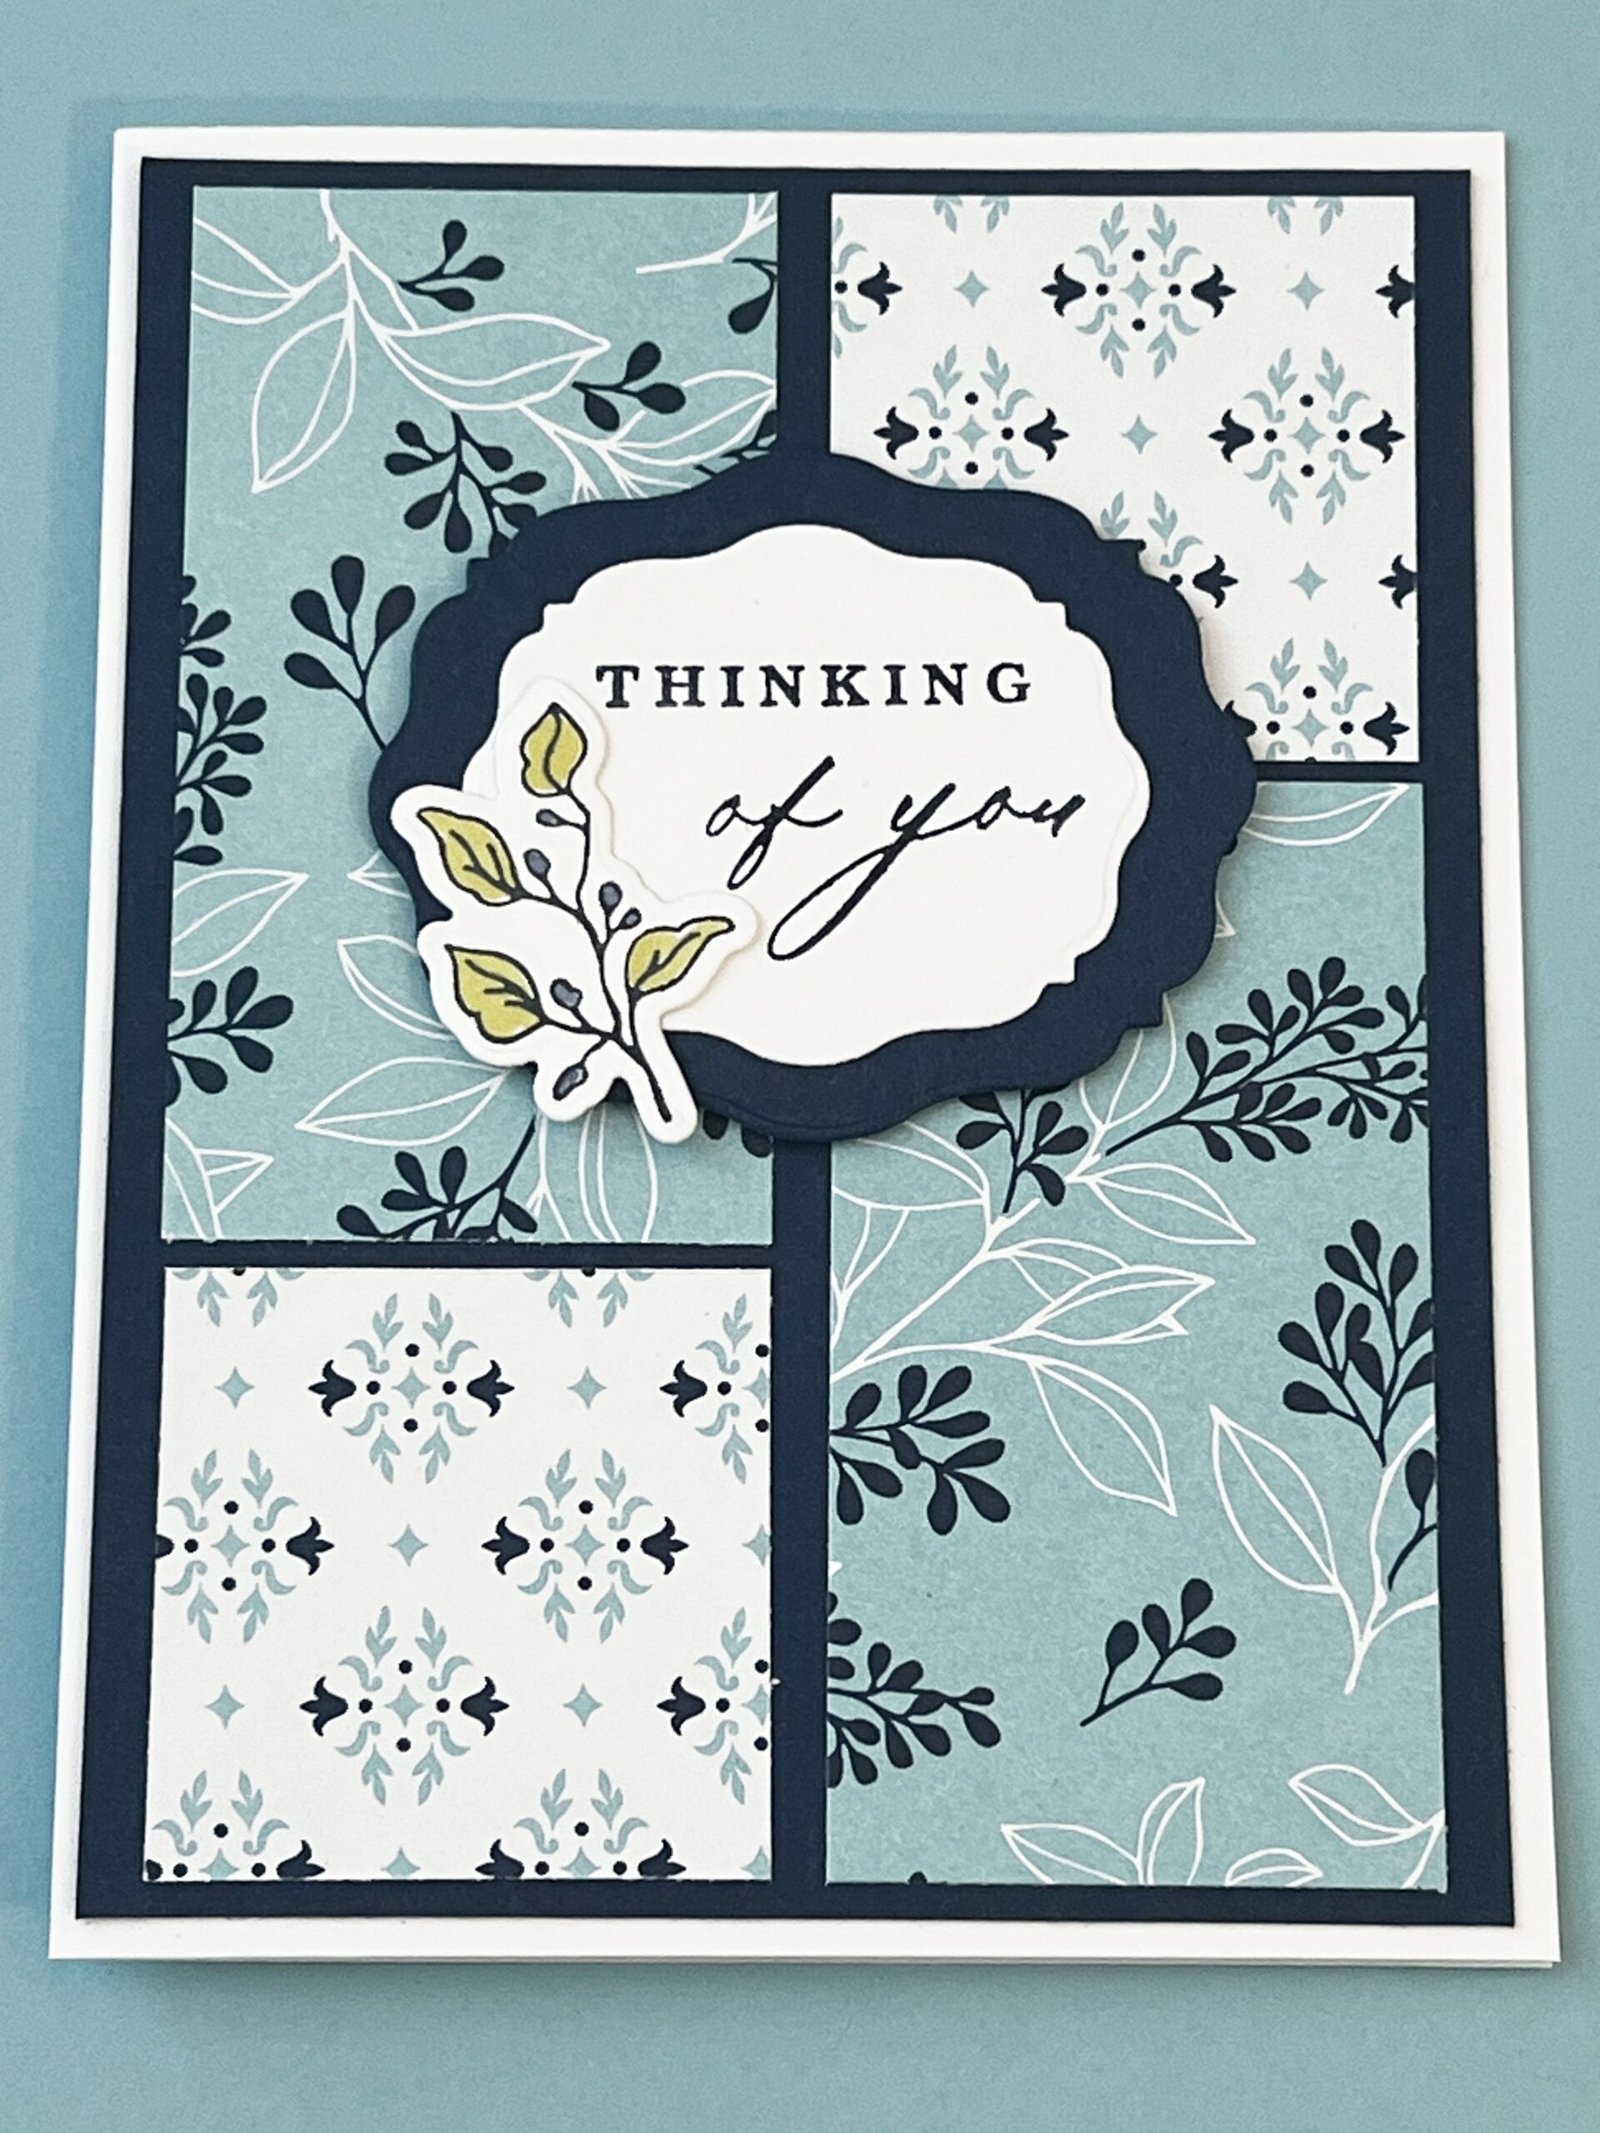
A Go-To Card Sketch You’ll Use Again and Again
If you’re ever stuck at your craft table wondering what should I make today?—this card design is your answer. It’s one of those dependable, go-to sketches that works for any occasion and can be easily customized with the supplies you…
-

Free Shipping on Crafts Starts December 10!
If you’ve been waiting for the perfect moment to stock up on your favorite paper crafting supplies, the time has officially arrived! Stampin’ Up! is offering FREE SHIPPING on orders of $75 or more beginning December 10—and the deal lasts…
-

Introducing Product of the Month!
Snag this brand-new, EXCLUSIVE True Blue Florals 12″ x 12″ designer series paper for just $5 with your $75 order—but only while supplies last! Click for details. Here’s how to grab your $5 Product of the Month: