

-
Hey, crafty friends! 🎉 I’ve got some thrilling news for you! Tomorrow marks the release of two stunning new suites, five fabulous stamp and die bundles, and some adorable stand-alone stamp sets from Stampin’ Up! If you’re looking to elevate…
-
How to Save on Stamp Sets During the 3-Day Sale & Christmas Card Making Fun!
Woohoo! 🎉 The 3-Day Stamp Sale starts today! Enjoy a 15% discount on any of the Annual Catalog Stamp Sets. This sale only happens once a year, and it’s for three days only—ending on Wednesday, October 9! Don’t miss out!…
-
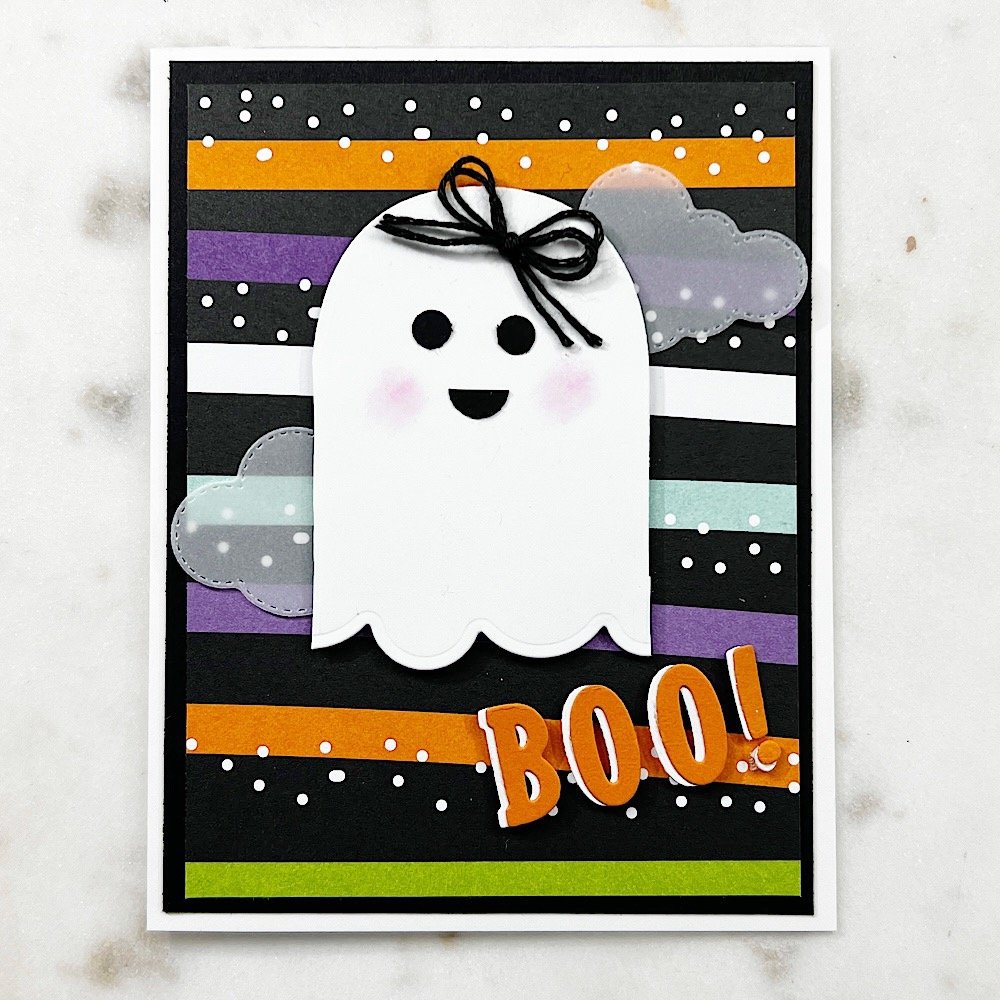
How to Make a Snowy Wonder Halloween Card!
Here’s another card from my “Think Outside the Box” series. I designed this Halloween card using the Snowy Wonder stamp set and die bundle from Stampin’ Up! While this bundle is intended for Christmas and winter card-making projects, in the…
-
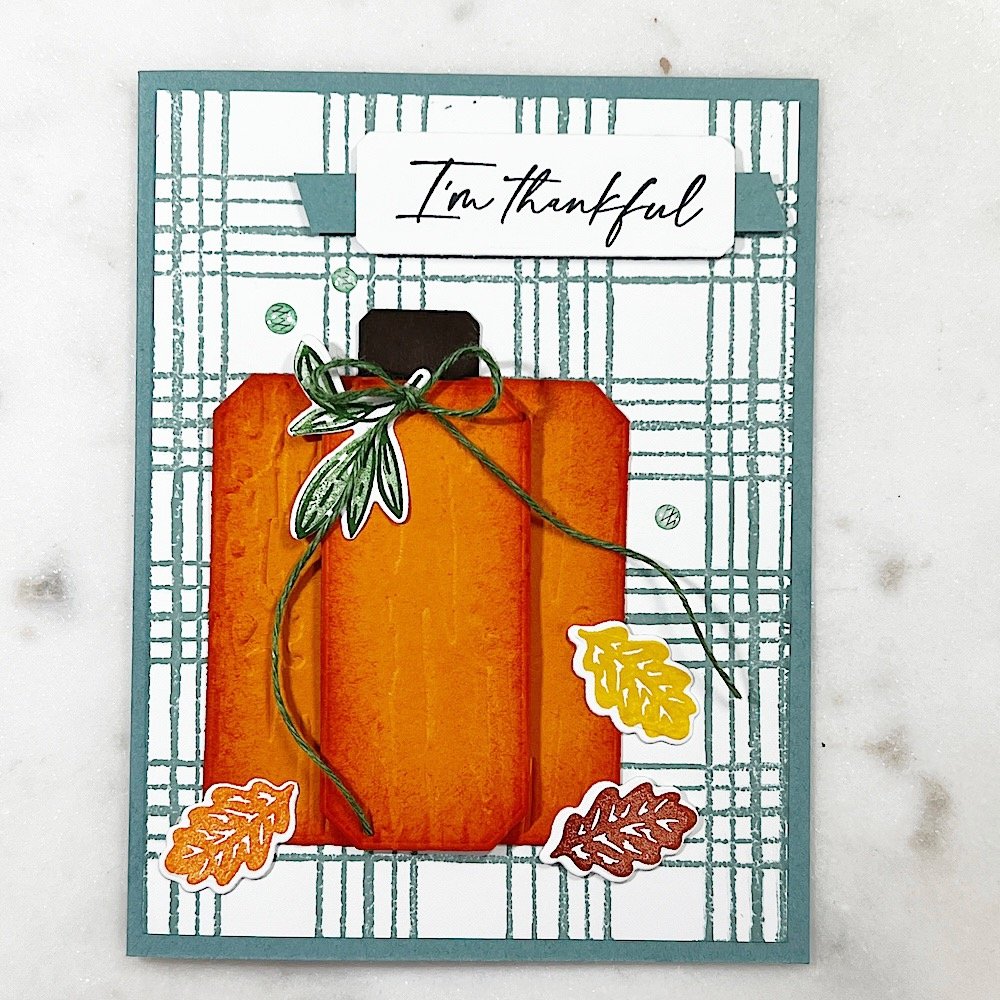
Unique Ideas for Crafting Autumn-Themed Cards That Stand Out
Making a handmade autumn-themed card is easy with paper crafting supplies you already own. Nothing says, “fall is here” better than a pumpkin. I created this card using the rectangular-shaped Countryside Corners Dies from Stampin’ Up! Product List Iconic Imagery…
-

Mystery Boxes Are Available Today!
What is a BOGO Mystery Box? A Mystery Box is FREE when you place your order with me using the Mystery Box Host Code NCQVTAFR. All boxes are filled with retired Stampin’ Up! products like stamps, dies, paper, accessories, and more!…