
DIY Tutorial: How to Make a Lined Picnic Basket Party Favor for Mother’s Day
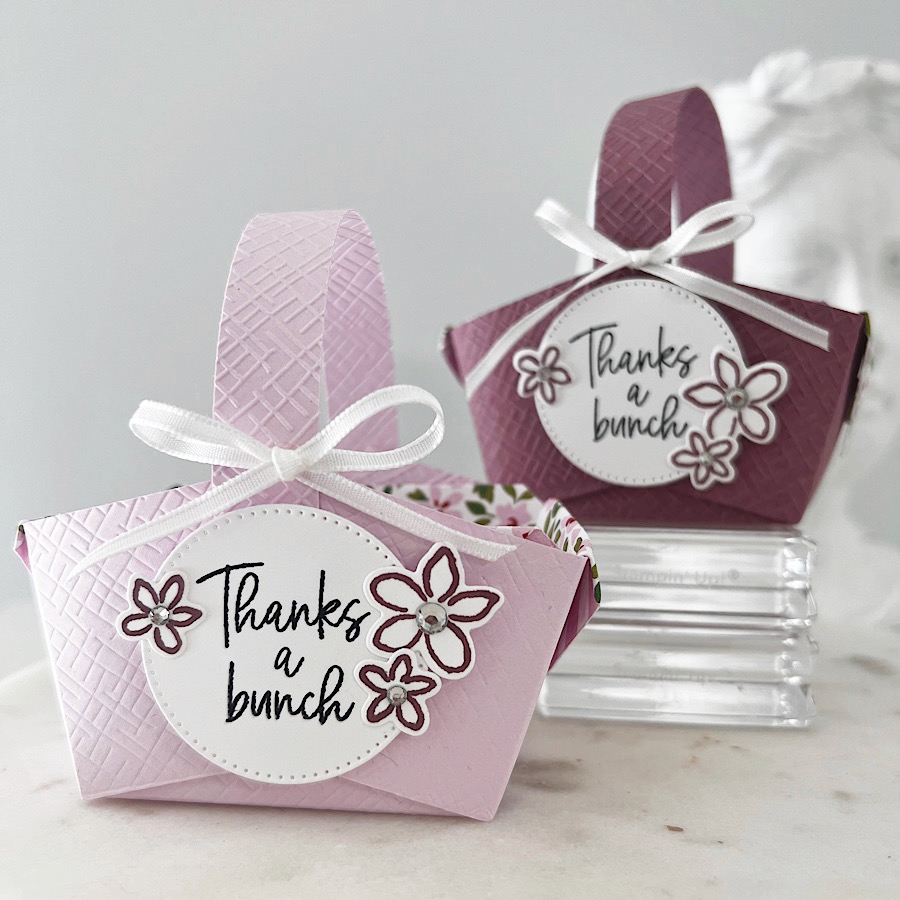
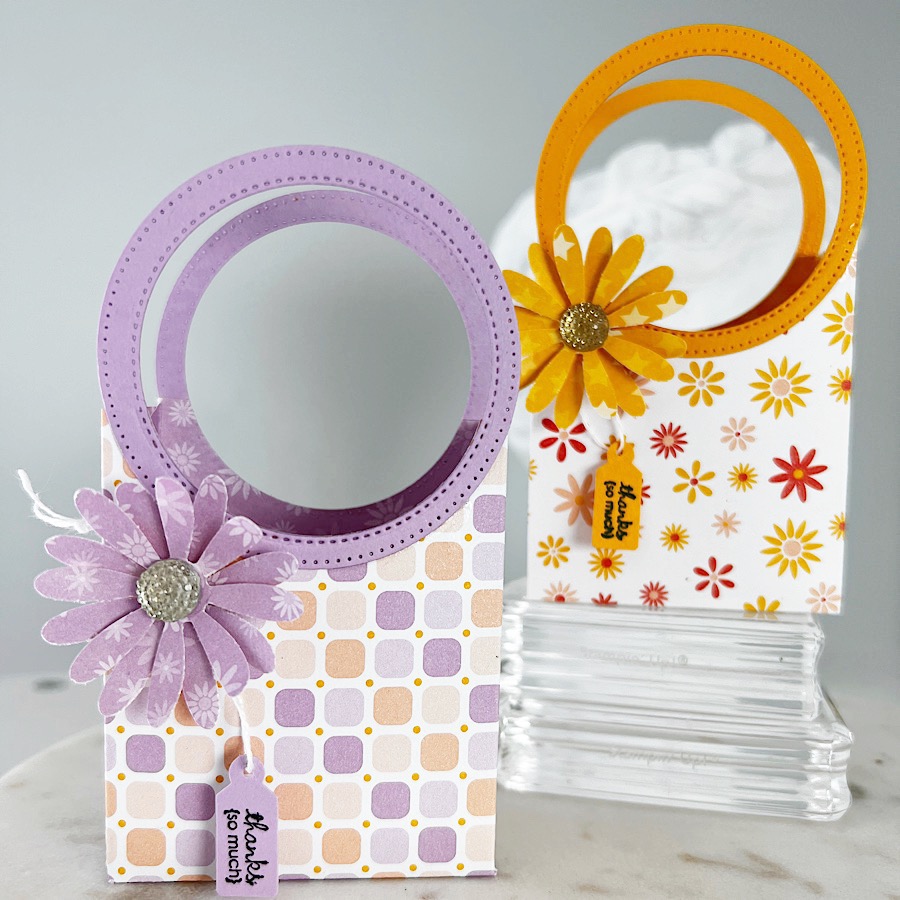
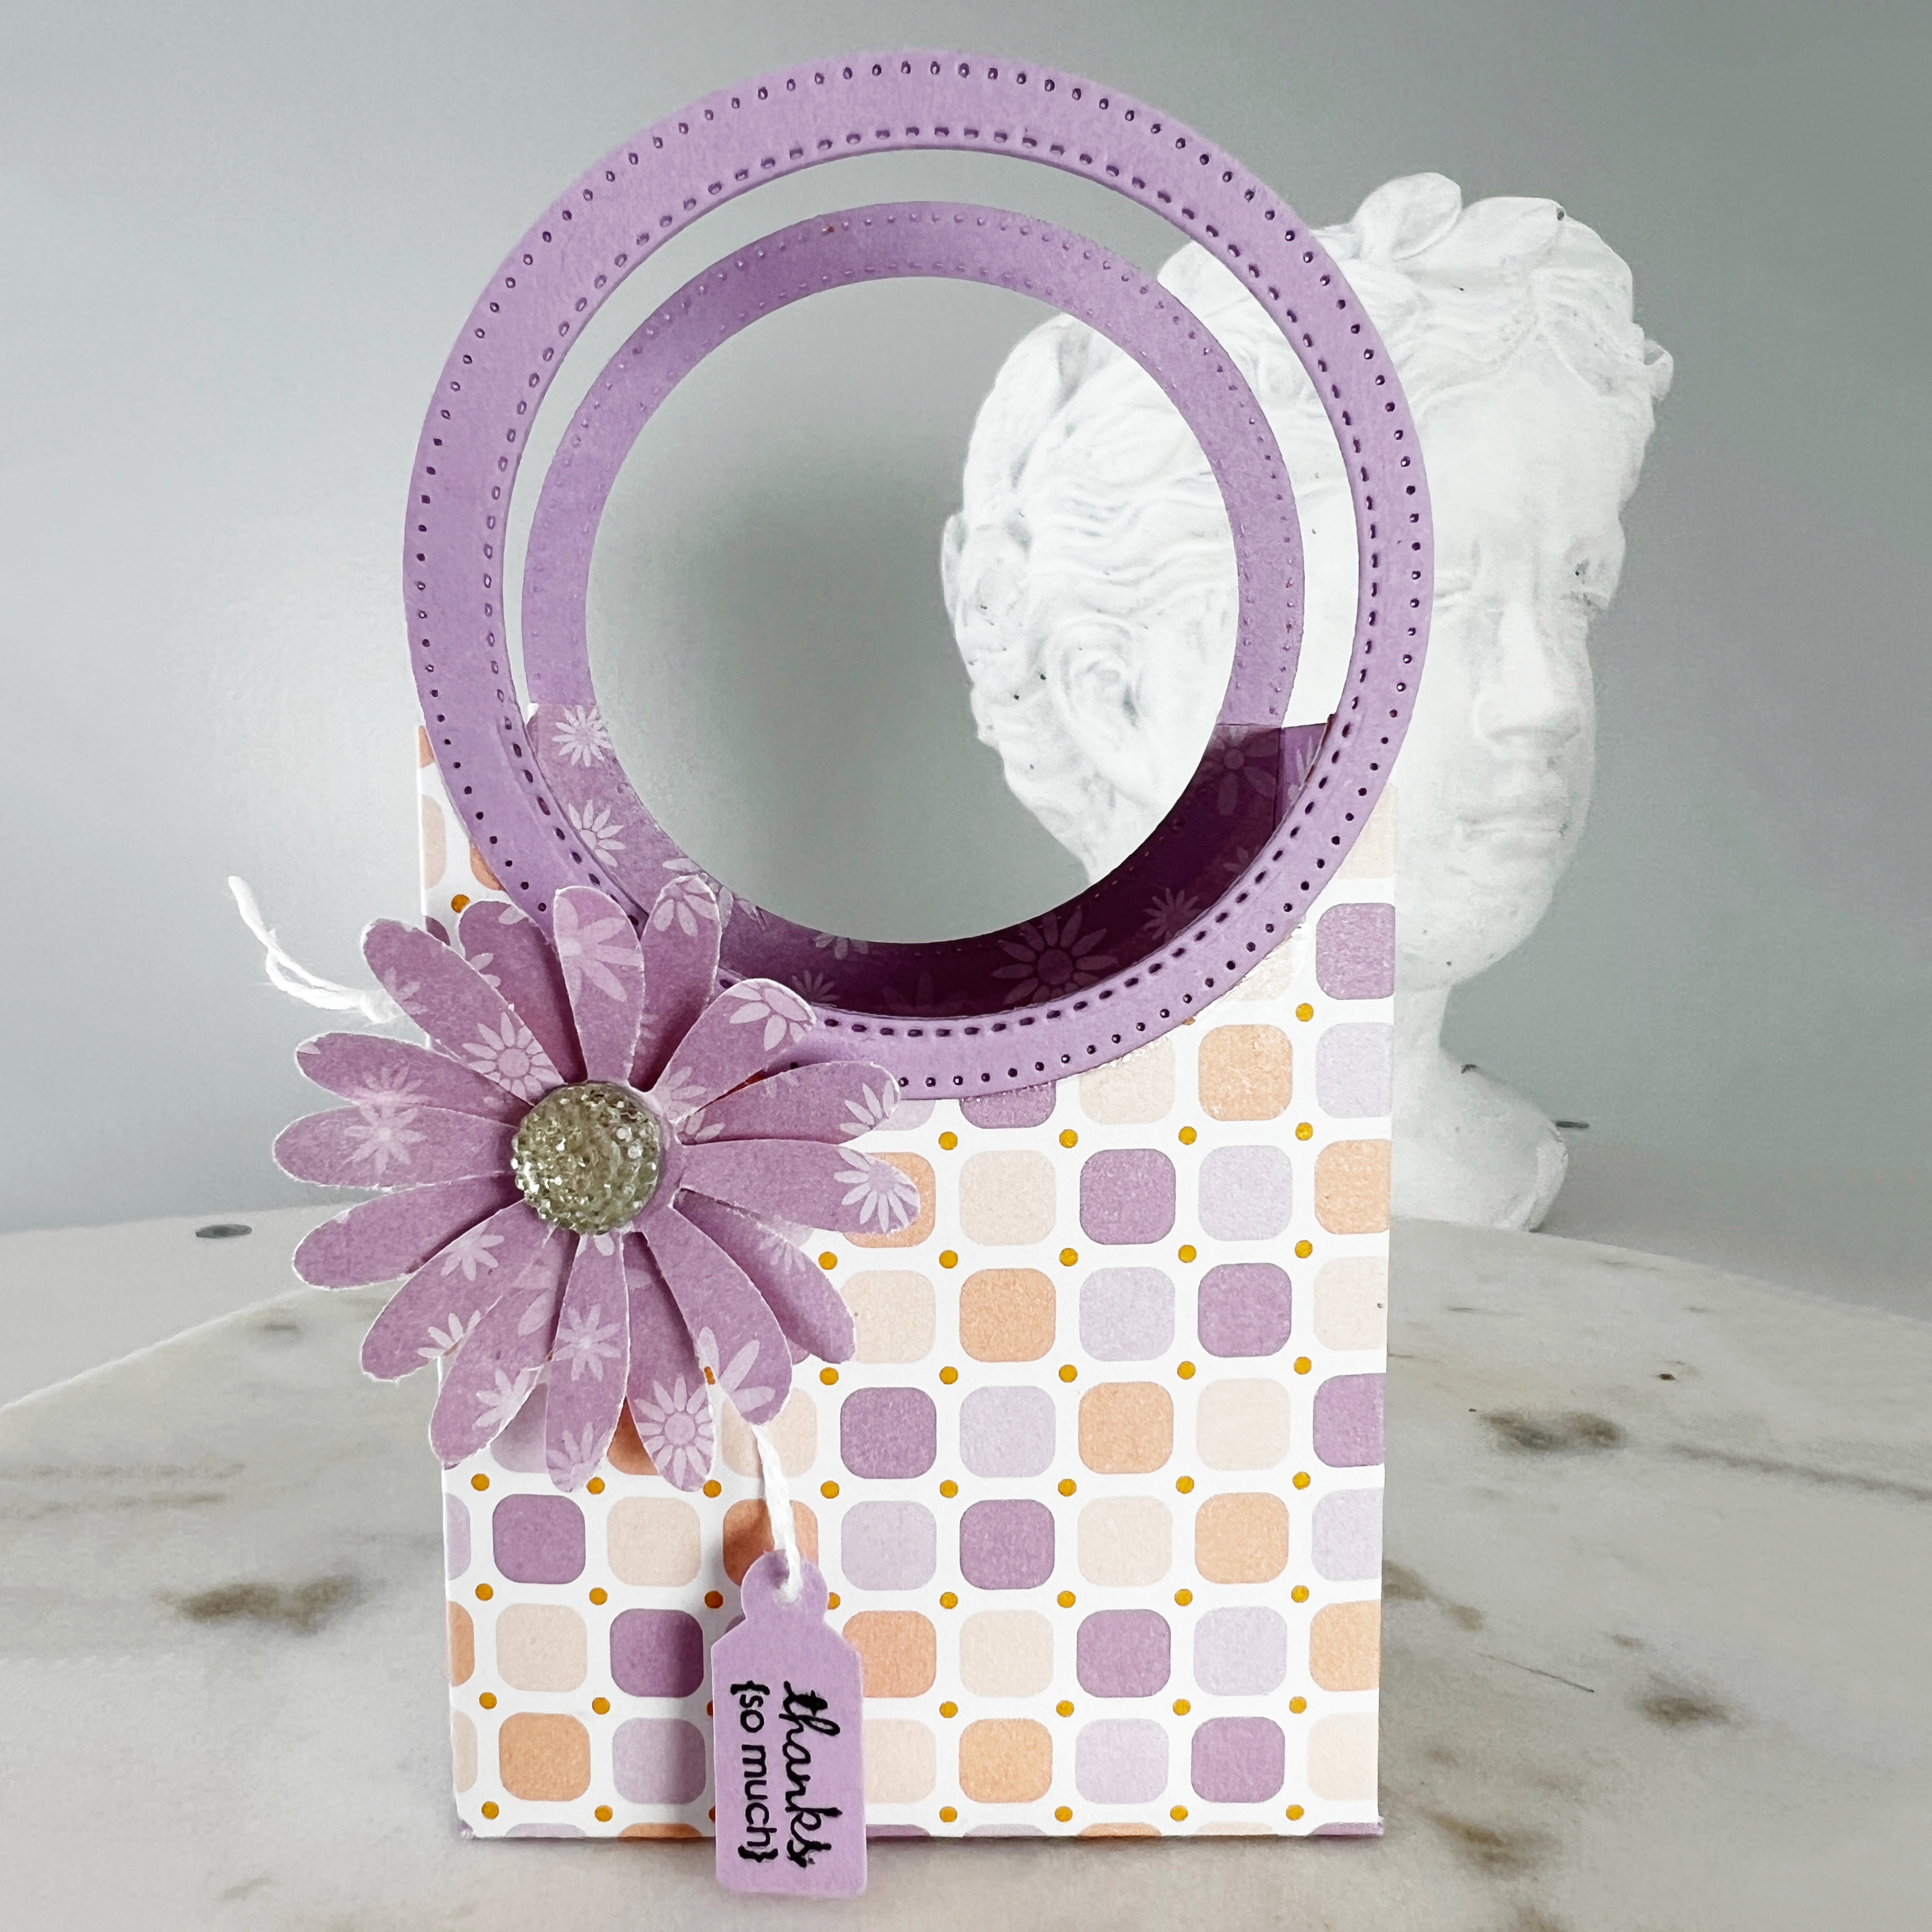
I’m making these cute lined picnic basket party favors for my Mother’s Day brunch.
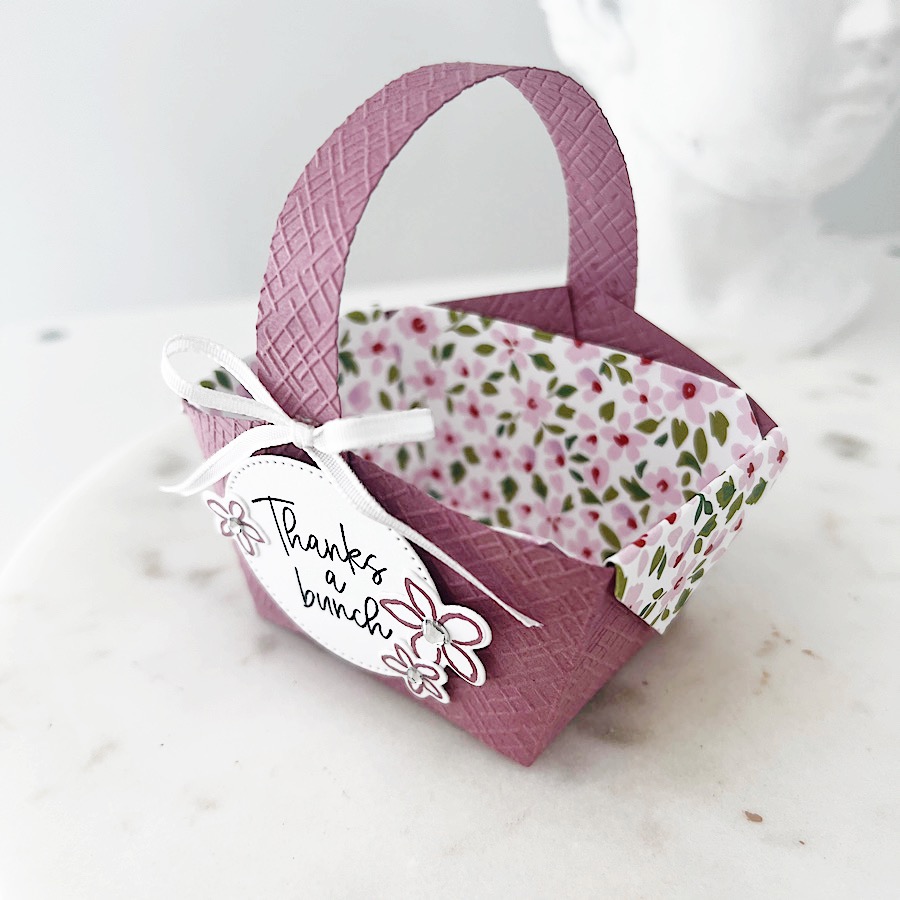
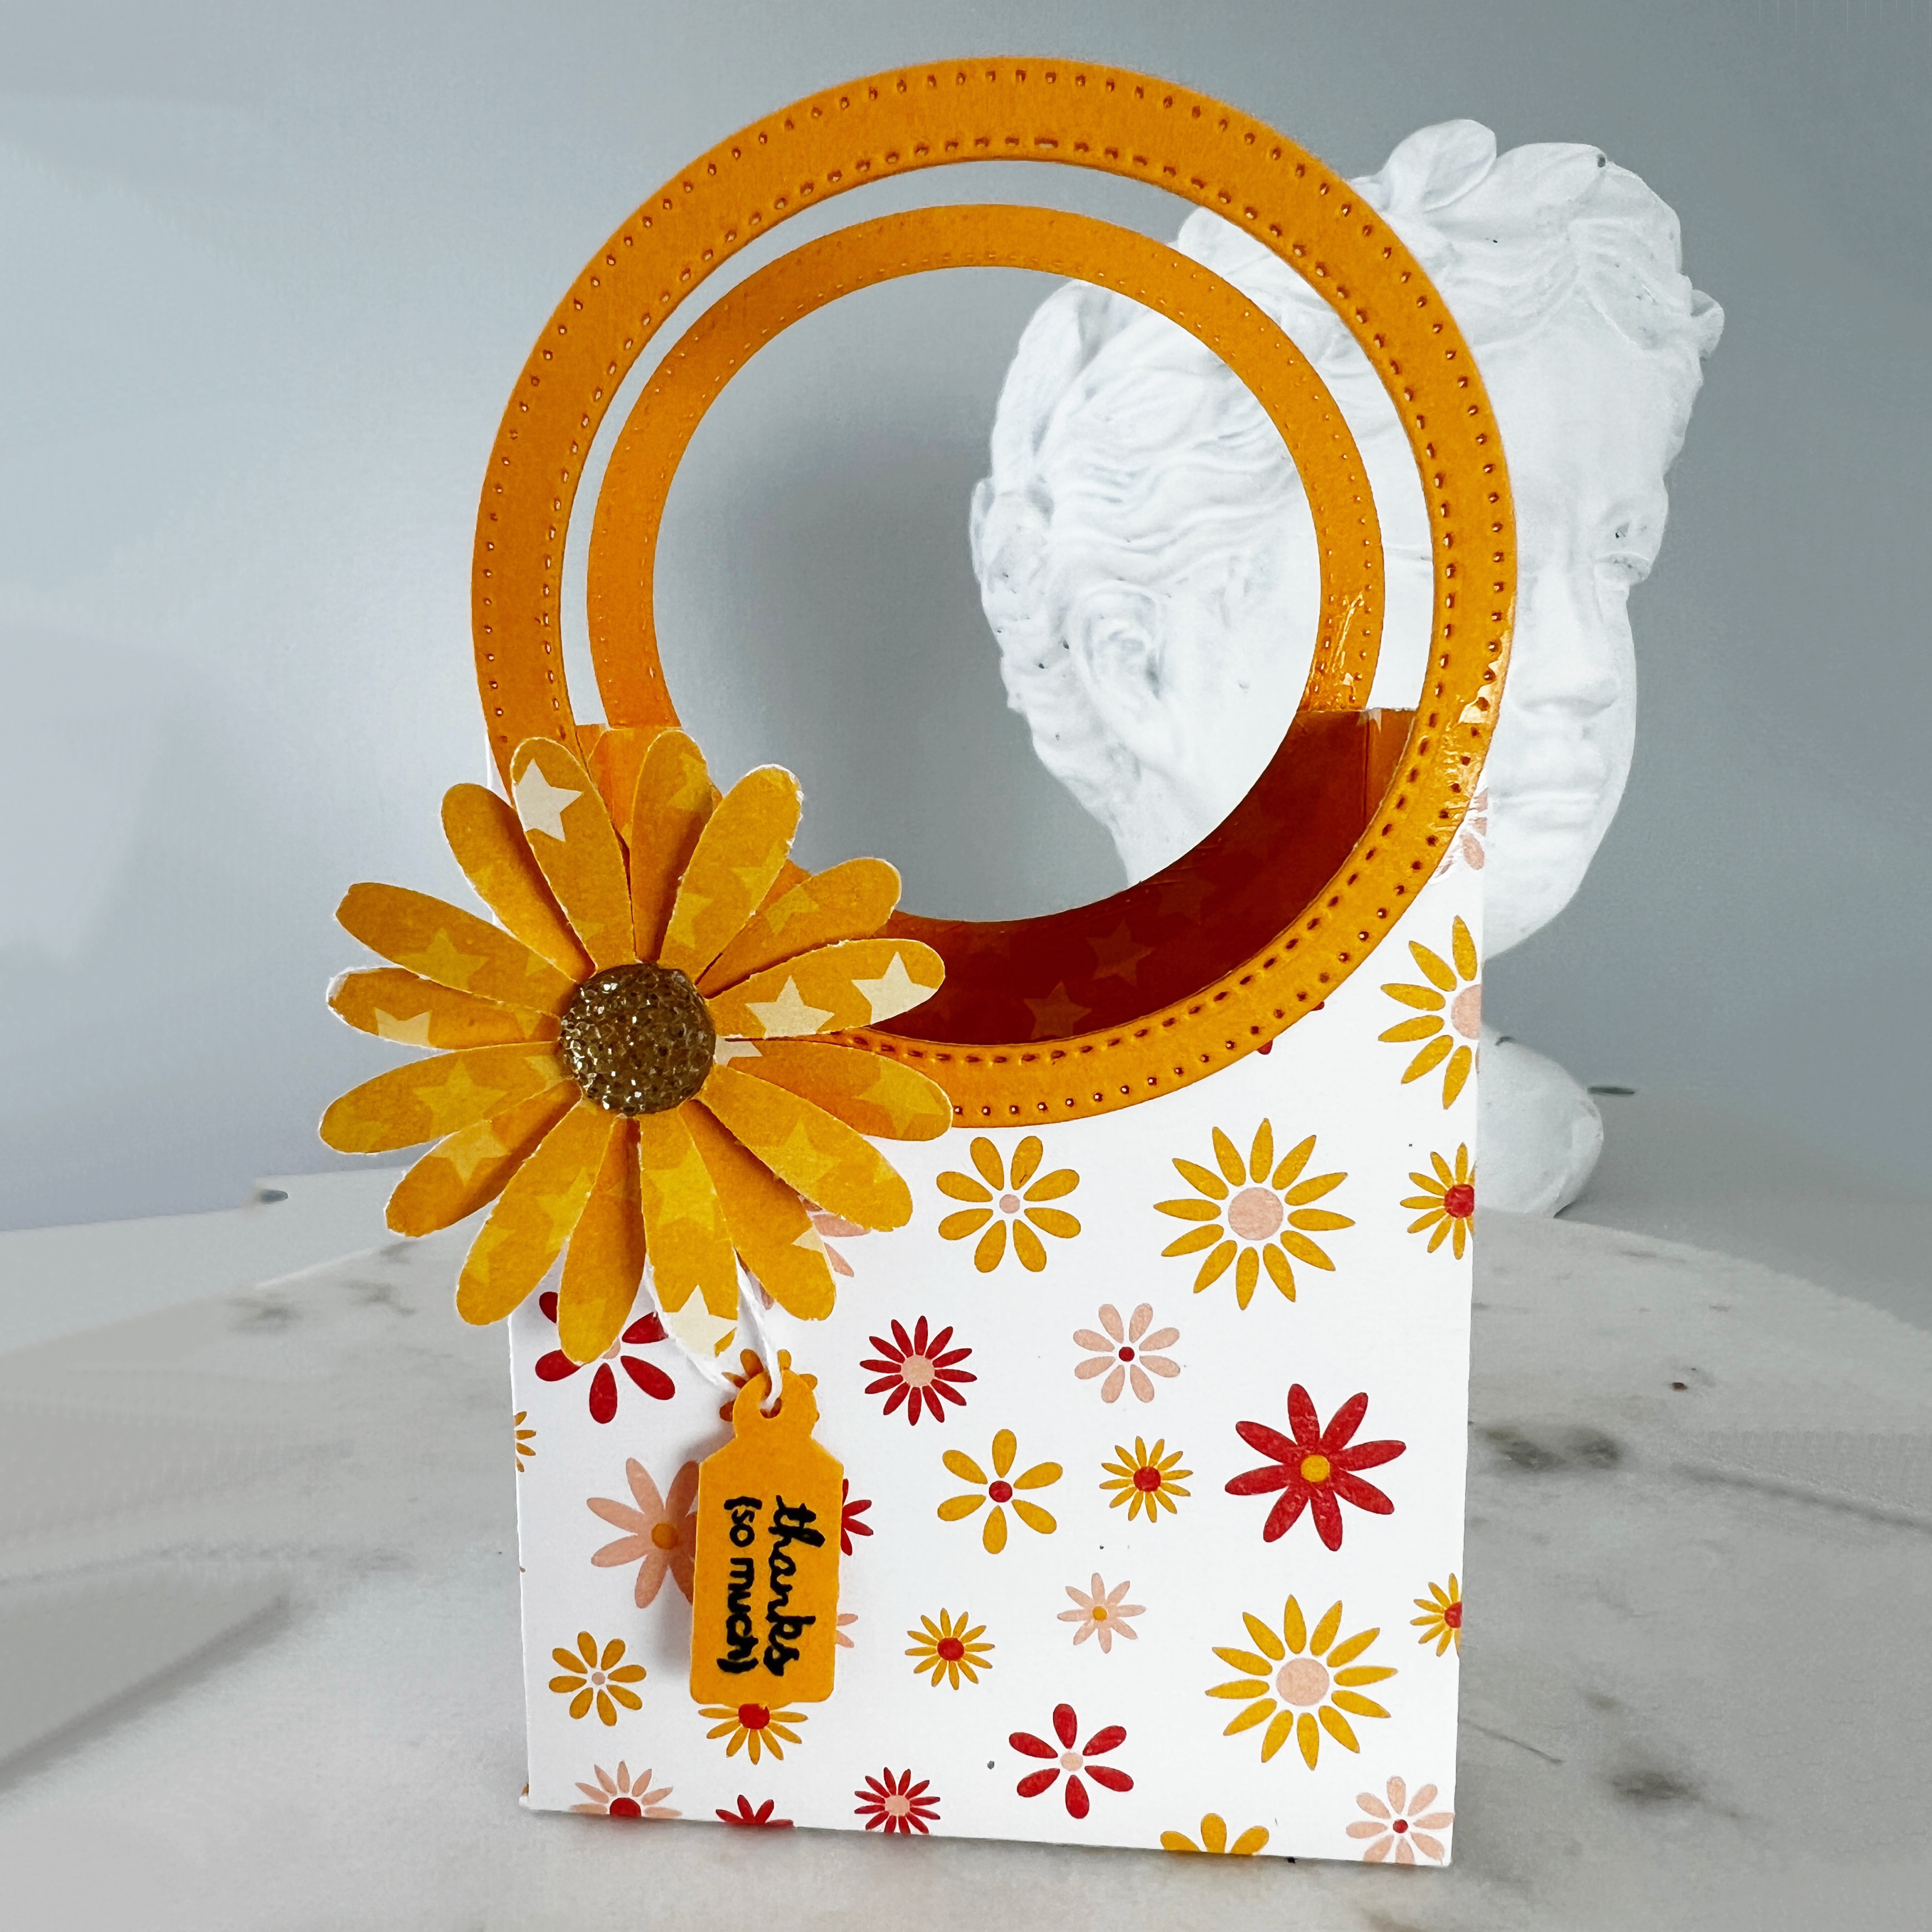
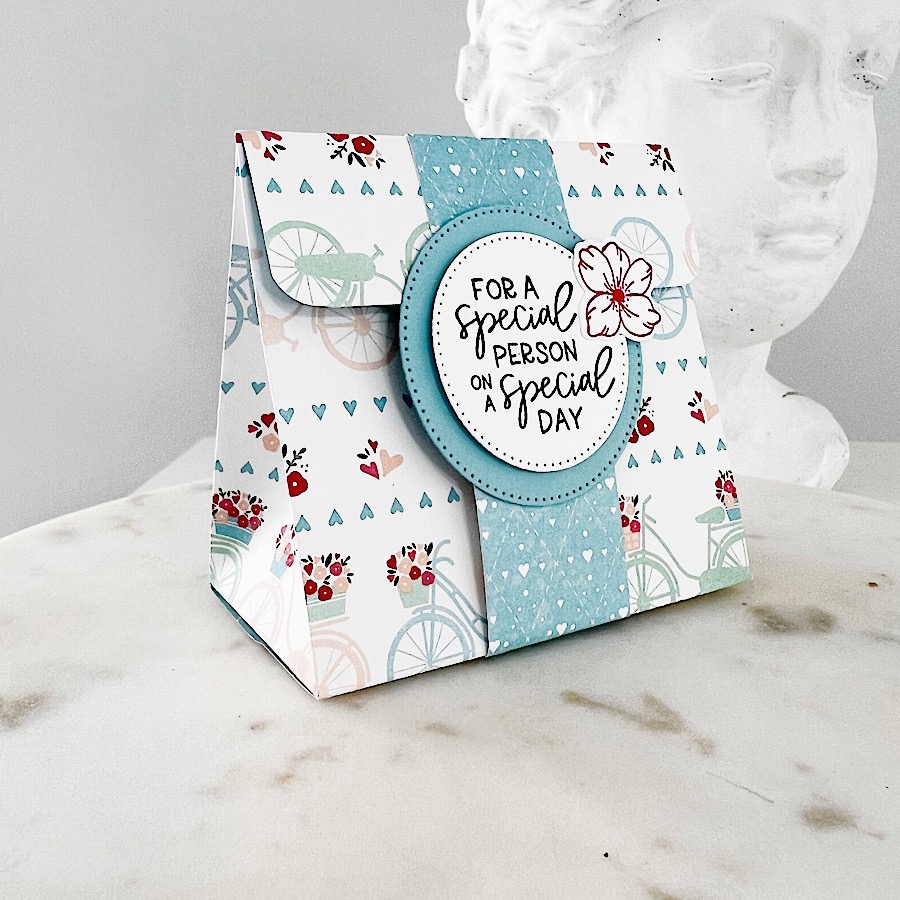
I’ve made these types of baskets before but have never lined them. The Delightfully Eclectic Designer Series Paper from Stampin’ Up! looks like a sweet fabric liner inside the basket. I can’t wait to find something delightful to fill the picnic baskets with.
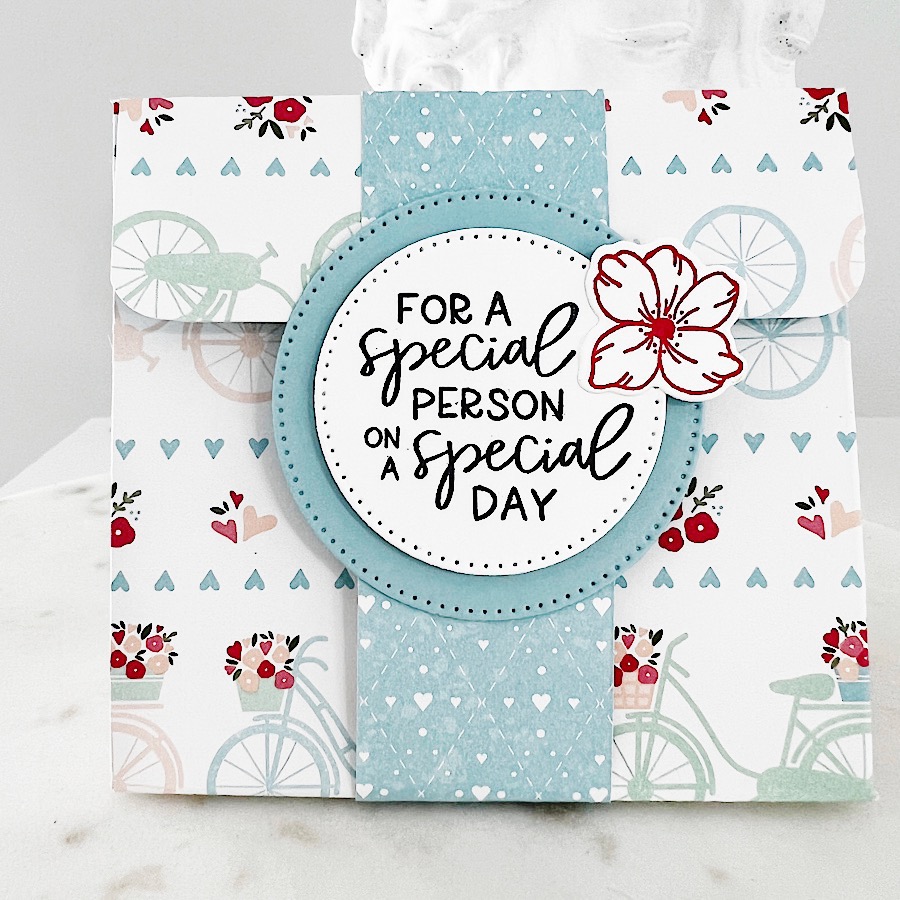
Here is a better view of the inside of the basket:
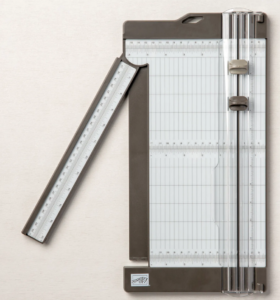
I will admit that the cutting and scoring of the designer series paper was a bit tricky. A Simply Scored board will be your best friend. Watch the video tutorial below for step-by-step instructions to make the lined picnic basket party favor.
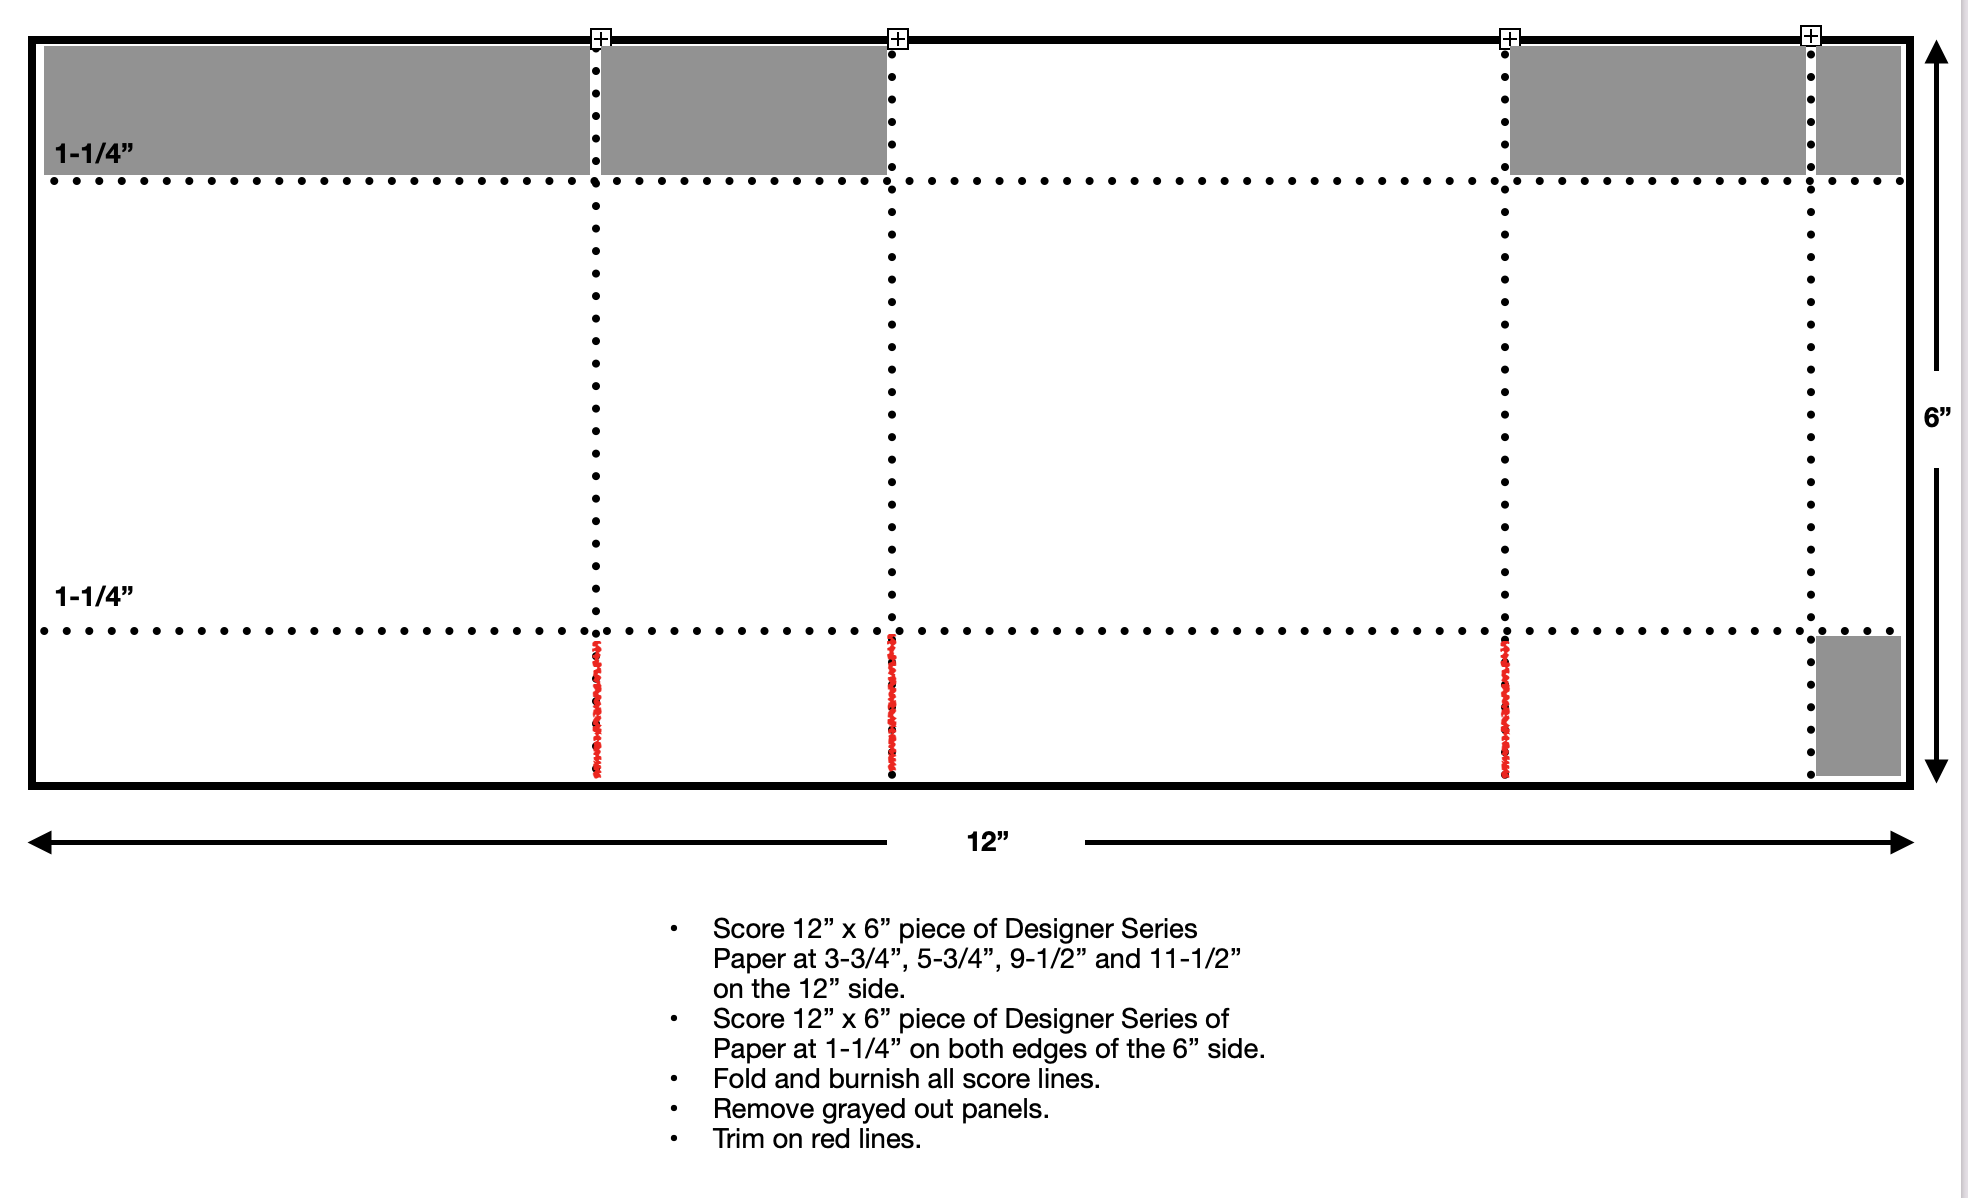
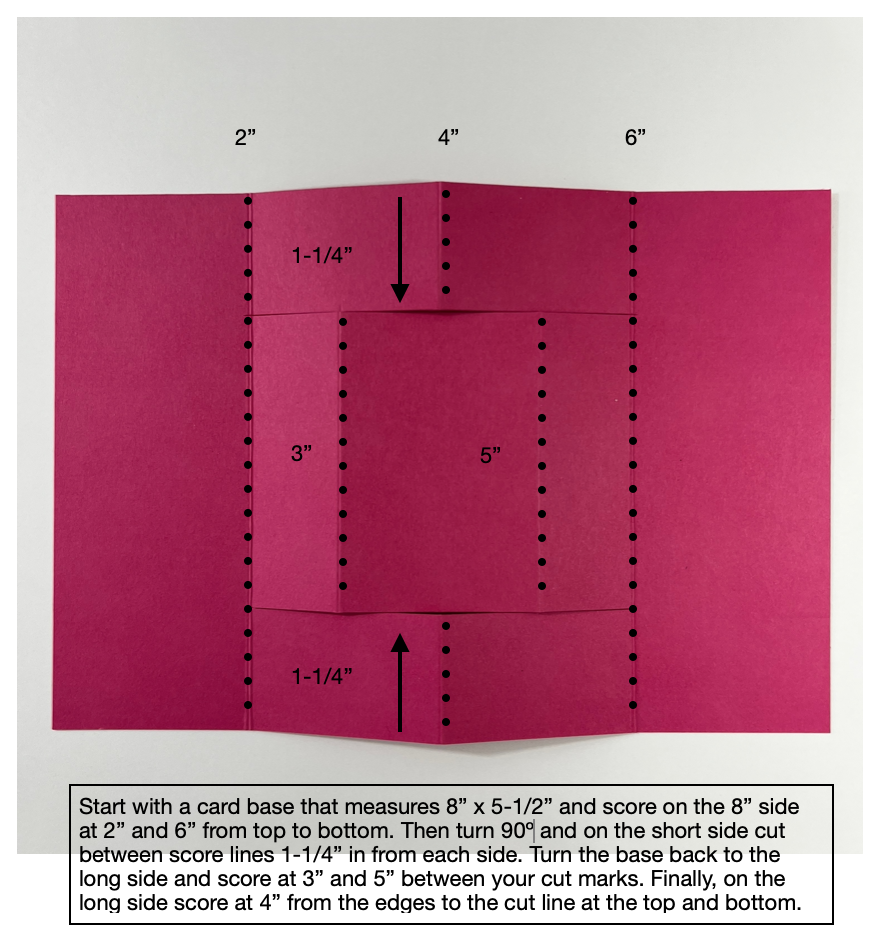
I created this template with the measurements and hope you find it helpful.
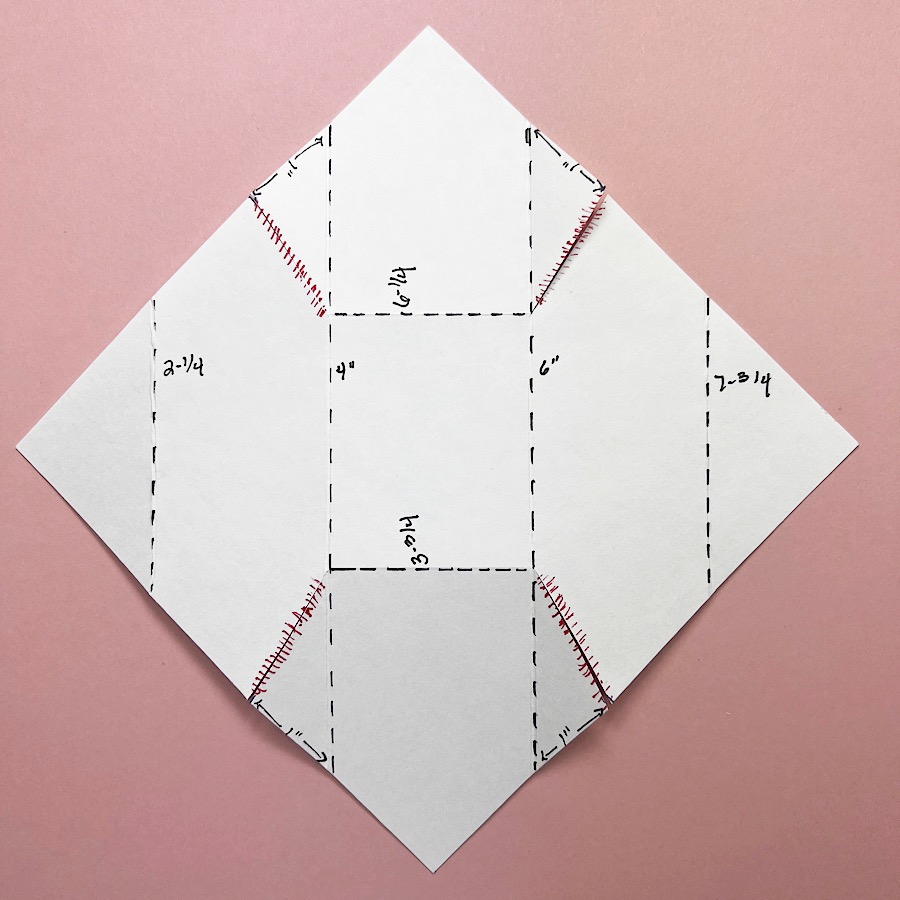
Cutting & Scoring Guide
- Line the top and bottom corner of a 6″ x 6″ piece of designer series paper with the 5″ groove of the Simply Scored board. Score at 2-1/4″, 4″, 6″, and 7-3/4″.
- Rotate designer series paper 45° lining up the top and bottom corner of the designer series paper with the 5″ groove of the Simply Scored board. Score between the center horizontal score lines at 3-3/4″ and 6-1/4″.
- Measure 1″ from 4″ and 6″ score lines and make a tic mark as shown on the diagram. Make a cut from the tic marks to the first intersection of score lines as shown on the diagram.
")


 Designer Series Paper")


")


")


 Designer Series Paper")


")


")
")

 Designer Series Paper")
")
")


 Designer Series Paper")


")


")
 Grosgrain Ribbon")


")

 Designer Series Paper")


 Designer Series Paper")


")


 Designer Series Paper")


