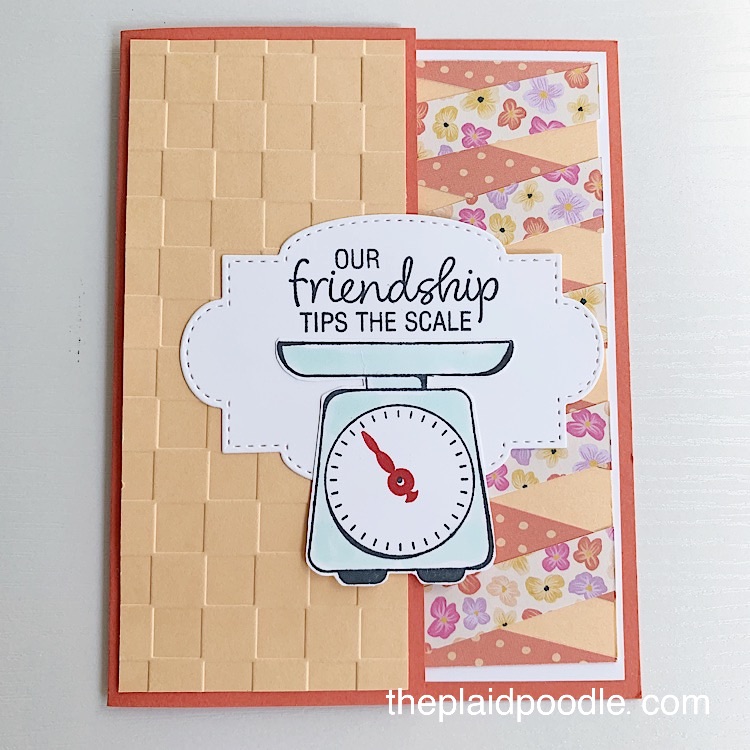
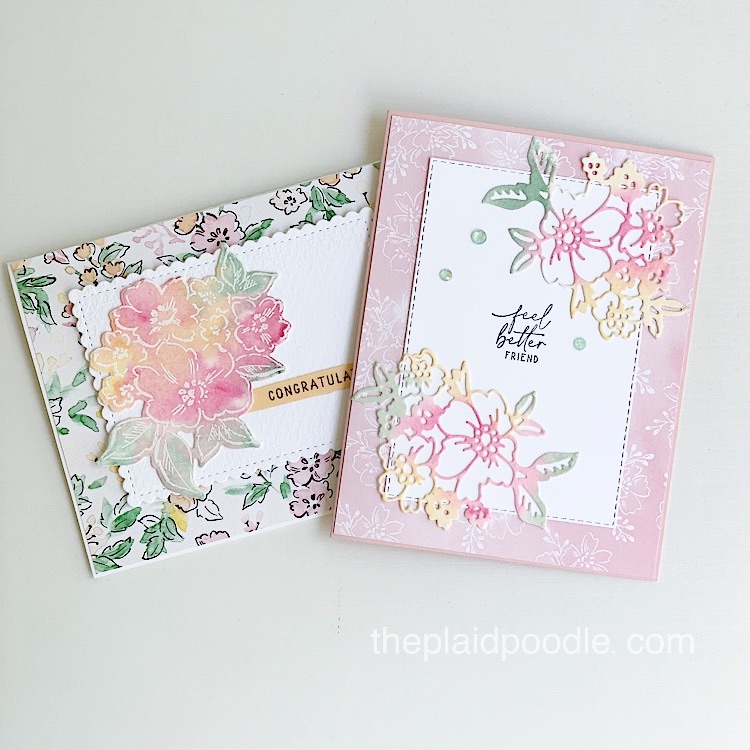
Make a Bowl of Cherries Measure of Love Greeting Card

It’s been a week this week and it’s only Wednesday. I’ve been tired and just haven’t felt myself. The weather has been pretty dreary and my allergies have been a bummer. The worst of it is that my creative mojo has taken the week off. How do you get your mojo back? I just start making things and they are usually CASED from other creators.
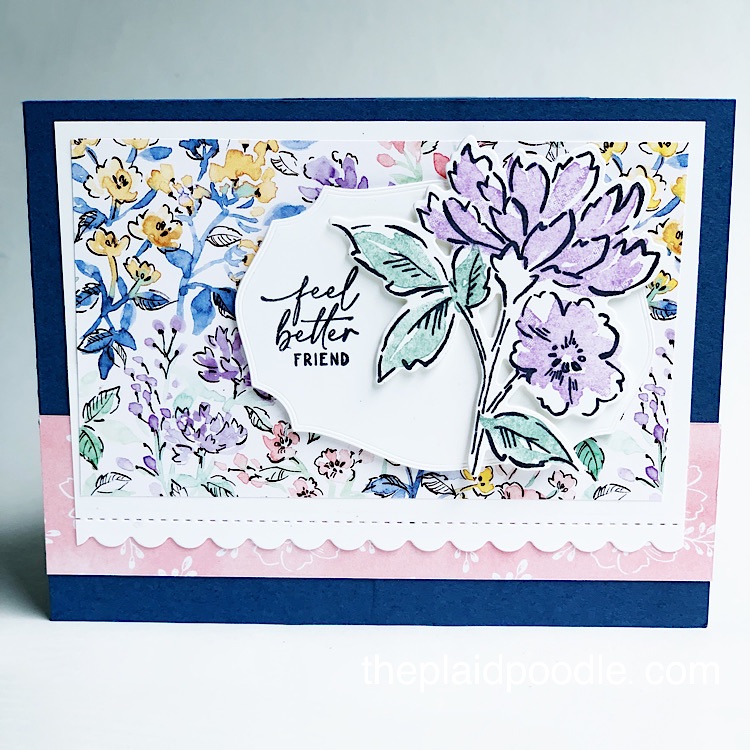
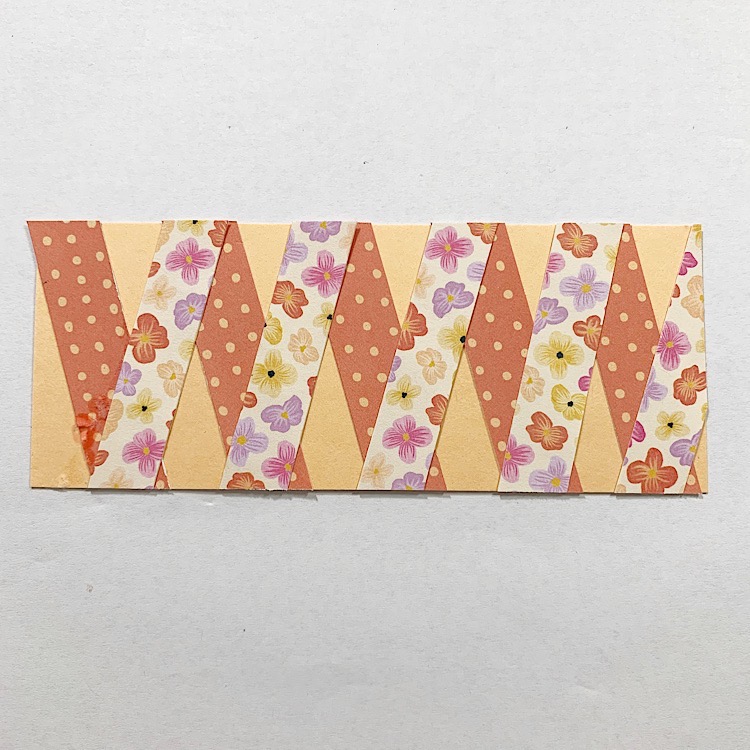
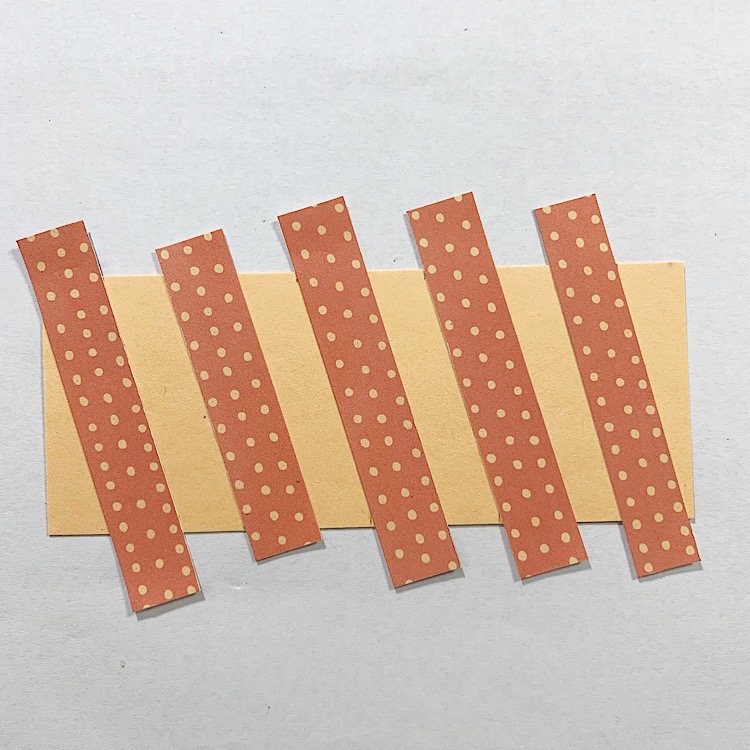
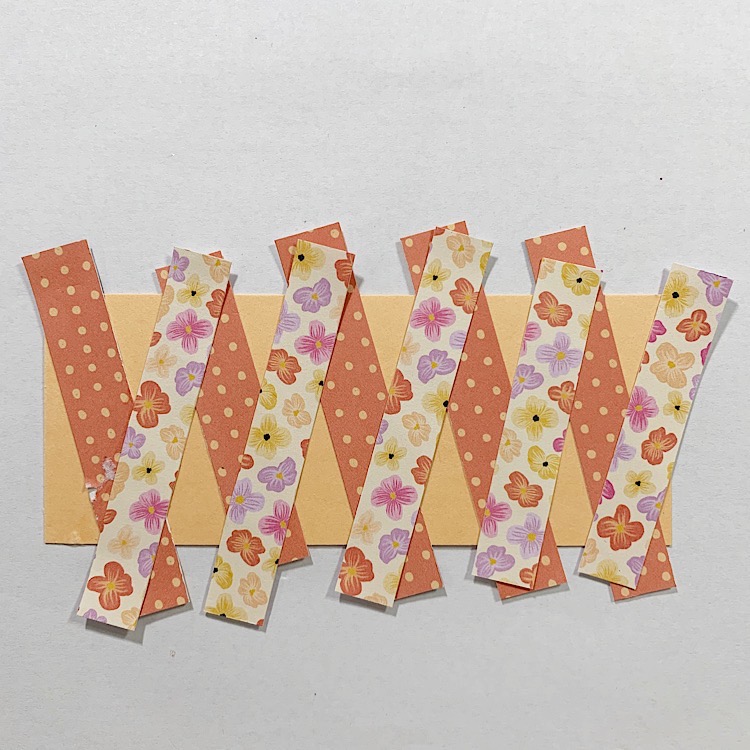
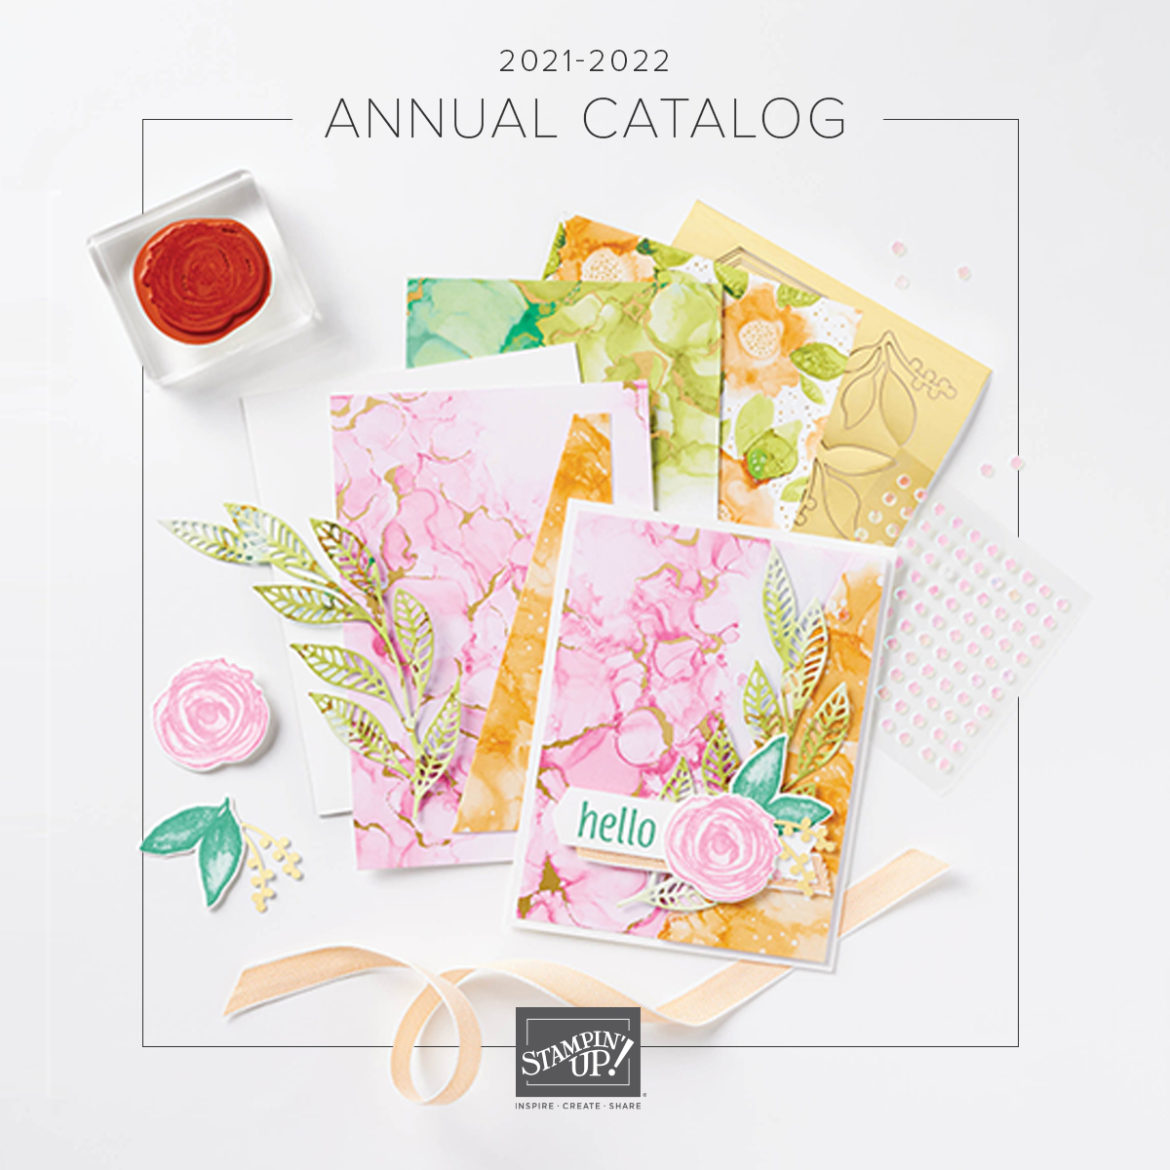
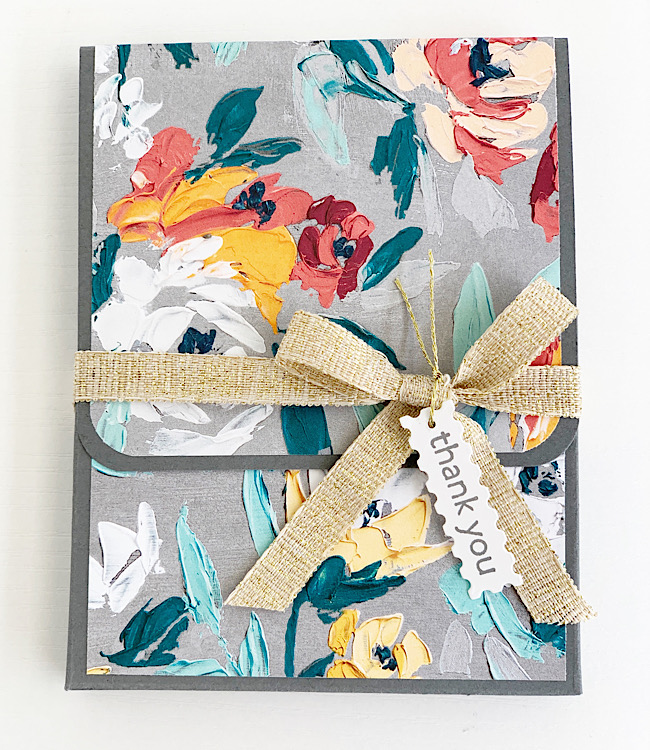
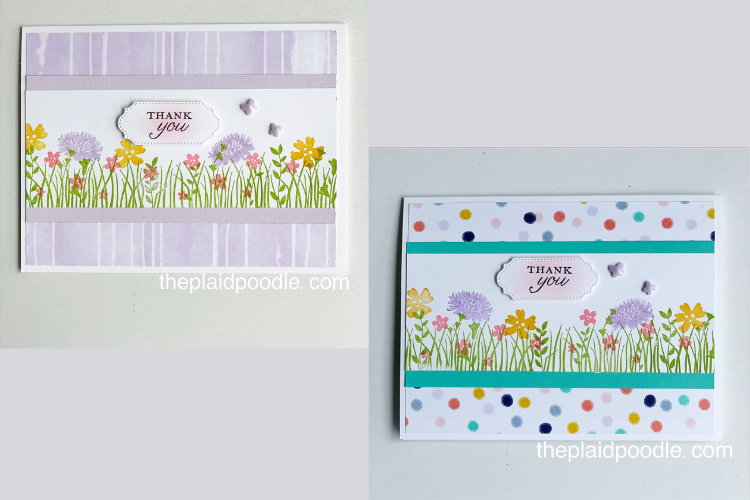
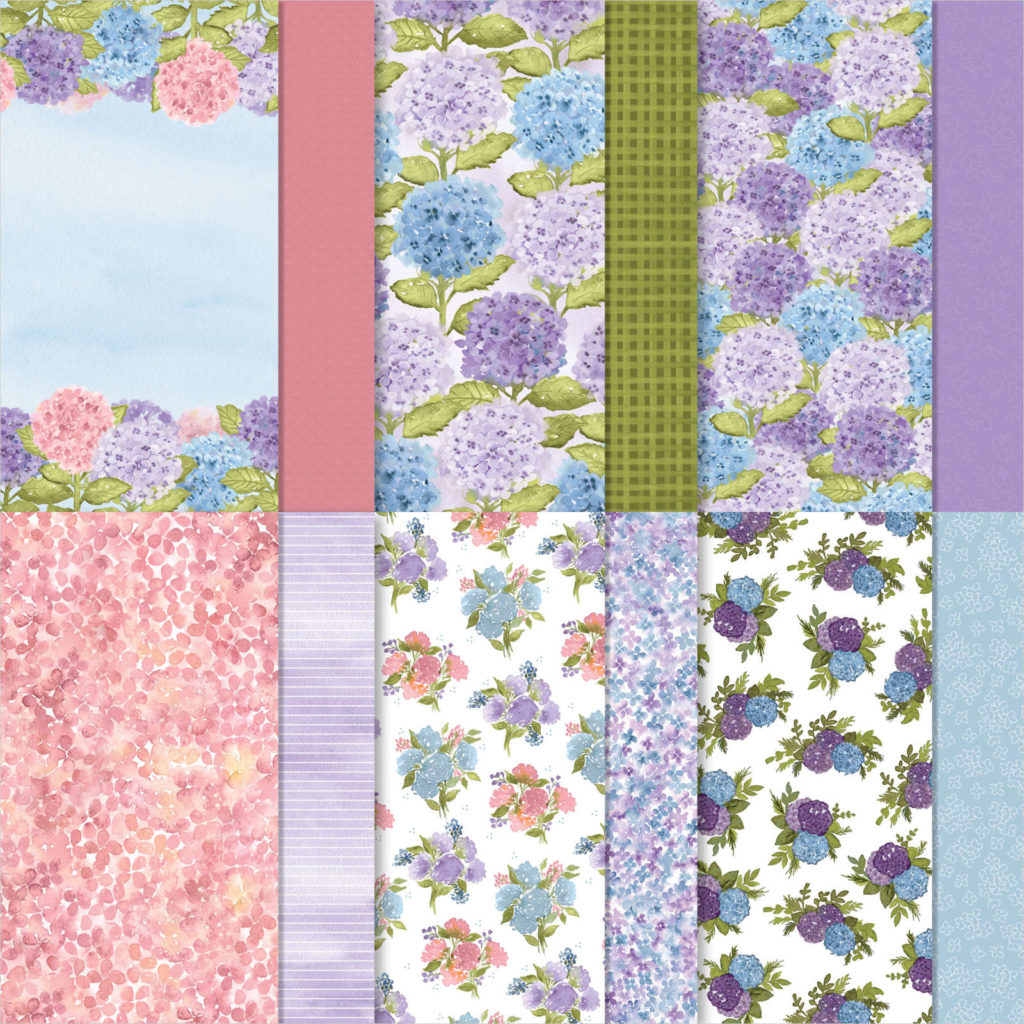
CASEing is to copy and share everything. Today I copied a card featured in the new Stampin’ Up! Annual Catalog. I did not have the Designer Series Paper the Stampin’ Up! concept artist used in the catalog sample so I substituted the Pansy Petals Designer Series Paper when making my card.
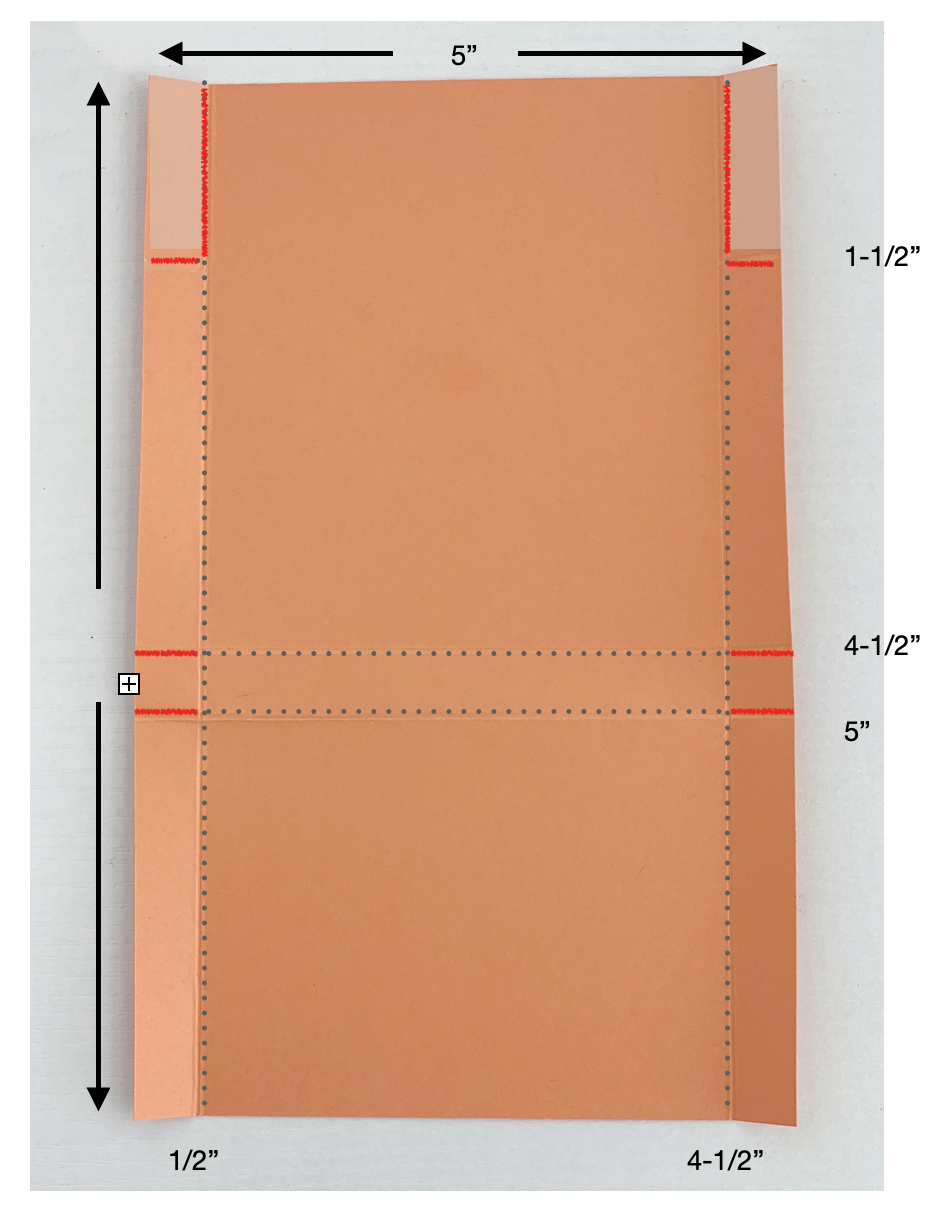
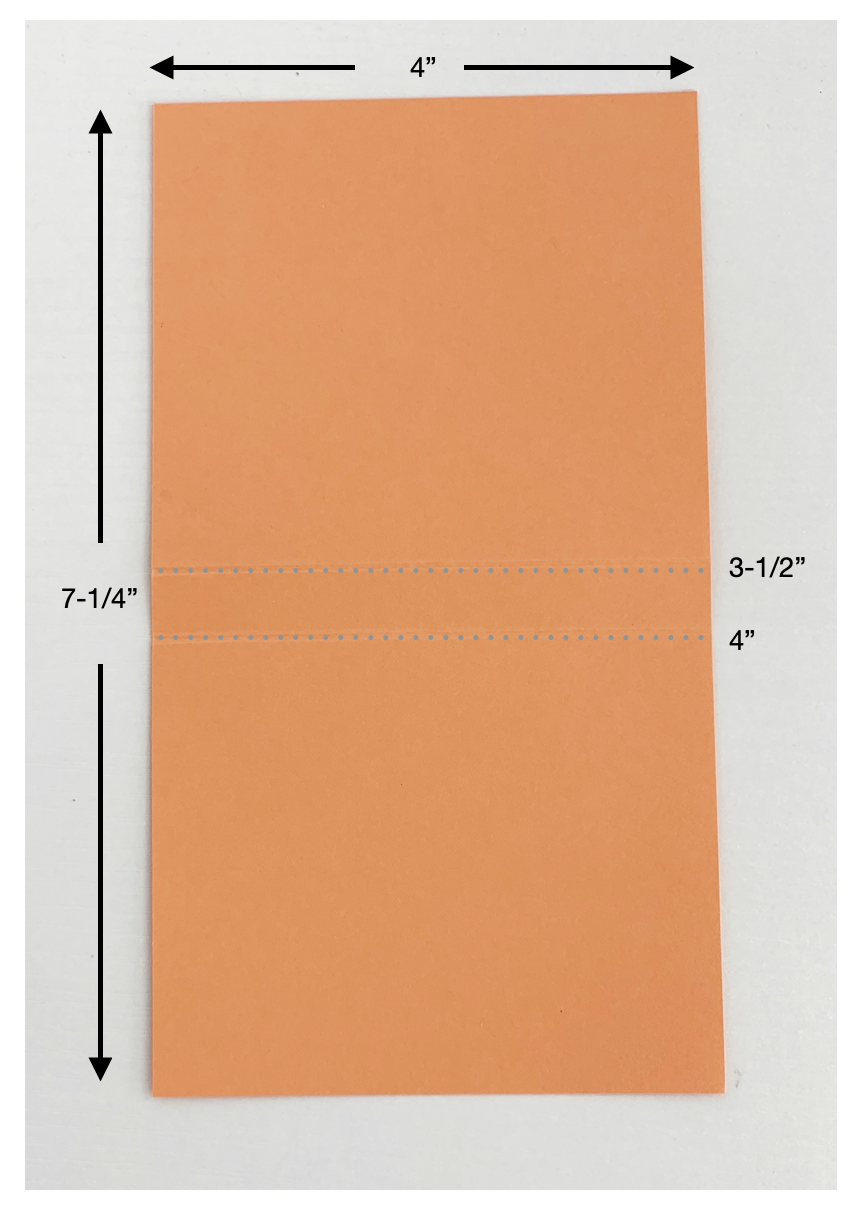
Paper Cutting/Scoring Guide
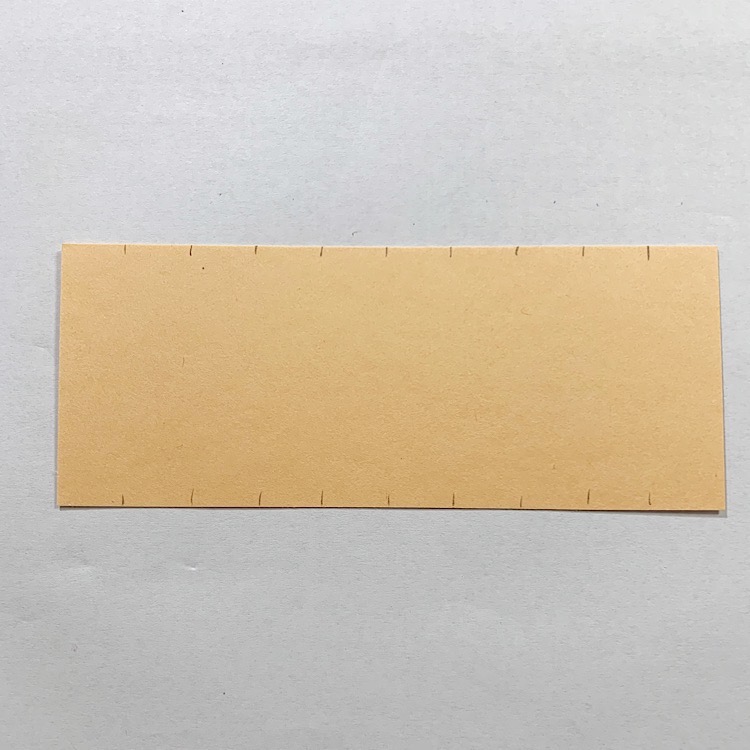
- Card Base = 8-1/2″ x 5-1/2″ piece of Soft Sea Foam card stock scored at 4-1/4″ on the 8-1/2″ side.
- Pansy Petals DSP = 4″ x 5-1/4″
- Embossed Layer = 2-3/4″ x 4-3/4″
- Shelf Die-Cut = scrap of Crumb Cake card stock
- Stamped Images = 5-1/2″ x 3″ piece of Basic White card stock
- Sentiment Tag = 1/2″ x 3″ piece of Soft Succulent card stock
")


 Designer Series Paper")


")


")


 Designer Series Paper")


")


 Gorgeous Grape Sheer Ribbon")


 Designer Series Paper")


 Fine Art Ribbon")


 Designer Series Paper")


 Designer Series Paper")


")


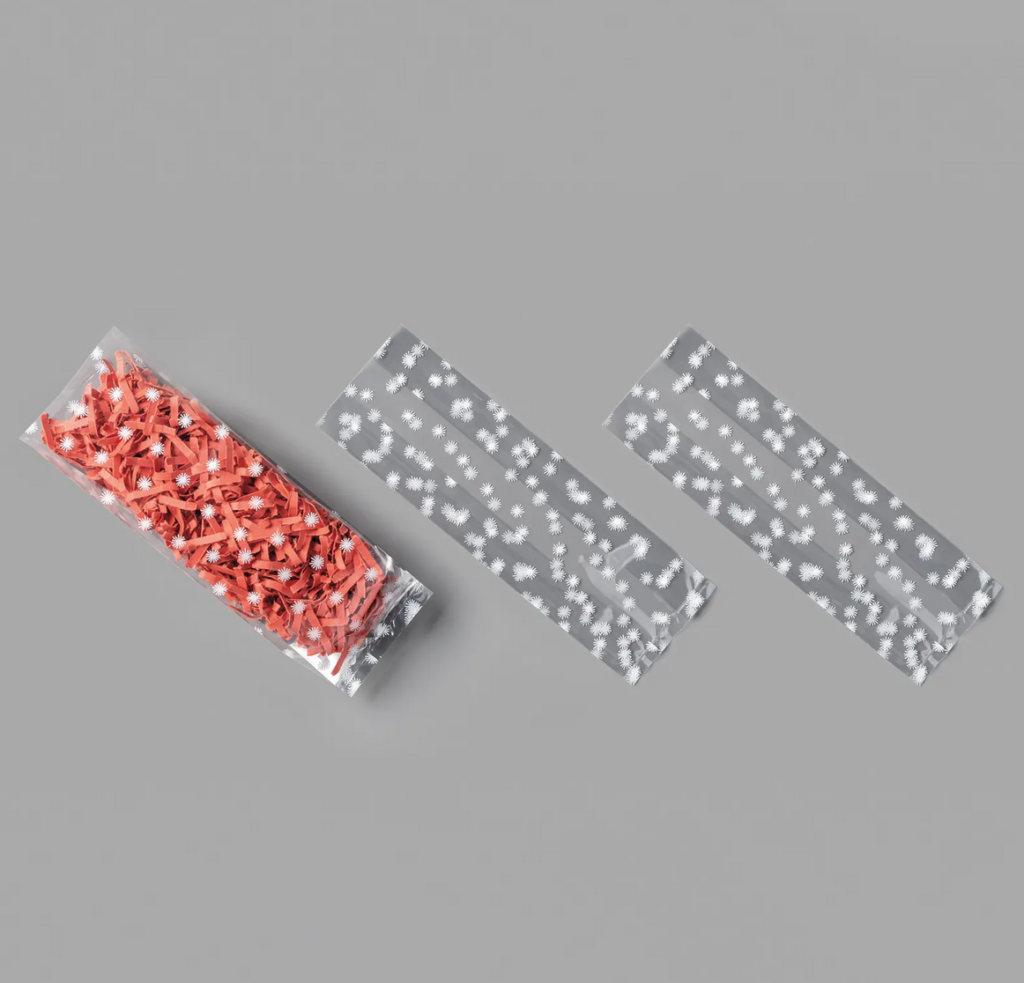


 Printed Gusseted Cellophane Bags")

 2020–2022 In Color Ribbon")


 Designer Series Paper")